使用WP Migrate DB Pro为WordPress创建一个暂存环境
WordPress is highly customizable, but if you want to set up automated deployments, it can require a complex configuration. Some code might be stored in a Git repository, some files might need to be copied/installed from other locations, and site settings could be either in the database or in separate config files. This can make preparing a staging environment neither easy nor convenient. Every time you want to set things up, you must deal with the same three things:
- migrate the database between environments and updating the URLs
- match up the contents of the
uploadsdirectory - install the same plugins on both environments
Each of the above can be tackled in many different ways. There is, however, one method guaranteed to cut down the hassle and configuration time to the absolute minimum.
In this guide, we'll show you how to use the WP Migrate DB Pro plugin to simplify all steps required to create a WordPress Staging environment and keep it up-to-date. We’ll also show how to use Buddy to help with migrating the required data.
Requirements
- Two WordPress environments: Production (which is the current live site) and Staging (empty WordPress installation)
- WP Migrate DB Pro (Developer license or higher) with the CLI addon installed on both environments with license activated
- WP-CLI
- SSH access to the staging server
Additionally we recommended to install:
- Media Files addon - to have your Media Files synced across environments
- Theme & Plugin Files addon - to have the same Themes and Plugins installed on all environments
Plugin configuration
The first step is preparing WP Migrate DB Pro to migrate data from the Production environment. We want the Production environment to be the single source of truth (SSOT) for all required data.
To make sure that this is possible and that we won't modify the Production environment by accident, go to WP Migrate DB Pro's permission settings and flip the Pull switch only:
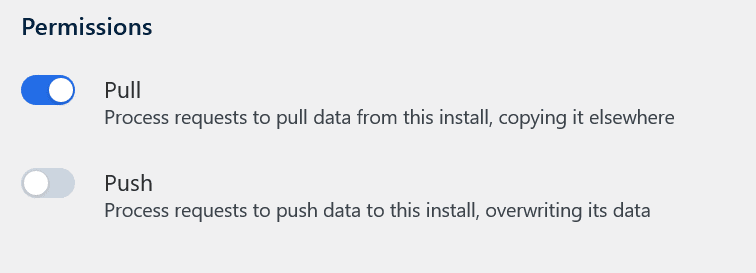
With only this setting enabled, other instances of WP Migrate DB Pro will be able to pull data from Production but not push data to Production, so no risk of overwriting.
Only allowed instances (those with a valid key) will be allowed to pull the data.
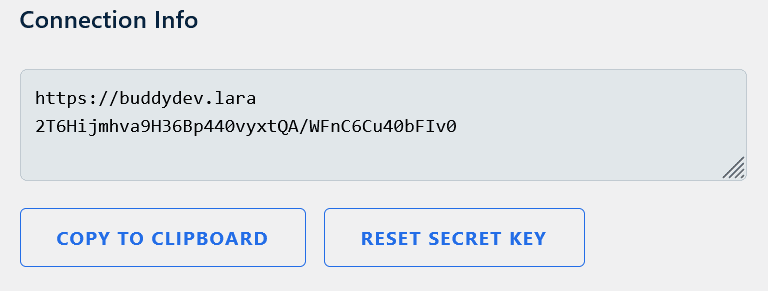
Next, copy the Production environment's Connection Info – we'll need it for the next step:
Preparing new migration profile
When you're done, it's time to configure a new migration profile on the Staging environment. You’ll want to set it up to pull the data from the production environment, into the staging one.
- Go to Profiles → New migration → Pull
- Paste the Connection Info string copied from the production environment, into the Connection Info textarea.
If the connection is successful, you can fill in the rest of migration details according to the requirements:
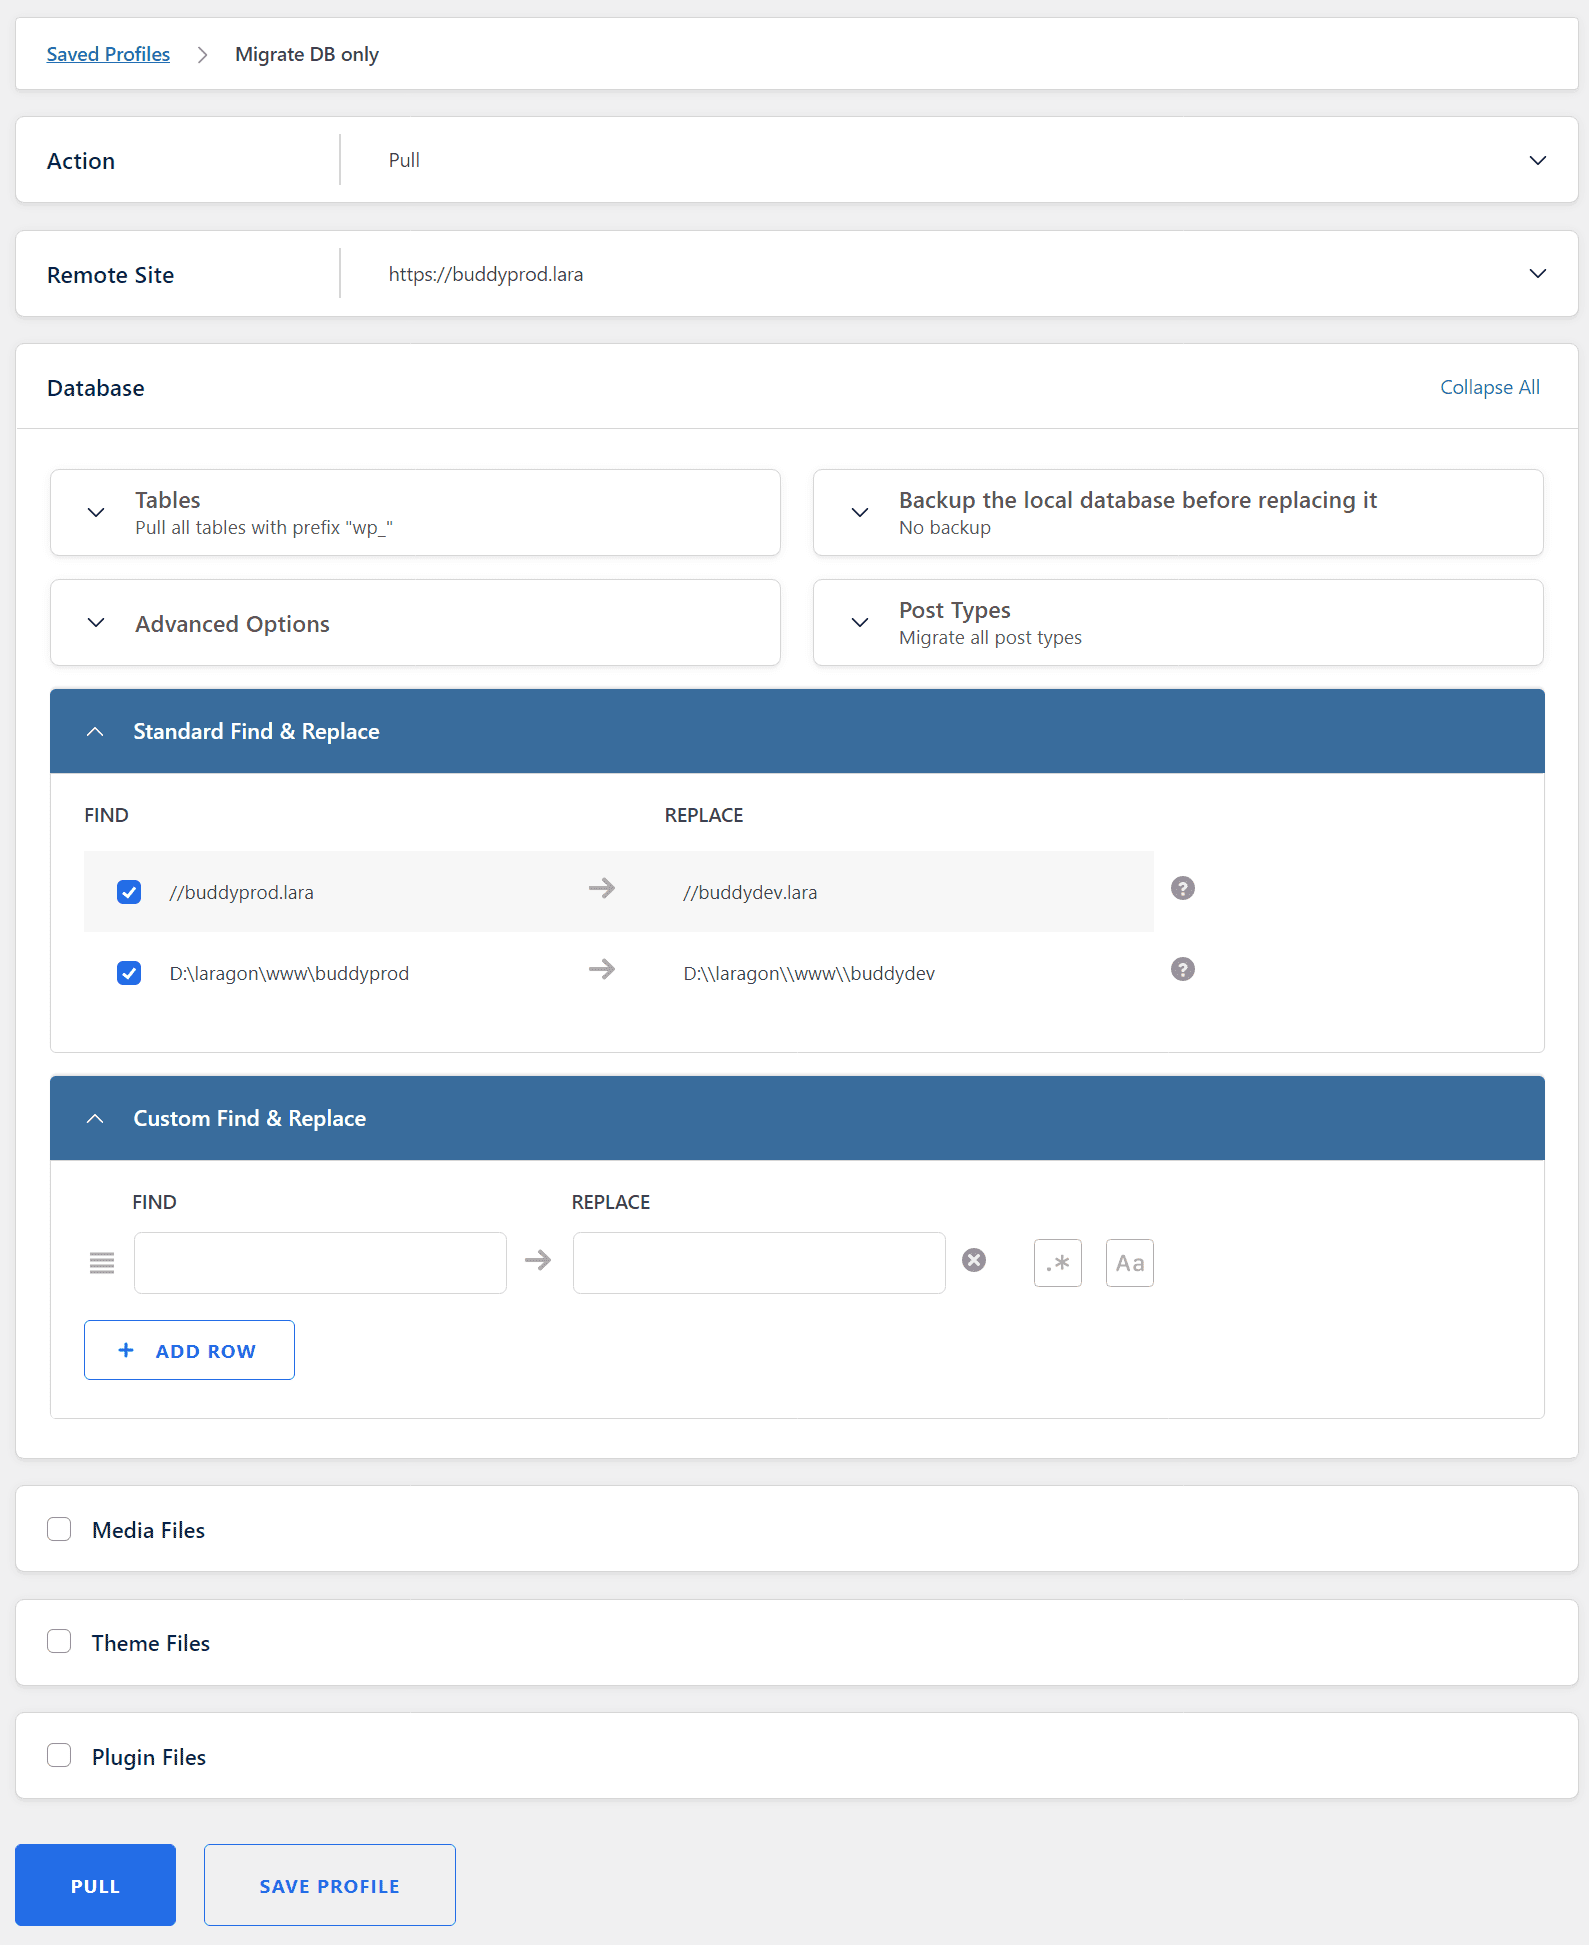
We want to create a migration profile, not actually run the migration, so you can click Save Profile, and give the profile a name.
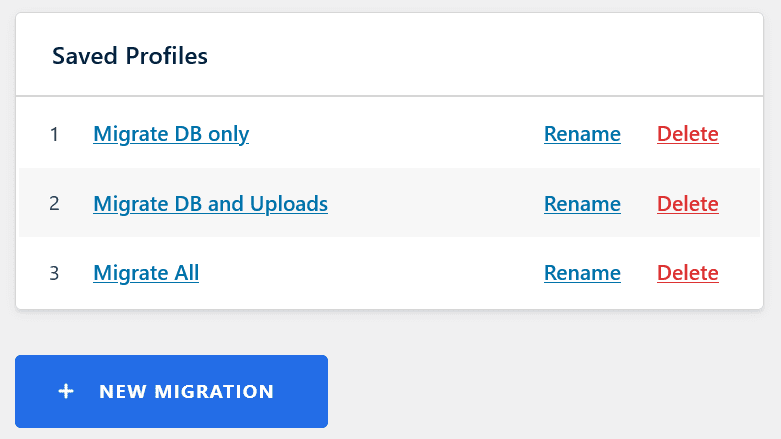
It's a good idea to create a couple of migration profiles with different configurations. This will allow you to synchronize exactly the data you need:
- Migrate Database Only – migrates the DB only
- Migrate Database and Media – migrates DB and Media Library
- Migrate All – migrates DB, media library, themes, and plugins
Automation with pipelines
Once you have a few saved profiles, the whole transfer process can be streamlined to a single click using a pipeline in Buddy, the perfect CI/CD companion for WordPress developers.
With WP-CLI installed, triggering the migration profile is as easy as running:
wp migratedb profile <profile_id>
The best idea is to create a separate pipeline that will deal with migration only (Buddy has no limit on the number of pipelines in a project, so you needn't worry about it).
If you haven't used Buddy before, this short article will get you started in 10 minutes.
Add a new pipeline and set the trigger mode to
Manualso that it's activated by clicking a button.Select Pass arguments as the first action in the pipeline. We will use to define which migration profile we want to execute (DB only / DB & media / All) by selecting a specific value of an argument on each pipeline run.
- Set the Input type to
options. - Set the Key to
migration_type. - Set the Value to the ordinal number of the migration profile in WP Migrate Pro.
- Set the Input type to
You can add multiple values by hitting enter and writing in a new line.
Here's what the configuration looks like:
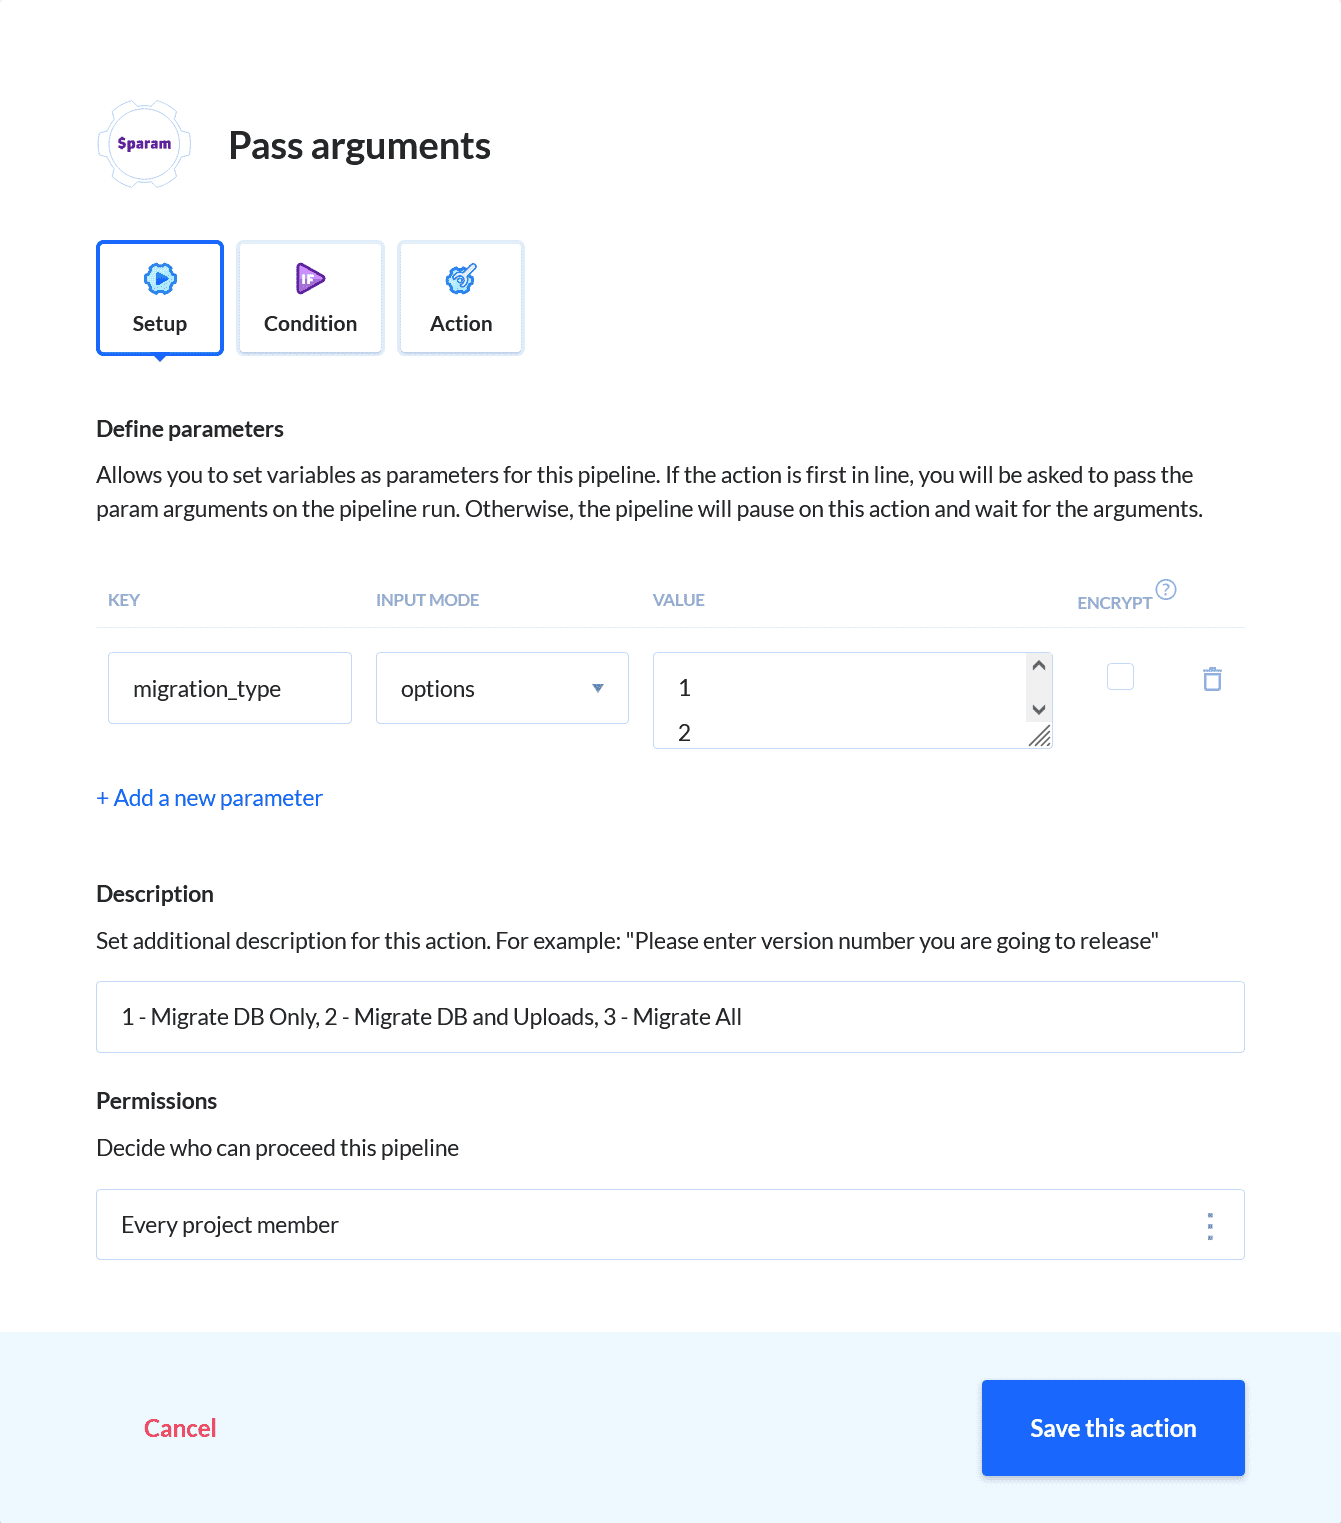
Remember to swap the numbers to match the profile IDs in your account:
- The next step is adding the SSH action that connects to your Staging server and triggers the migration. Add the following command in the action's terminal:
wp migratedb profile ${migration_type}
As you can see, the command uses the {migration_type} parameter, which allows the Pass arguments action to determine which migration profile is used.
When you're done, run the pipeline. When you trigger the execution, Buddy will ask you to choose which value of the {migration_type} parameter to use, effectively letting you choose the migration profile:
Now, with all required data in place, you can safely deploy and test your changes.
Summary
The idea presented above is just a small glimpse of how automation can aid developers in their every day work. Smart plugins such as WP Migrate DB Pro can bring a massive boost by eliminating mundane tasks, while the entry threshold to DevOps has never been so low with Buddy visualizing the entire delivery process in the GUI.
What a time to be alive!