使用HTML输出与Buddy构建静态WordPress
Static pages were the daily bread of the 90s. Over time, the emergence of content management systems like WordPress made them obsolete. But, as history shows, trends tend to come back and web development is no different. Nowadays, however, static sites are much more advanced and give us many more possibilities.
In this guide we will show you how to create a fast static site using WordPress, Static HTML Output plugin, and Buddy.
Benefits of static sites
- They're fast: it's all simple HTML, so all complex queries are being resolved during the deployment process.
- Can be hosted everywhere, including the less expensive hosting services, making maintenance more cost-effective.
- Security. The only possible way to break in is attacking the server itself.
Main disadvantages of WordPress
- Efficiency. All sites are generated dynamically which leads to performance issues on websites with a lot of entries and subpages.
- WordPress requires constant core and plugin updates. Ignoring them may lead to major security issues.
- Upkeep cost - it all depends on what your website needs. Finding a suitable server can make a serious dent in your budget.
WordPress + Static = 💗
As you can see, transforming WordPress into a static website one can counter many of the issues WordPress has. Apart from reducing the upkeep cost, you gain improved security and better performance - which will prove especially beneficial for owners of high-traffic services. Since we are deploying pure HTML, the content is rendered much faster which significantly reduces the loading times, improving the overall mobile user experience. It is also worth mentioning that speed is increasingly important to Google. Their recent implementation of Core Web Vitals focuses around ease of use, HTTPS protocols and loading times – the three key aspects to play the major role in website positioning in 2021.
Before we begin working on our static site generator project, it is worth considering whether we actually need such solution. Bear in mind that forms, search, comments, payments, or other dynamic components will not work out of the box. This means that when creating a static site, we have to take all fragile elements into account and look for possible alternatives - for example, using Disqus for managing comments, or Algolia as our on-site browser.
Preparing the environment
Here's what we'll need to begin:
- Git repository with a WP theme
- Server with SSH access
- WordPress installation with WP-CLI and Static HTML Output plug-in
Domains
A good practice is to use two separate domains. One for WordPress alone (e.g. app.example.com), and another one for the production environment (example.com). When building the site, all URL's directing to app.example.com will be converted to example.com.
Configuring WordPress and Static HTML Output
Begin with activating the Static HTML Output plug-in. Depending on your needs, you can exclude certain URLs from indexing in the Crawling tab. The rest of the configuration will be done through WP-CLI.
Pipelines
For the purpose of this guide, we'll use the Underscores theme created by Automattic. It's a perfect baseline for creating your own themes.
The pipelines we're about to configure will perform the following operations:
- Build CSS files
- Upload all theme changes to the server
- Prepare a static version of the website
After selecting and synchronizing your repository, create two global environment variables:
STATIC_OUTPUT_DIR- set it towp-content/uploads/static-html-outputUPLOADS_DIR- set it towp-content/uploads/
Building theme and uploading to server
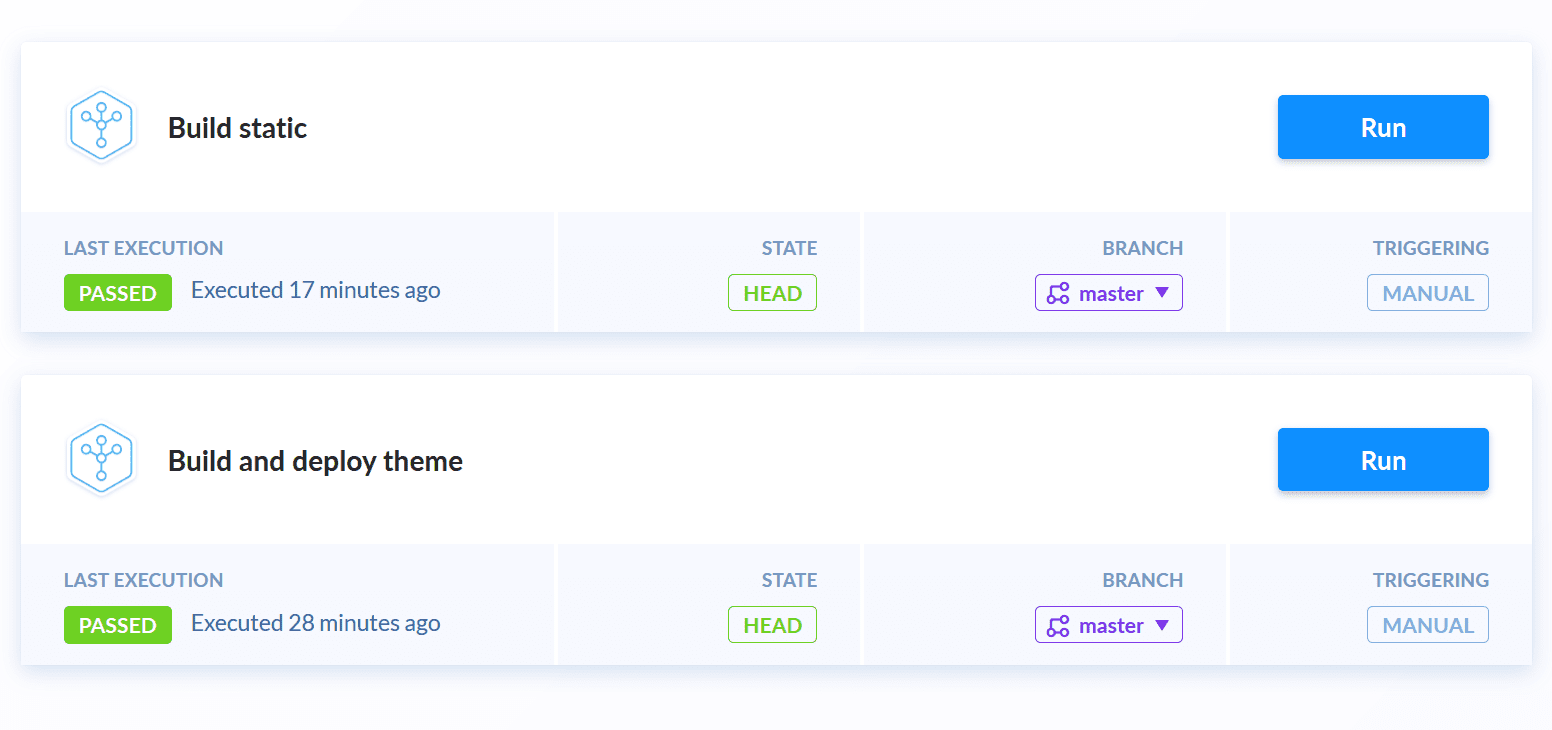
Our first pipeline will, well, build and deploy our theme to the server:
Configuring build
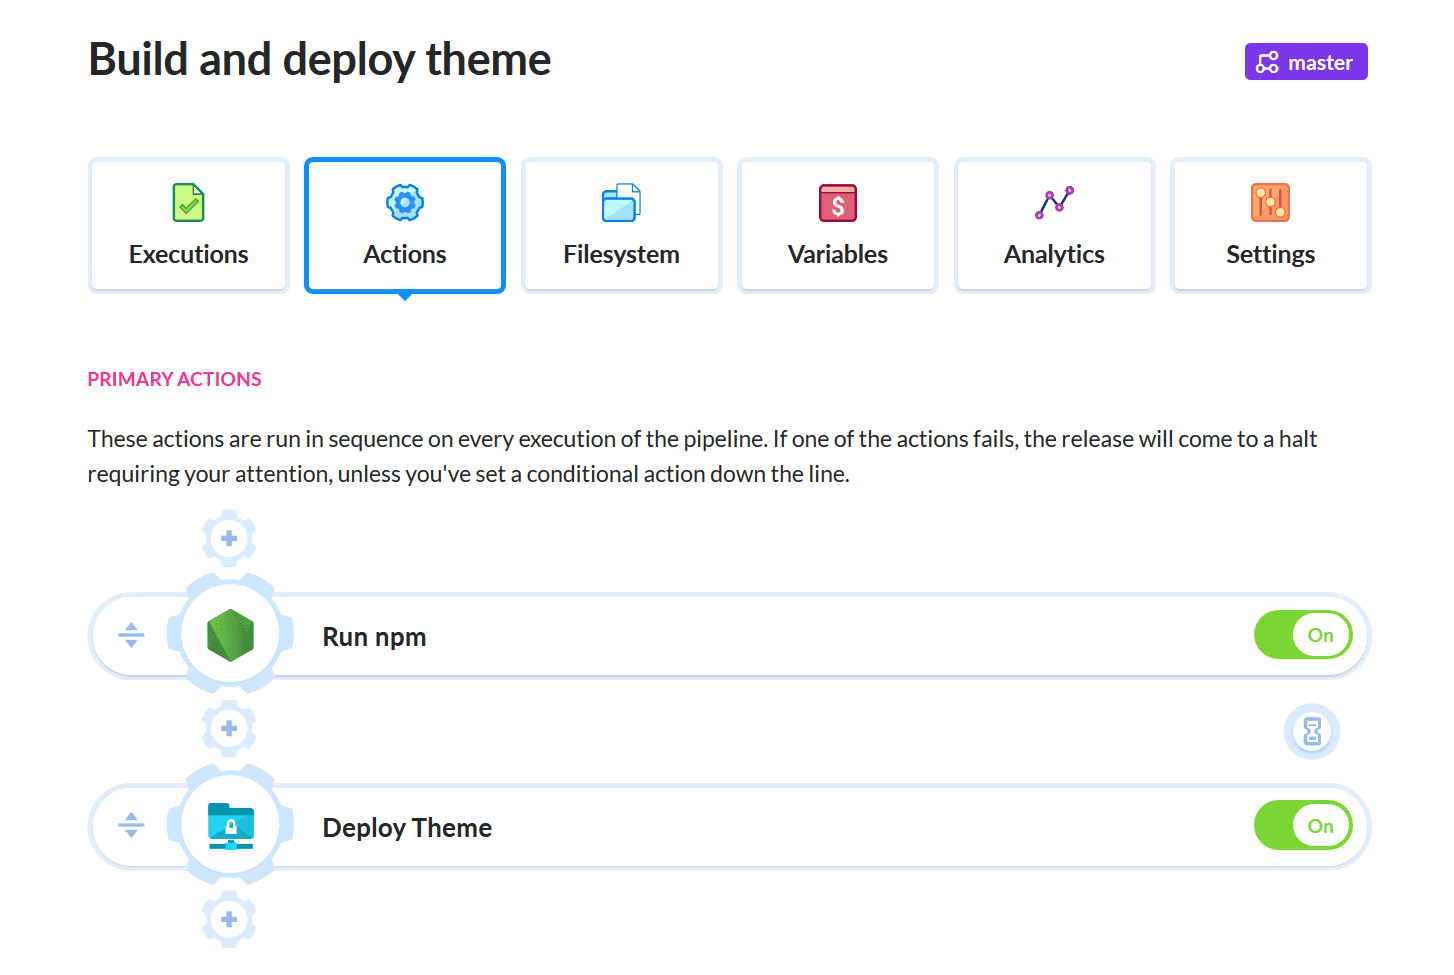
Create a new pipeline and give it a telling name. You can set the trigger mode to 'On push' to automatically execute the deployment on every push to the selected branch.

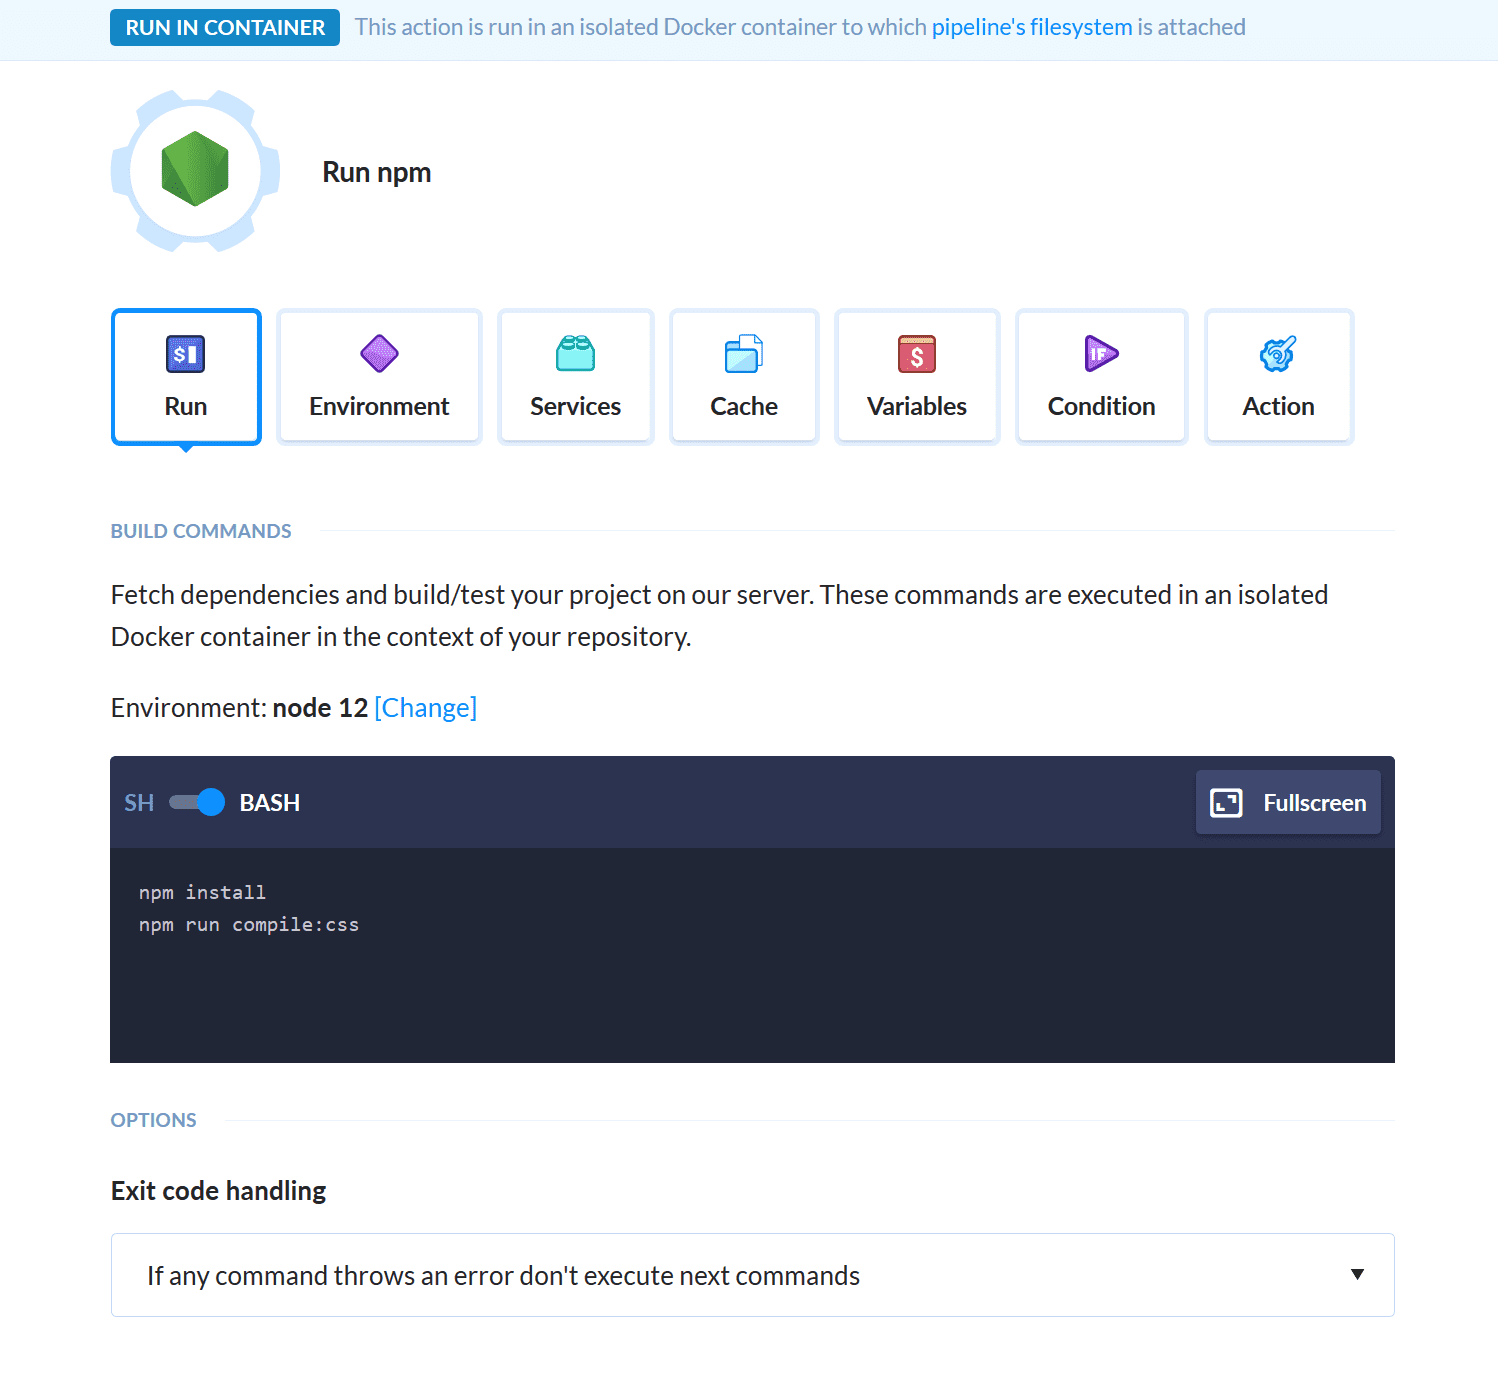
Add Node.js as the first action and enter the following in the Build commands section:
npm install
npm run compline:CSS
Configuring deployment
Next add the SFTP action. It will be responsible for uploading our theme to the server. After providing it with appropriate credentials, add node_modules/ to the Ignore paths.
Transformation to static site
The second pipeline will build the static version of the website:
You will need to add three new environment variables – this time the scope can be restricted to this pipeline only. The variables are as follows:
STATIC_DEPLOYMENT_DOMAIN- this is our default domainSTATIC_DEPLOYMENT_DIR- this is our default pathWP_DIRECTORY- this is our WordPress installation directory
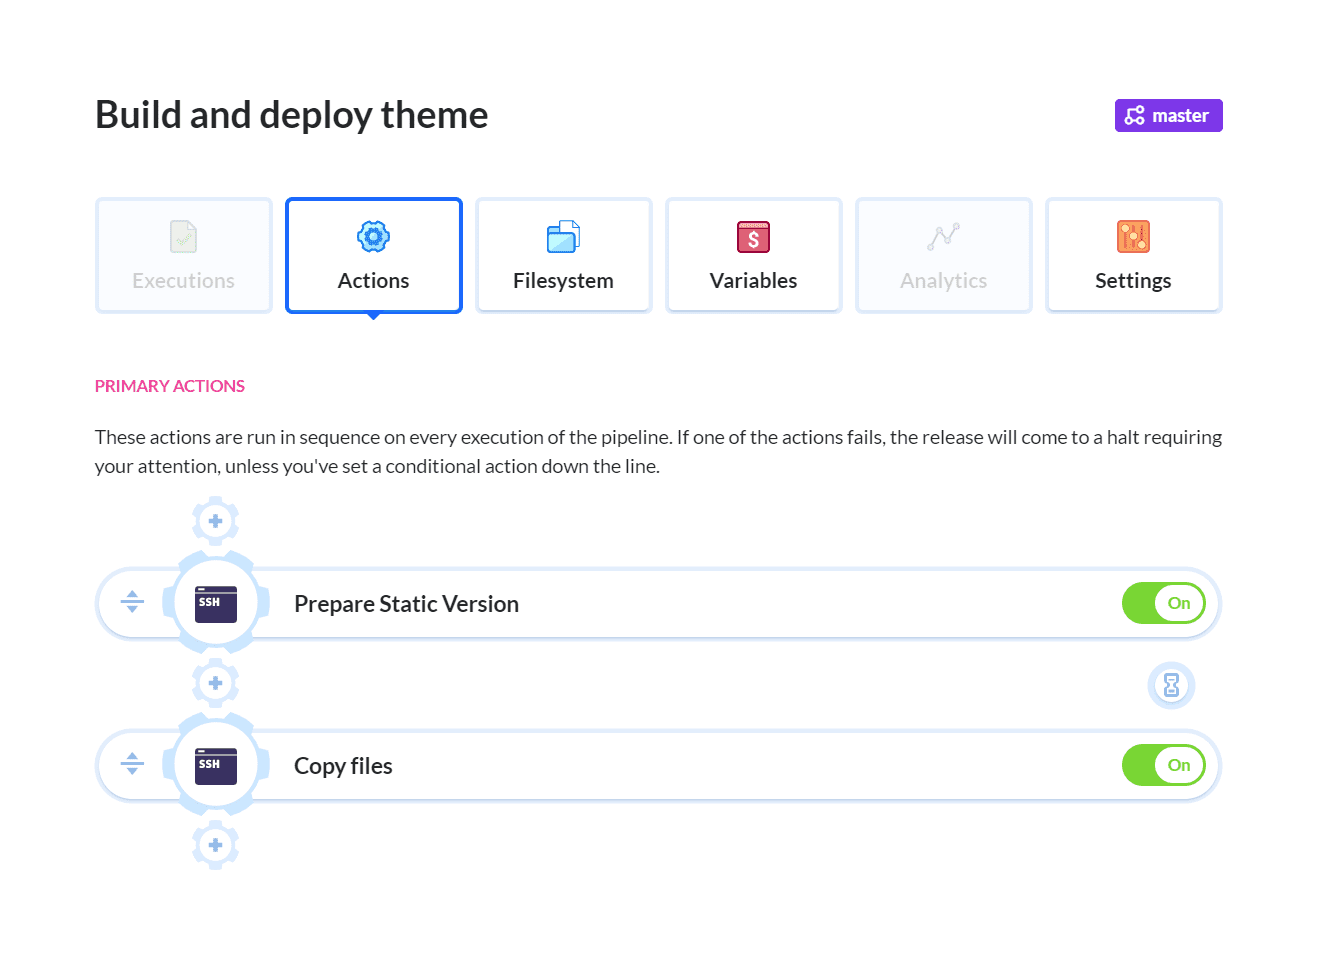
Preparing the static version
The first step, will be generating static files on our server. To do so, we have to connect to the server via the SSH action and execute the following:
wp statichtmloutput options set baseUrl ${STATIC_DEPLOYMENT_DOMAIN}
wp statichtmloutput generate
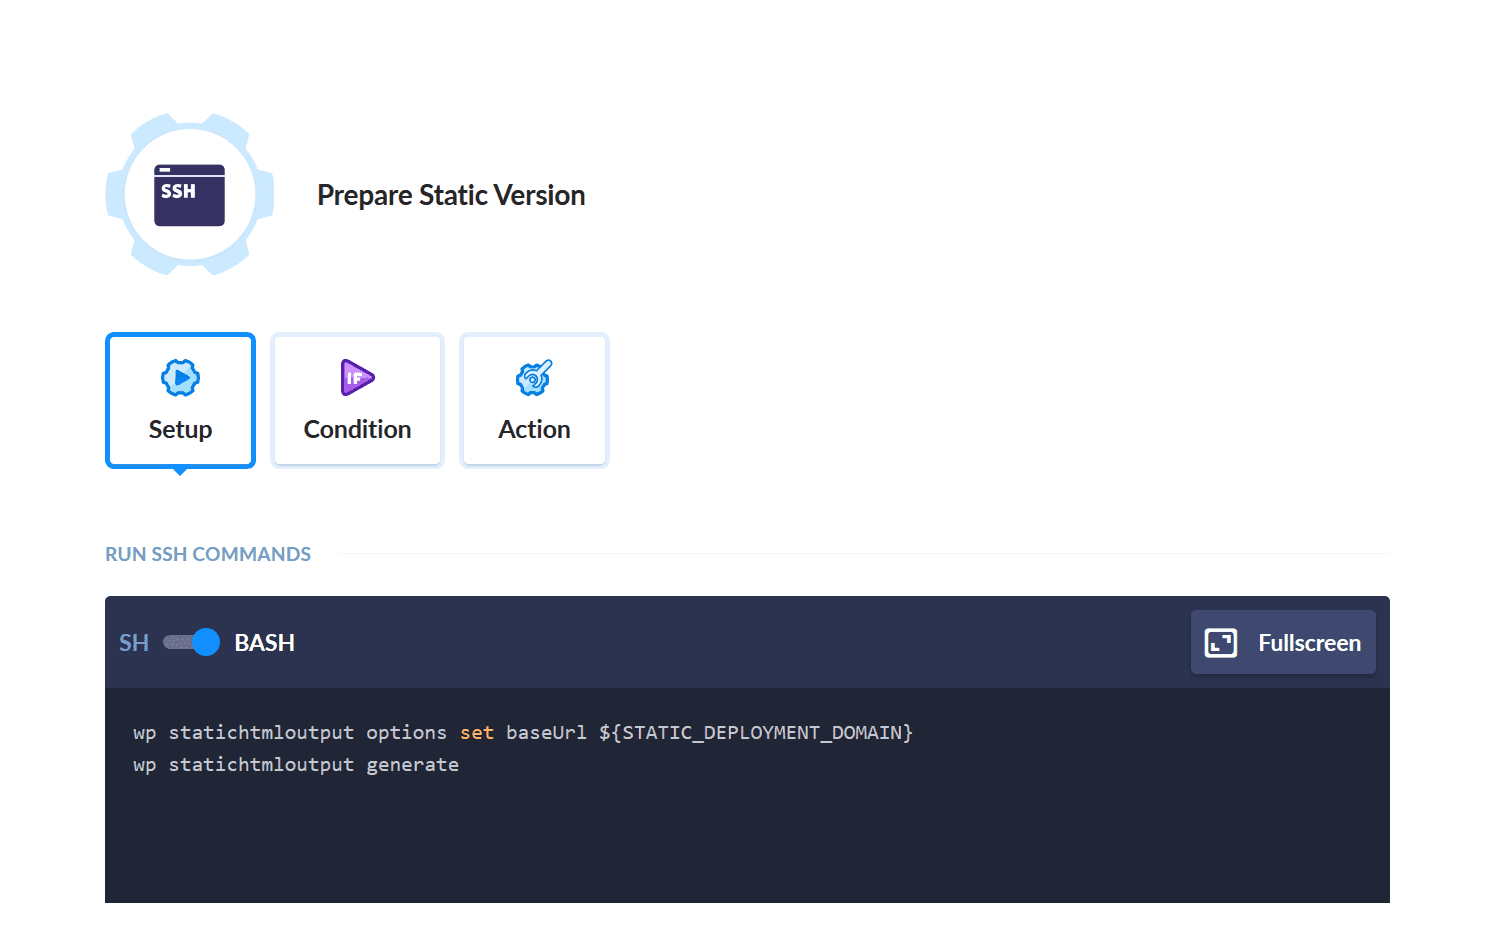
Thanks to this, all generated files will be found in our default directory defined by the variable.
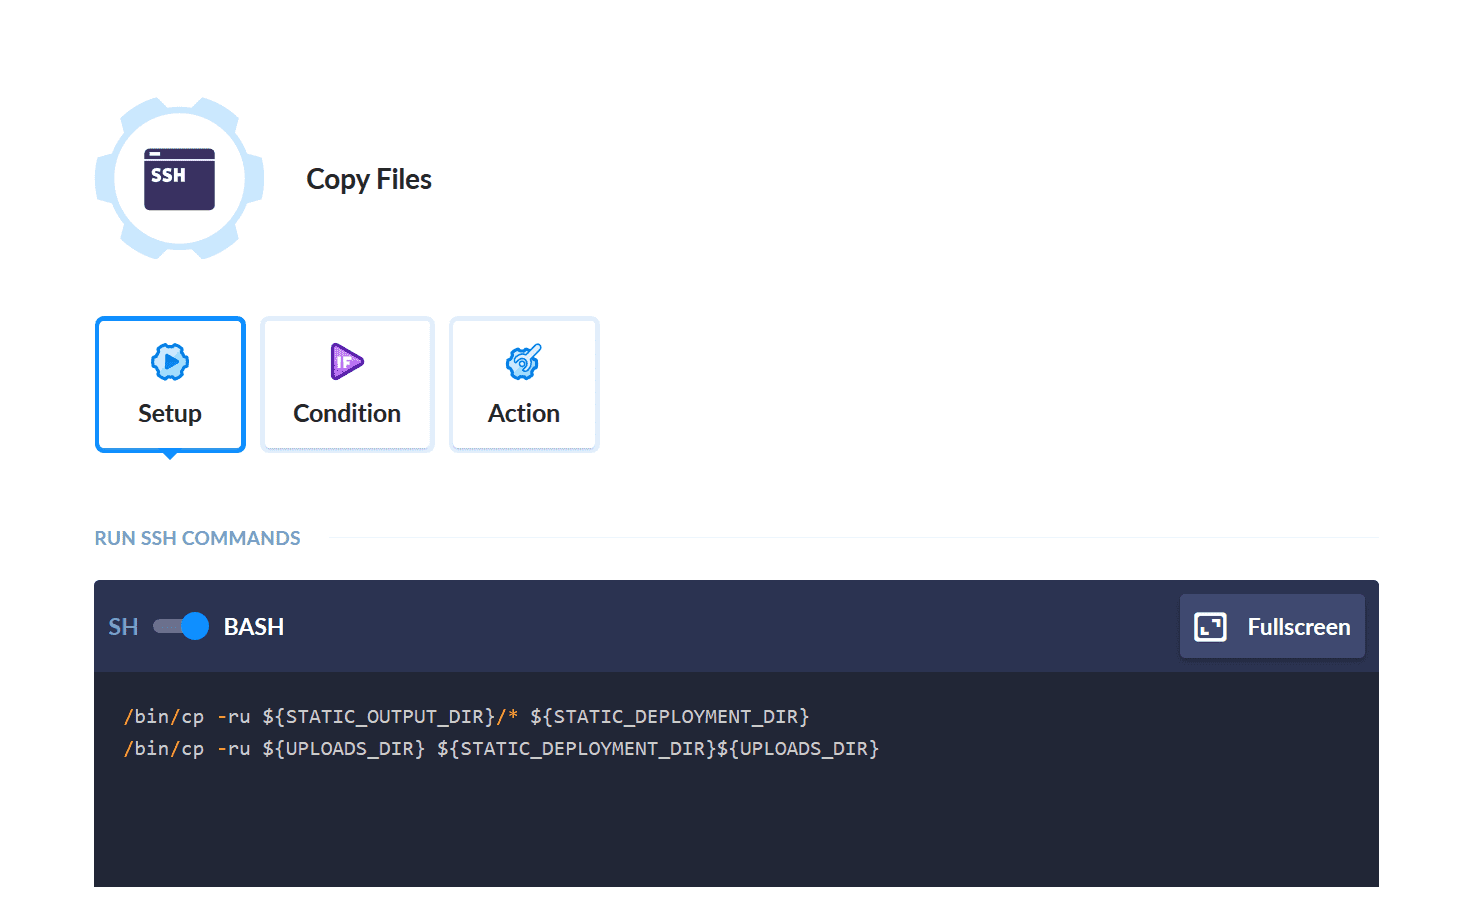
Copying files
In the next step, we will move all the contents to an appropriate folder. To do so, we will need another SSH action that will execute the following command:
/bin/cp -ru ${STATIC_SOURCE_DIR}/* ${STATIC_DEPLOYMENT_DIR}
It is possible that Static HTML Output plugin will not properly detect all the files in the uploads folder, so it is a good idea to copy all the remaining files using
/bin/cp -ru ${UPLOADS_DIR} ${STATIC_DEPLOYMENT_DIR}${UPLOADS_DIR}
Both commands in the action will look like this:
Deploying to different servers
In this guide, both WordPress and the website are on the same server. It is possible, however, that you will want to separate both environments. There is a couple of ways you can achieve this. For example, you can use rsync to move all the files to another server, or use a platfrom-specific CLI (e.g. Netlify) to move the files to your desired destination.
Summary
And there you have it – a simple way to turn your WordPress site into a static one. The unique feature of Buddy's pipelines is how easily you can expand your existing process simply by adding new actions. For example, you can use the Link validator action to track down any 404's, or use one of the monitoring actions to check the performance.
Thanks for reading!