如何使用git-crypt保护敏感数据
CI/CD and process automation require working with sensitive data such as server credentials, keys to the API's of external providers, or keystore files used to sign mobile apps before uploading them to the online store. Usually, such data is stored within environment variables defined in the CI/CD tool. In some cases, though, it may be more convenient to store it in the repository – managing changes is easier, as well as sharing and browsing history.
However, once you decide to keep the data in the repository, it is strongly recommended to secure it with some form of encryption.
Actions used in this guide:
In this guide, we will describe how to do it with git-crypt and how to configure a pipeline that will automatically encrypt and decrypt files upon every push.
This guide assumes you’re familiar with Git basics.
What is git-crypt
In short, git-crypt is a tool that allows you to encrypt and decrypt files with GPG keys in the background of Git commands. Once the tool is properly configured, the files are encrypted on push to and decrypted when fetched from the remote server.
Git-crypt and GPG installation
Mac OS
brew install git-crypt
brew install gpg
In case of problems, make sure that you have the Homebrew package manager installed.
Linux
apt-get install -y git-crypt
sudo apt-get install gnupg
Repository and git-crypt initialization
First, create a new directory and add two files:
mkdir myrepo
cd myrepo
echo “everybody can read it” > README.md
echo “this file has sensitive data” > secrets.txt
After that, initialize Git and git-crypt:
git init
git-crypt init
During the git-crypt initialization a key for encryption will be generated.
Defining files to encrypt
In the directory with the sensitive data, add a .gitattributes file and define which files should be encrypted. In our case, this will be secrets.txt:
secrets.txt filter=git-crypt diff=git-crypt
Create new definitions for each file. You can also add patterns in the following way:
*.key filter=git-crypt diff=git-crypt
secretdir/** filter=git-crypt diff=git-crypt```

A good practice is to add a line to prevent encrypting the `.gitattributes` file itself:

```text
.gitattributes !filter !diff`
Testing encryption
To check if the defined conditions work, run the following:
git-crypt status -e
Commits, pushes & encryption
From now on the files will be automatically encrypted on every push, i.e. you will be able to read and edit them in your local working copy, but on the remote and in other working copies the files will be encrypted.
If you already have a repository with committed files with secrets, git-crypt will only encrypt their new versions. Make sure to remove the files from the entire repository history before employing git-crypt.
Create a new repository in your Git provider and push it to the remote:
git add .
git commit -m ‘init commit’
git remote add origin REMOTE_URL
git push master
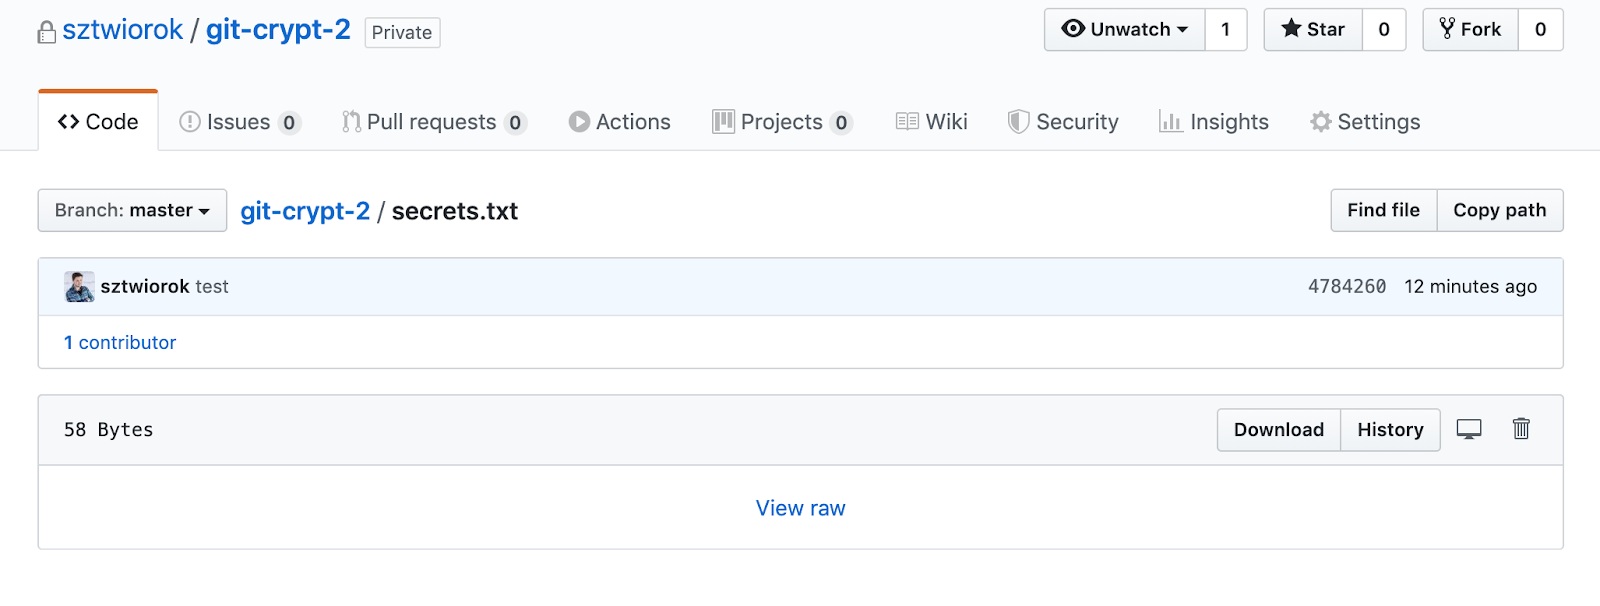
Once you open secrets.txt on the remote, you will see that it’s an encrypted binary file:
Working in team with git-crypt
If an unauthorized person (i.e. without a proper GPG key) clones the repository, the files in their working copy will also be encrypted. If you want your teammates to view and edit those files, you can do one of two things:
- Share the encryption key with them (symmetric key).
- Add their GPG key to authorized keys.
Symmetric key
Begin with exporting the key that you used for encryption:
git-crypt export-key path/where/key/should/be/saved
The exported key should be passed to your team members in a secure way. They can now decrypt the repository by running:
git-crypt unlock path/to/key
The files in the repository will be decrypted for as long as you run git-crypt lock. All newly fetched changes will also be decrypted automatically.
GPG key
First, the person we want to authorize needs to create their own GPG key. While creating it, they will be asked to enter an e-mail address:
gpg --gen-key
After that, they need to list the keys and copy the key ID:
gpg --list-keys
The key ID is the string displayed after the key expiry date.
The last step is printing the key and passing it to the admin that will be granting the permissions to git-crypt:
gpg --export --armor $KEY_ID
Now, the admin that grants the git-crypt rights has to save the GPG key on their disk and import it with the following command:
gpg --import /path/to/file
After importing it, they need to add the key as trusted to git-crypt in the repository:
git-crypt add-gpg-user --trusted $EMAIL
The email address is the address that was entered by the user while generating the key (it can be viewed by listing the keys).
After committing changes to the repository, the new user is now able to decrypt the files in their working copy by running:
git-crypt unlock
Git-crypt in CI/CD process
Secret data, such as config files, API keys, or certificates, needs to be decrypted during the application deployment. Usually, this is done using the symmetric key, the process looking exactly as we described it before.
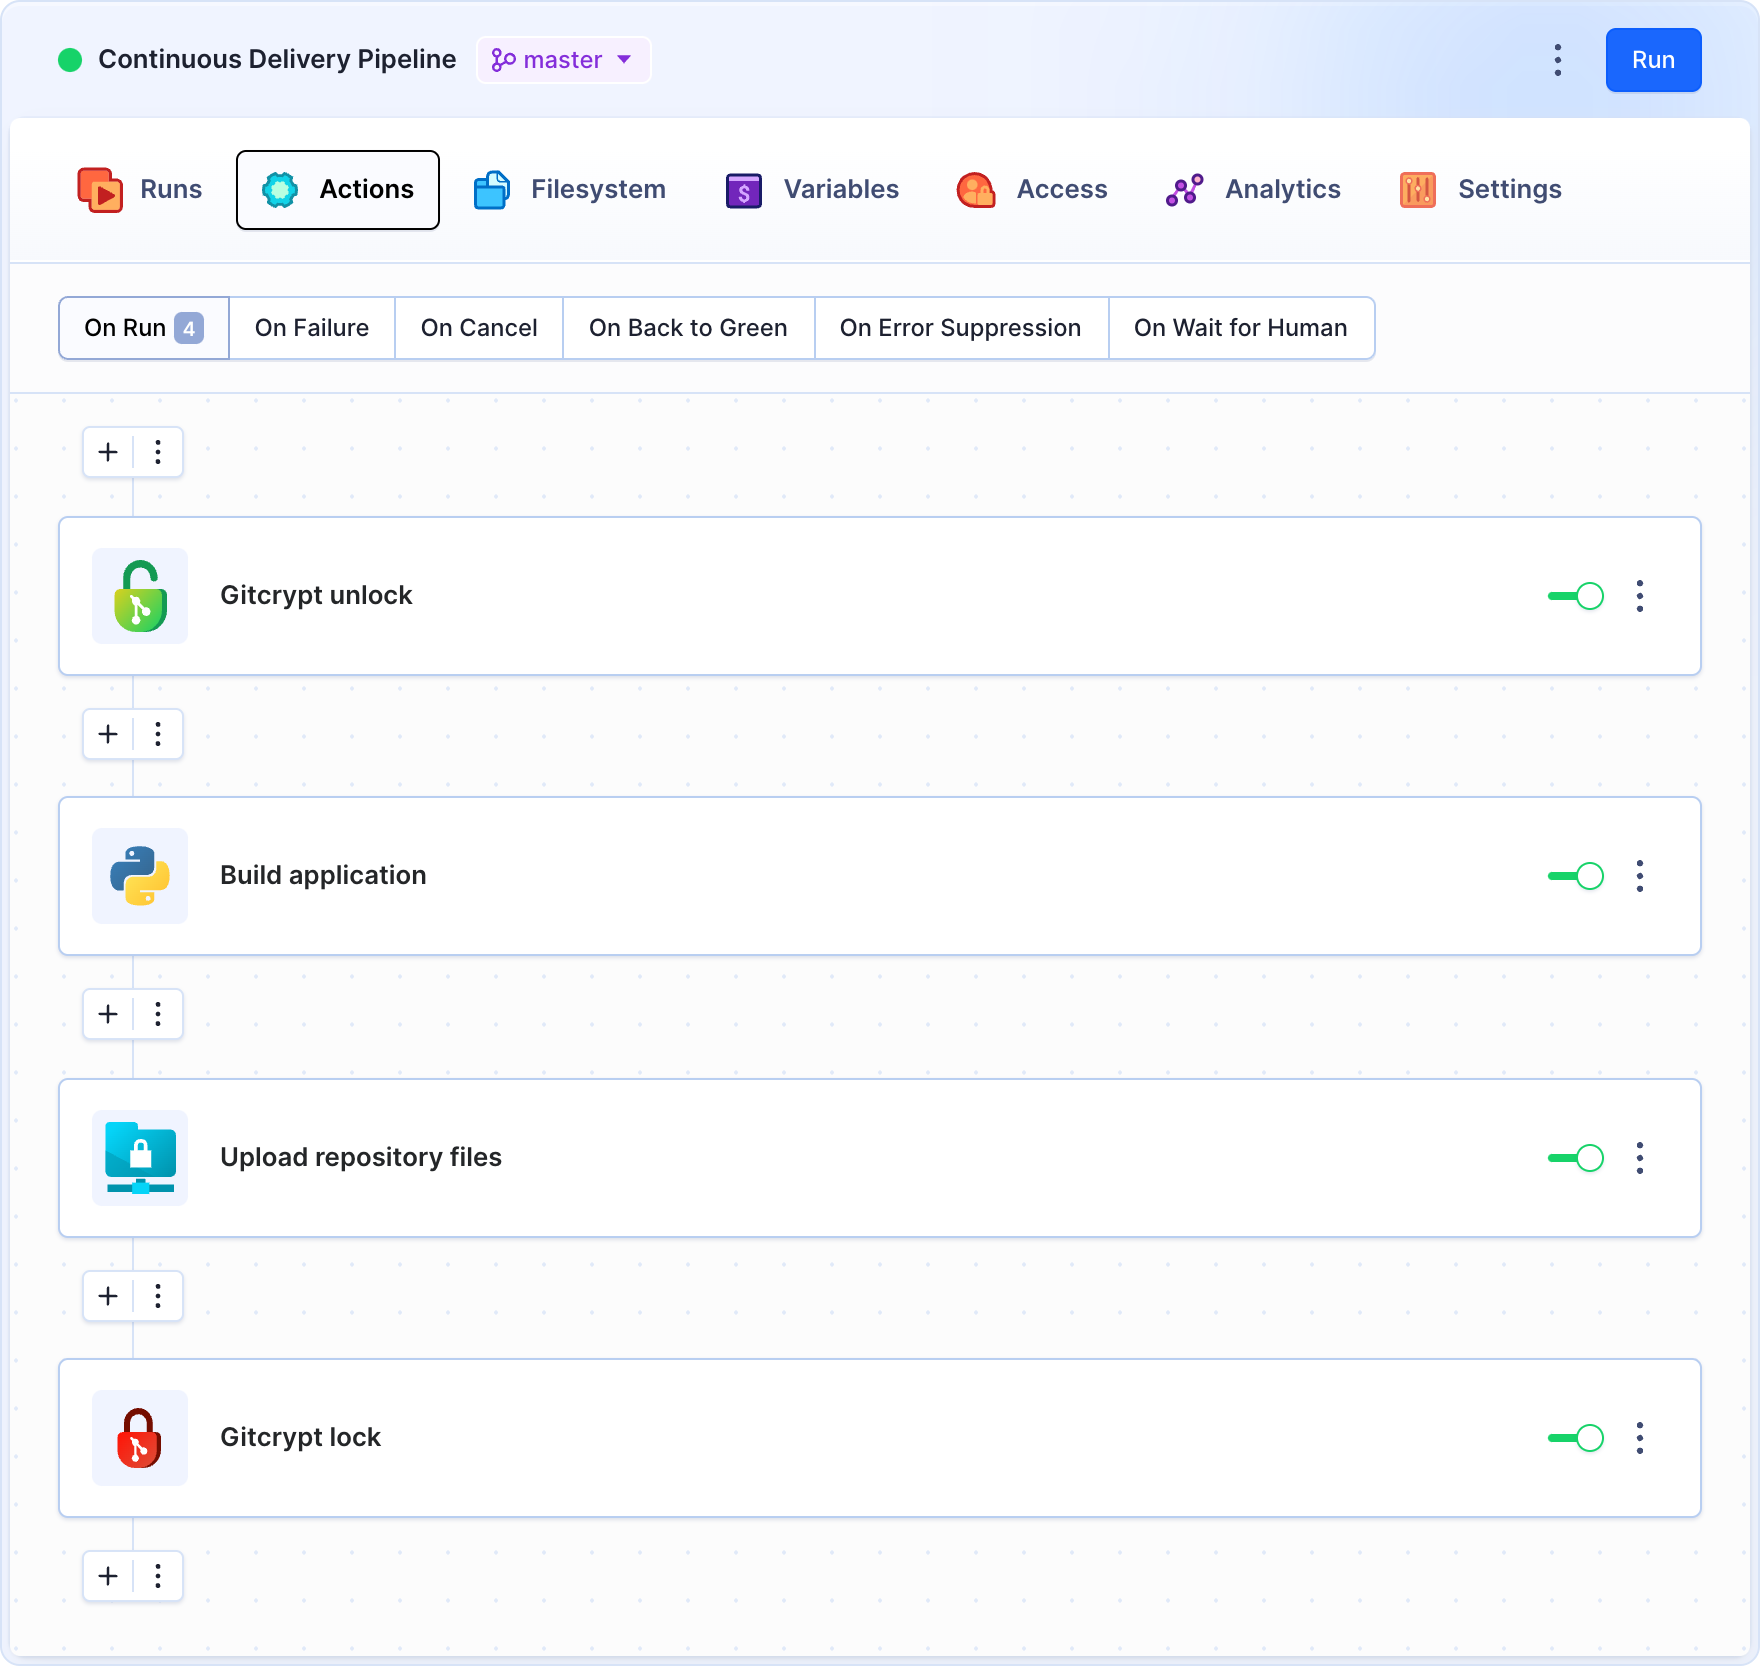
All of the above can be automated with a properly configured delivery pipeline that will decrypt the files, build and deploy the application, and then encrypt the files back again on every execution:
The decryption is performed with symmetric key uploaded to the Git-crypt unlock action. The action uses the uploaded symmetric key to decipher the files in the pipeline filesystem:
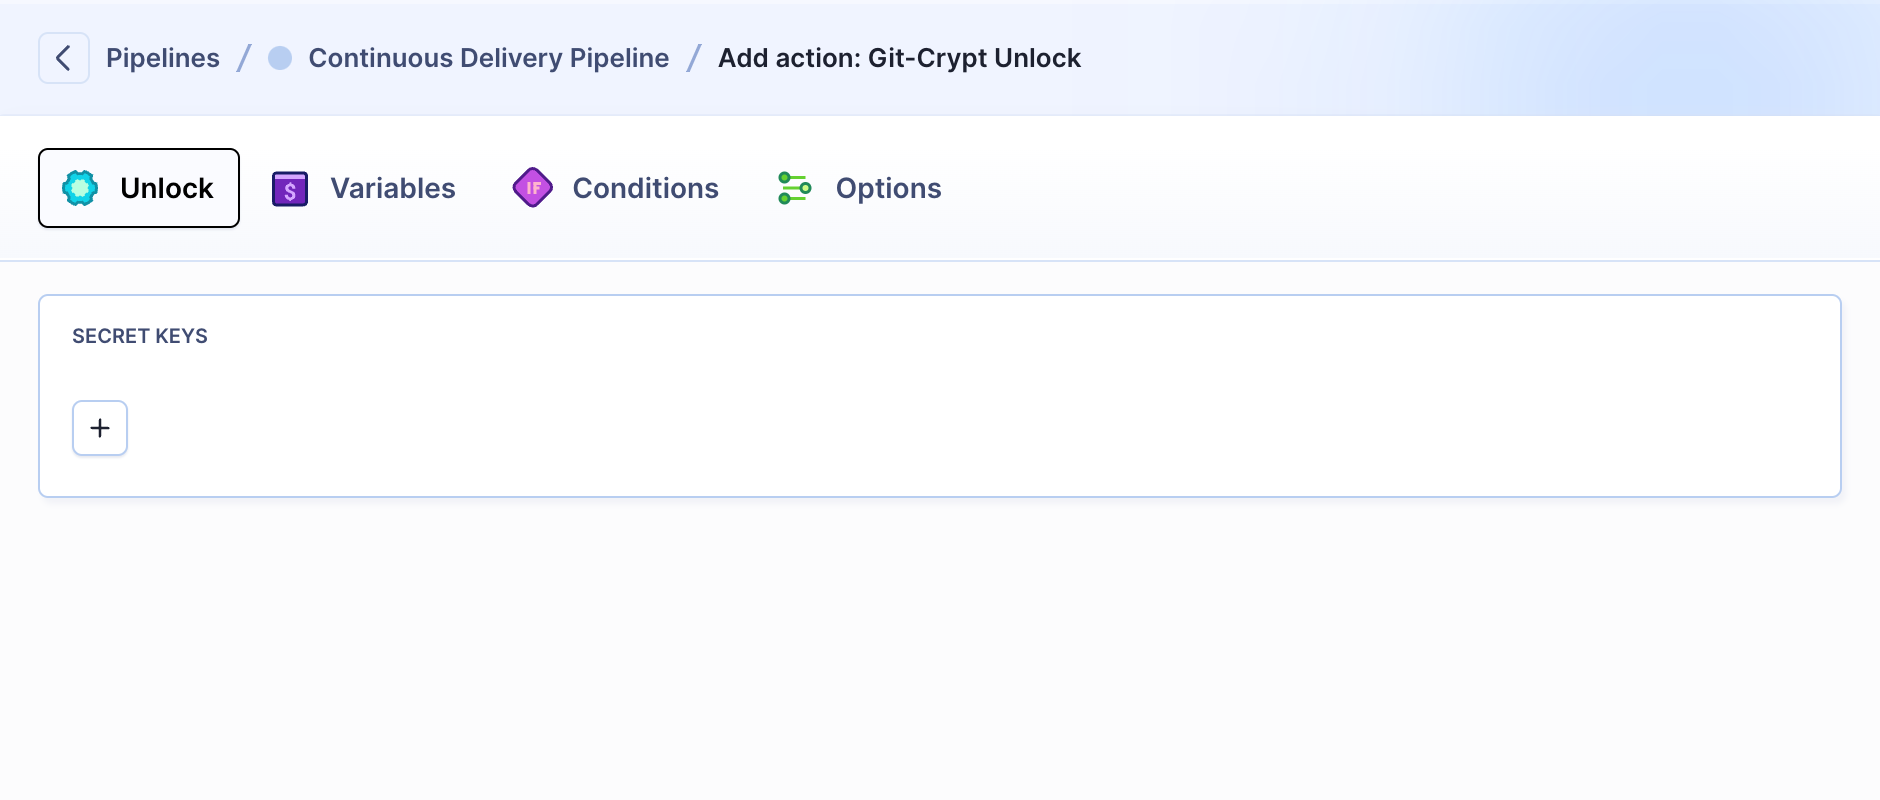
The pipeline filesystem contains a clone of the repository in the selected revision, together with artifacts and static files.
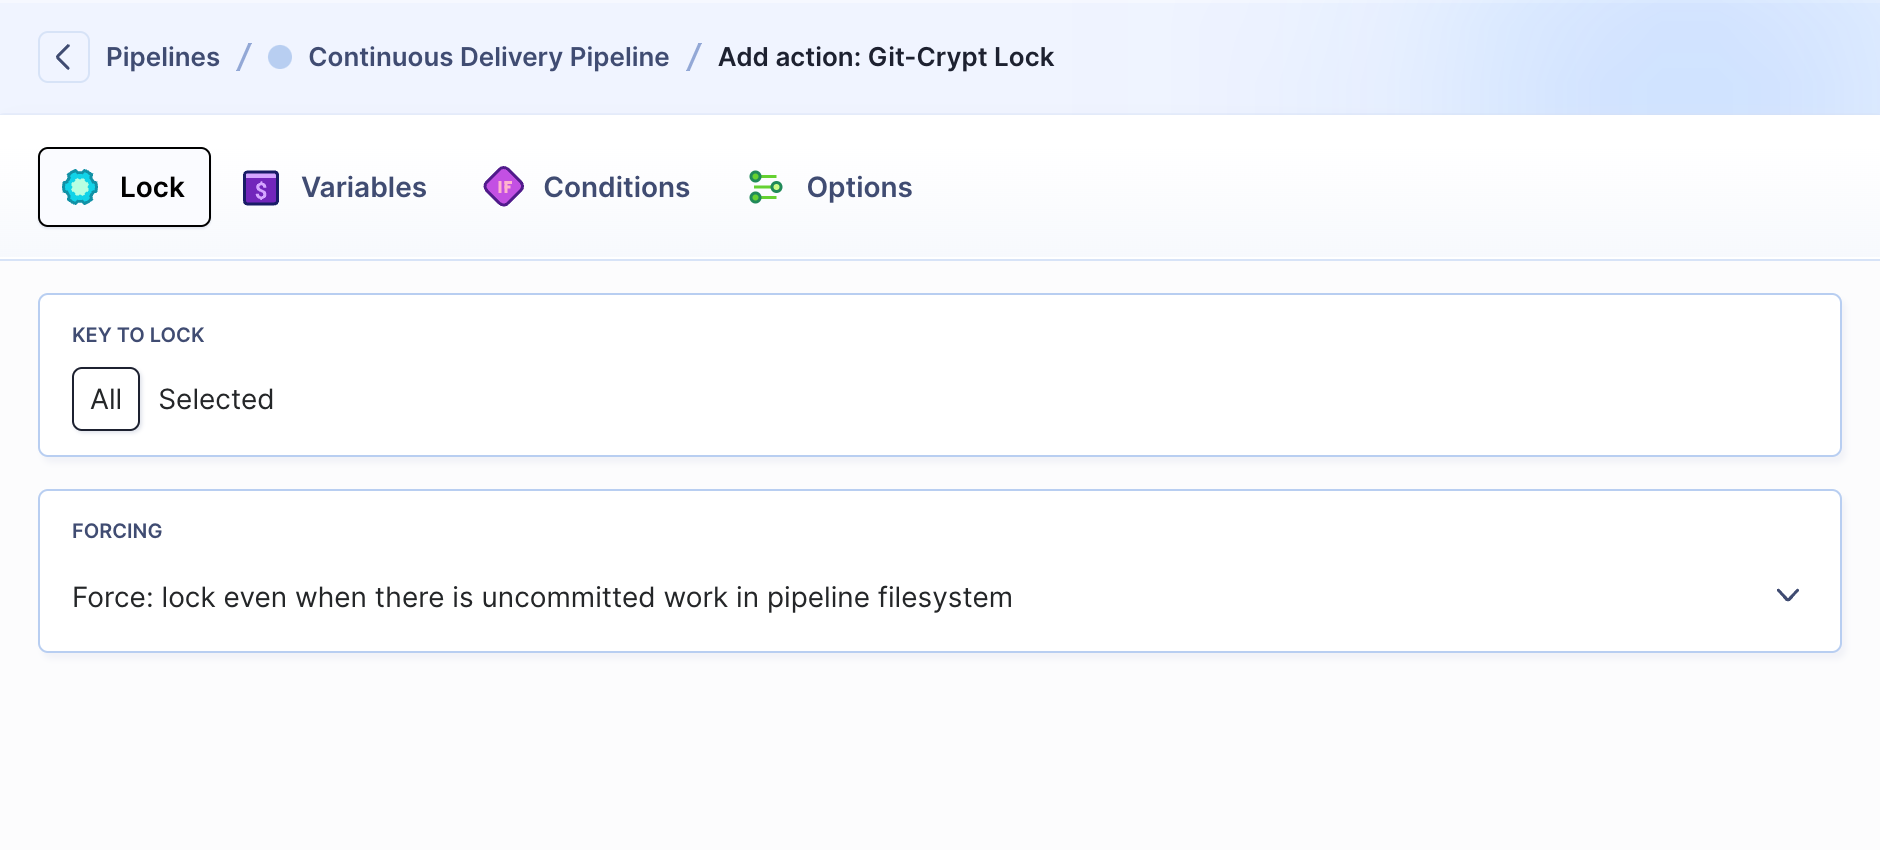
Once all tasks are performed, you can secure the files once again with Git-crypt lock.
Git-crypt and Buddy support multiple encryption keys, providing users with different levels of repository access. For example, the dev team can use one key to decrypt config files, while the Dev-Ops team can use another one to decrypt directories with certificates.
If you have a specific use-case involving file encryption, let us know in the comments and we'll update the guide with the solution for your workflow.