如何Docker化一个Node.js应用
Node.js and Docker. If you haven't spent the last decade in an underwater cave playing solitaire on a coral bed, you must have at least heard of these two ever-trending techs in the web development industry. In this article, we'll merge both and show you how to write a Dockerfile for a Node.js application, build a Docker image of it, and push the image to a Docker registry.
Actions used in this guide:
Why should I Dockerize my Node.js app?
You might've heard about the whole Docker thing, but that still doesn't answer the question of why you should bother at all. Well, here's why:
- A Docker image is a self-contained unit that bundles the app with the environment required to run it. No more installing libraries, dependencies, downloading packages, messing with config files, etc. If your machine supports Docker, you can run a Dockerized app, period.
- The working environment of the application remains consistent across workflows and machines. This means the app runs exactly the same for developer, tester, and client, be it on development, staging, or production server.
In short, Docker is the modern-day counter-measure for the age-old "strange, it works for me!" response in software development.
If you're not sure that you fully understand the idea of Docker containers, watch this short video by TechSquidTV to get up to speed:
Part 1: Create Node.js app
We'll start by creating a simple Hello World app, a staple of every web developer's portfolio. The app will use Express, one of the most popular Node.js frameworks.
If you're familiar with the basics of Node.js, you can jump ahead to the part on Docker and use the ready app from our repository as the base.
You can also sign up to Buddy with your Git provider and select repository with your Node app:
Install Node.js and npm
If you've never worked with Node.js before, start by installing npm – the Node.js package manager. Click here to choose the right version for your environment.
Node.js is bundled with npm, so one installation gets you both of them.
Initialize Project and Install Express.js
Create a new directory for the app and initialize a Node project:
mkdir helloworld
cd helloworld
npm init
When asked for the details of the application, set the name to helloworld. For other options, just confirm the default values with enter.
If you are lazy value your time, run npm init --yes to create a project instantly with default settings.
Npm will create a package.json file that will hold the dependencies of the app. Let's add the Express framework as the first dependency:
npm install express --save
The file should look like this now:
{
  "name": "helloworld",
  "version": "1.0.0",
  "description": "",
  "main": "index.js",
  "scripts": {
    "test": "echo \"Error: no test specified\" && exit 1"
  },
  "author": "",
  "license": "ISC",
  "dependencies": {
    "express": "^4.17.1"
  }
}
TableMain of Hello World
With everything installed, we can create an index.js file with a simple HTTP server that will serve the Hello World app:
//Load express module with `require` directive
var express = require('express')
var app = express()

//Define request response in root URL (/)
app.get('/', function (req, res) {
  res.send('Hello World!')
})

//Launch listening server on port 8081
app.listen(8081, function () {
  console.log('app listening on port 8081!')
})
Run the app
The application is ready to launch:
node index.js
Go to http://localhost:8081/ in your browser to view it.
Part 2: Dockerize Node.js appplication
Every application requires a specific working environment: applications, dependencies, databases, libraries, everything in a specific version. Docker allows you to create such environments and pack them into a container.
Contrary to a VM, the container doesn't hold the whole operating system — just the applications, dependencies, and configuration. This makes Docker containers much lighter and faster than regular VMs.
In this part of the guide, we will build a Docker container with the Hello World app, and then launch the app in a Docker container.
If you didn't configure the app in the first part of the guide, you can fork a working Node project from our repository on GitHub.
Install Docker
First, install Docker on your machine:
A word on Docker images and Dockerfiles
The Docker container is launched from a Docker image, a template with the application details. The Docker image is created with instructions written in the Dockerfile. Each line in the Dockerfile is a separate instruction run from top to bottom (the order is important for proper optimization).
5 best practices to containerize Node.js app with Docker
Before we get down to business, let's talk about some good practices for creating Dockerfiles, which you'll then use to build Docker images with your application.
1. Avoid the latest tag, use explicit image references
While using images tagged latest in Dockerfiles might seem like a no-brainer, it's a better idea to fight the urge to stay up-to-date and explicitly reference the image you want to use. Why? The latest tag doesn't always mean the most recent. More importantly, using explicit references guarantees that every instance of the app uses exactly the same code as its base and as such will work the same way.
For deterministic builds, use specific image version tags or image SHA256 aliases:
FROM node:12-alpine3.14
FROM node@sha256:720290b95fdd62f15dbb36a0c4224572af95b48a16fb156dd271b156b189321c
2. Choose smaller base images
When it comes to builds and pulls, smaller is always better. Faster download times, less data used, quicker builds. Additionally, large images often bundle in a lot of things that your app might not even need to run. The more things bundled in the image, the more you're exposed to security vulnerabilities.
If you want things quicker and safer, choose "diet" variants of images tagged slim or alpine. They're just as good as the full-fat ones!
3. Install production dependencies only
Why install devDependencies if you're Dockerizing a finished application? Avoid npm install, yarn install or npm ci - use this command to install production dependencies only:
npm ci --only=production
4. Clear cache and keep downsizing
Back on the topic of downsizing - it's a good idea to wipe the local cache after installing dependencies in a container. As Docker images are immutable, the cache won't be used to make future installations faster because... Well, there won't be any future installations.
Use this command to shave off as much as 50% off the size of the final image size:
npm cache clean --force
In a Dockerfile, add this command to the line that installs the dependencies:
npm ci --only=production && npm cache clean --force
5. Optimize for production
Some Node frameworks and libraries enable production optimization only with the NODE_ENV variable set to production. Include this in the second line of your Dockerfile:
ENV NODE_ENV production
Write Dockerfile for Node.js application
Add a Dockerfile to the directory with your application and configure the lines as described below.
Line 1: We shall use the lightweight official Node.js image with Node v12 as the template for our image
You can share images using image registries. In this example we'll use Docker Hub, the most popular one.
FROM node:12-alpine3.14
Line 2: Set the working directory in the container to /app. We shall use this directory to store files, run npm, and launch our application:
WORKDIR /app
Lines 3-5: Copy the application to the /app directory and install dependencies. If you add the package.json first and run npm install later, Docker won't have to install the dependencies again if you change the package.json file. This results from the way the Docker image is being built (layers and cache), and this is what we should do:
COPY package.json /app
RUN npm ci --only=production && npm cache clean --force
COPY . /app
Line 6: This line describes what should be executed when the Node Docker image is launching. What we want to do is to run our application:
CMD node index.js
Line 7: Expose port 8081 to the outside once the container has launched:
EXPOSE 8081
Summing up, the whole Dockerfile should look like this:
FROM node:12-alpine3.14
WORKDIR /app
COPY package.json /app
RUN npm ci --only=production && npm cache clean --force
COPY . /app
CMD node index.js
EXPOSE 8081
If you'd like to deepen your knowledge on writing Dockerfiles, check out this excellent guide on the Docker's website.
Build Docker image
With the instructions ready, all that remains is to run the docker build command, set the name of your image with -t parameter, and choose the directory where the Dockerfile is located:
docker build -t hello-world .
Run Docker container
The application has been baked into the image. Dinner time! Execute the following command to launch the container and publish it on the host with the same port 8081:
docker run -p 8081:8081 hello-world
Share Docker image
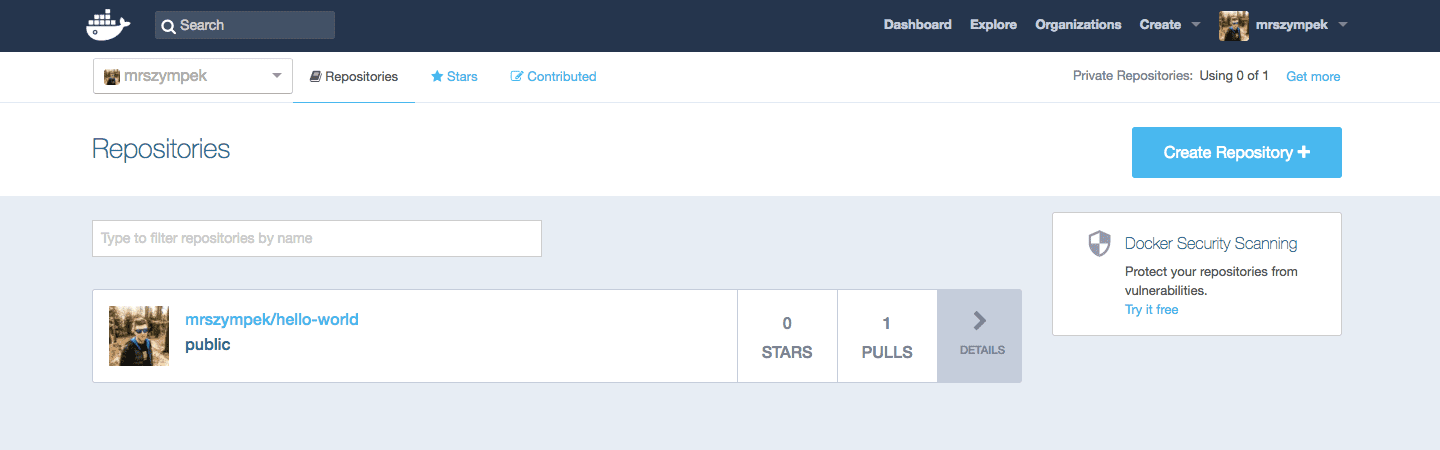
Docker images can be hosted and shared in special image registries. The most popular is Docker Hub, a GitHub among Docker registries, in which you can host private and public images. Let's push an image to Docker Hub now:
- Sign up at Docker Hub
- Build the image again using your Docker Hub credentials:
docker build -t [USERNAME]/hello-world .
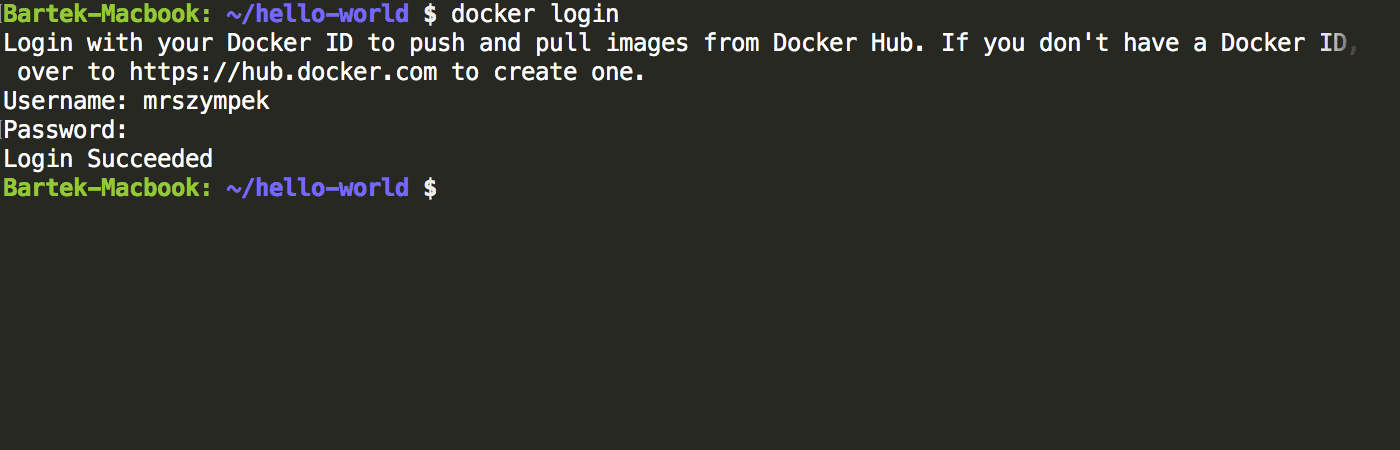
- Log in to Docker Hub with your credentials:
docker login
- Push the image to Docker Hub:
docker push [USERNAME]/hello-world
 Congratulations! You can now use the image on any server or PC with Docker installed:
docker run [USERNAME]/hello-world
Please mind the image needs to be downloaded on the first run which may take some time depending on your connection.
Deploy a Dockerized Node.js app to server
Launching a Docker image on the server is as simple as running docker pull and docker run in the desired location. However, whenever you update your application, it requires you to repeat the following steps:
- Test if the application is free of errors
- Build the Docker image
- Push the image to the registry
- Pulling and running the image on the server
These steps are simple, but can be time-consuming and prone to errors if done manually. The whole process, however, can be streamlined to a repository push with a properly configured pipeline. With Docker layer caching included in every plan, from free to premium, Buddy gets the job done in a blink of an eye, allowing you to track the progress of your project with full history of every pipeline execution.