文件系统:Buddy流水线的基石
This guide offers details concerning the filesystem—the basis of every pipeline, and explains how to use it to enhance pipelines’ abilities.
Objectives of this guide
With this guide you’ll:
- Get familiar with the pipeline’s filesystem.
- Learn how to use the filesystem to build applications.
- Find out how to deploy applications from the filesystem and understand the difference between repository/filesystem deployment.
Actions used in this guide:
NOTE: This guide assumes you’re familiar with Buddy’s pipelines.
What is the filesystem?
Filesystem is about pipelines. Every pipeline possesses its own directory, called the filesystem. In this folder you can process/compile the files from the repository and later deploy the processed code wherever you want.
The contents of the filesystem
Upon setting up a pipeline its filesystem is just an empty directory. It will be populated with files when you add build actions to your pipeline and run it.
Every build action, before performing a build, executes the git clone command to this directory, which means that during the build process all the files from the repository are copied to the filesystem.
Compiling applications and artifacts
How to compile an application
Let’s check out how to build an application using a pipeline and how the pipeline execution influences the contents of the filesystem. In the example that follows we’ll zip all the files from the repository in the filesystem and place them in an FTP location.
Set up the pipeline
First, set up your pipeline by completing the following steps:
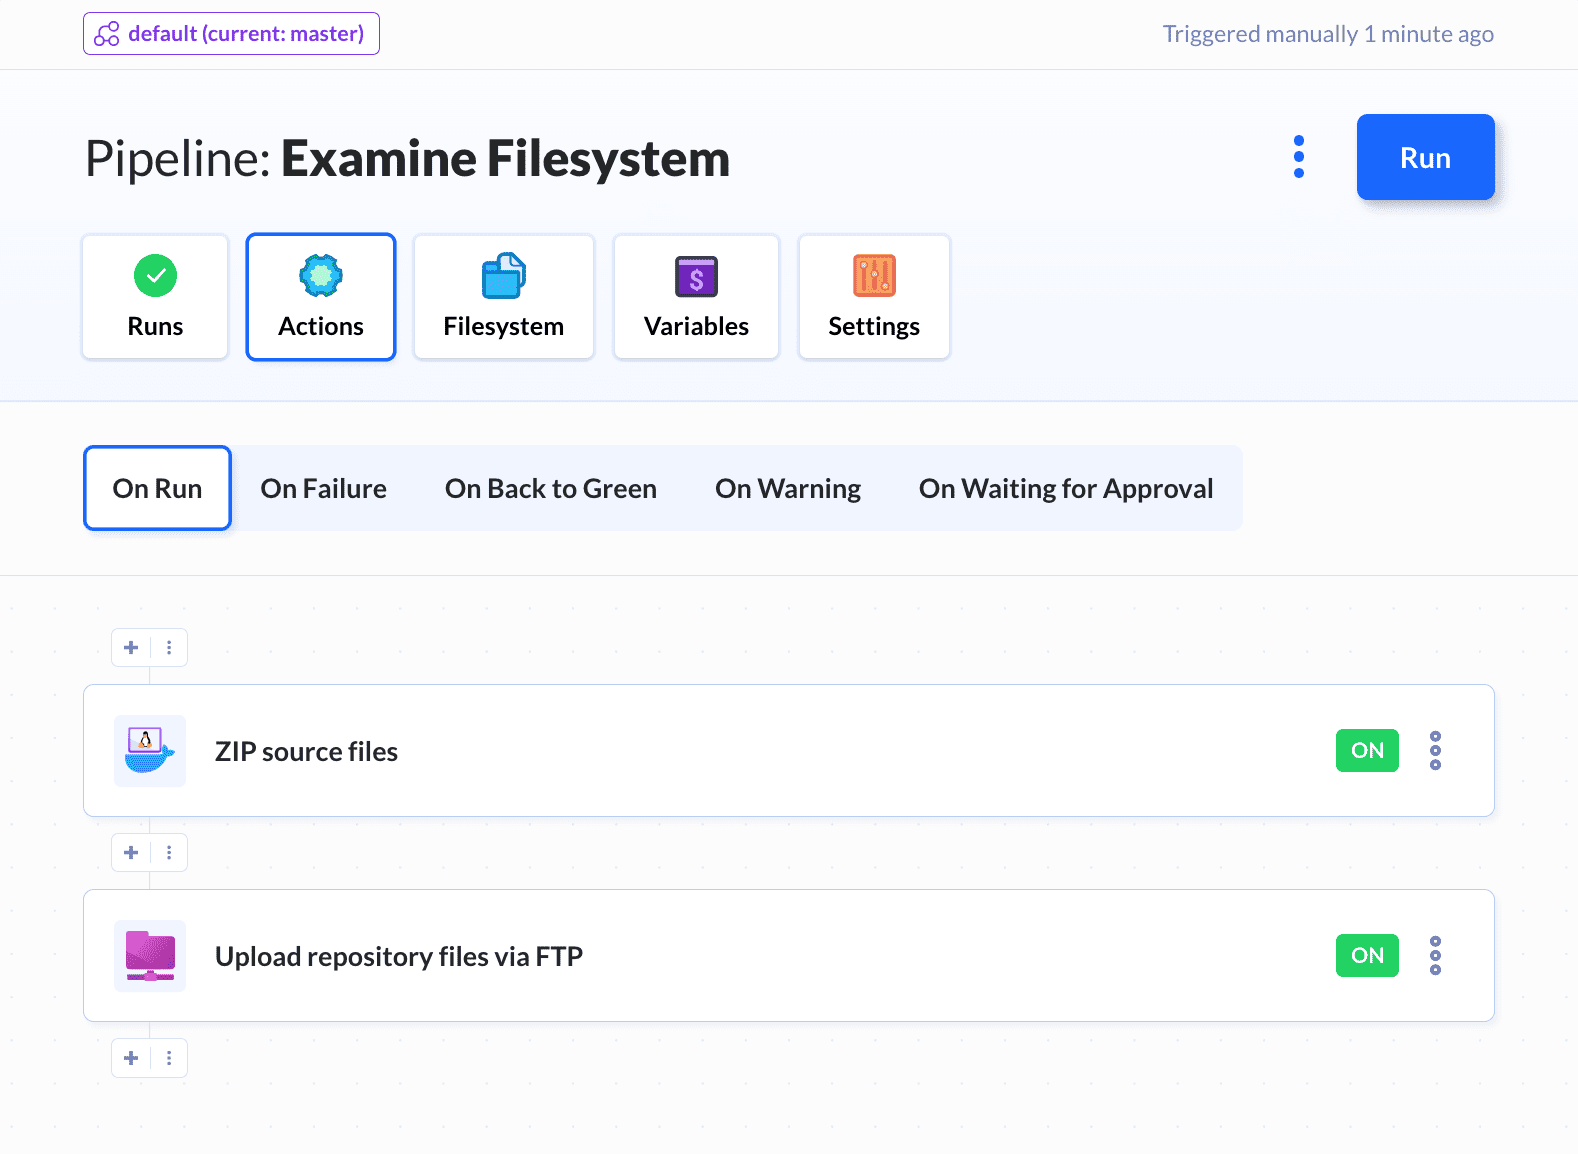
Add a new pipeline called Examine Filesystem:

Add the Local shell action that zips all the files from the repository to this pipeline:
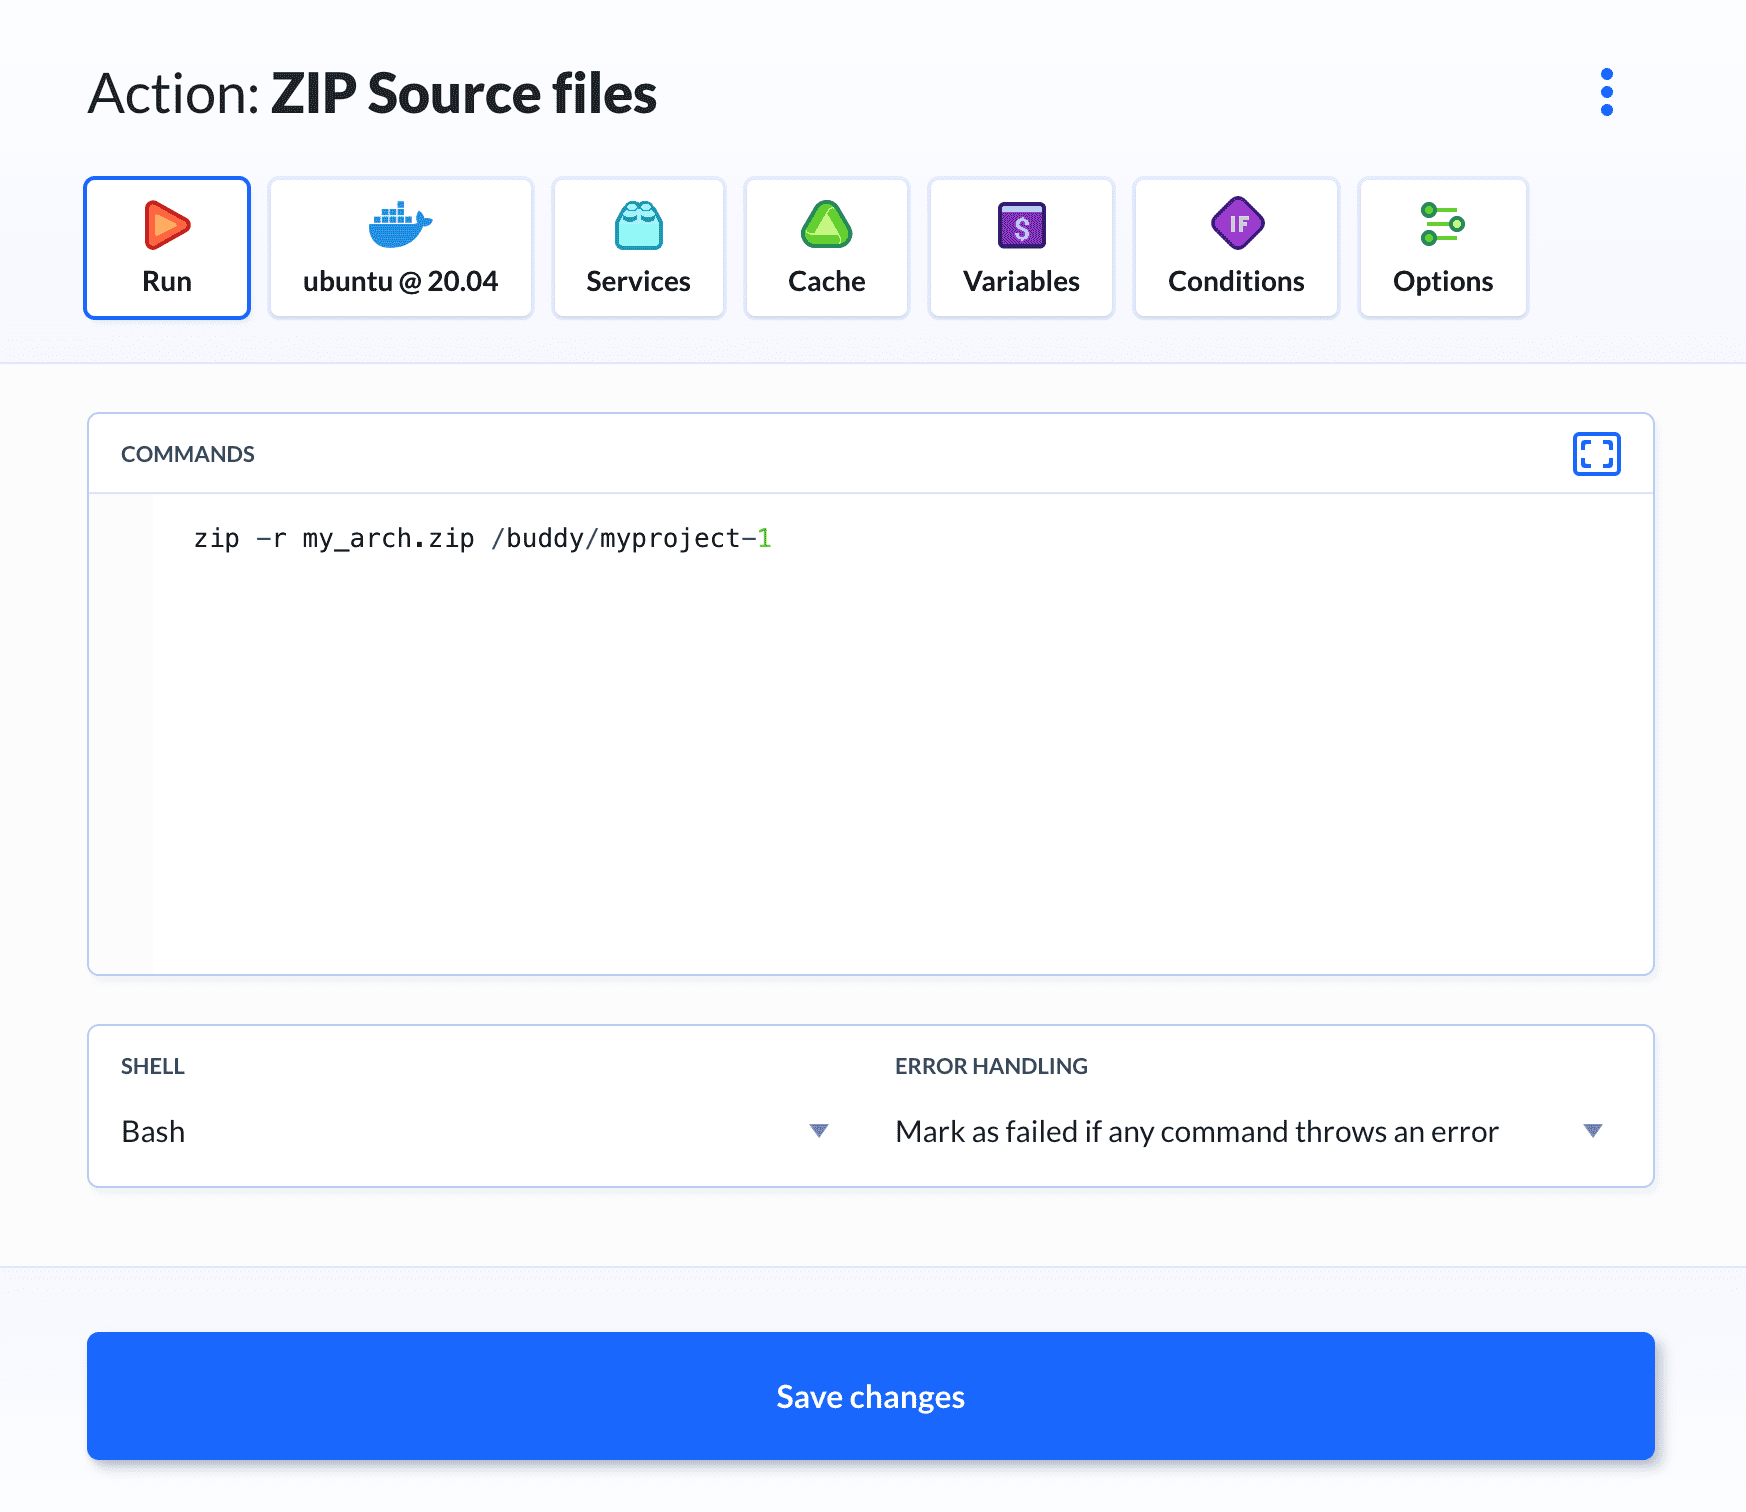
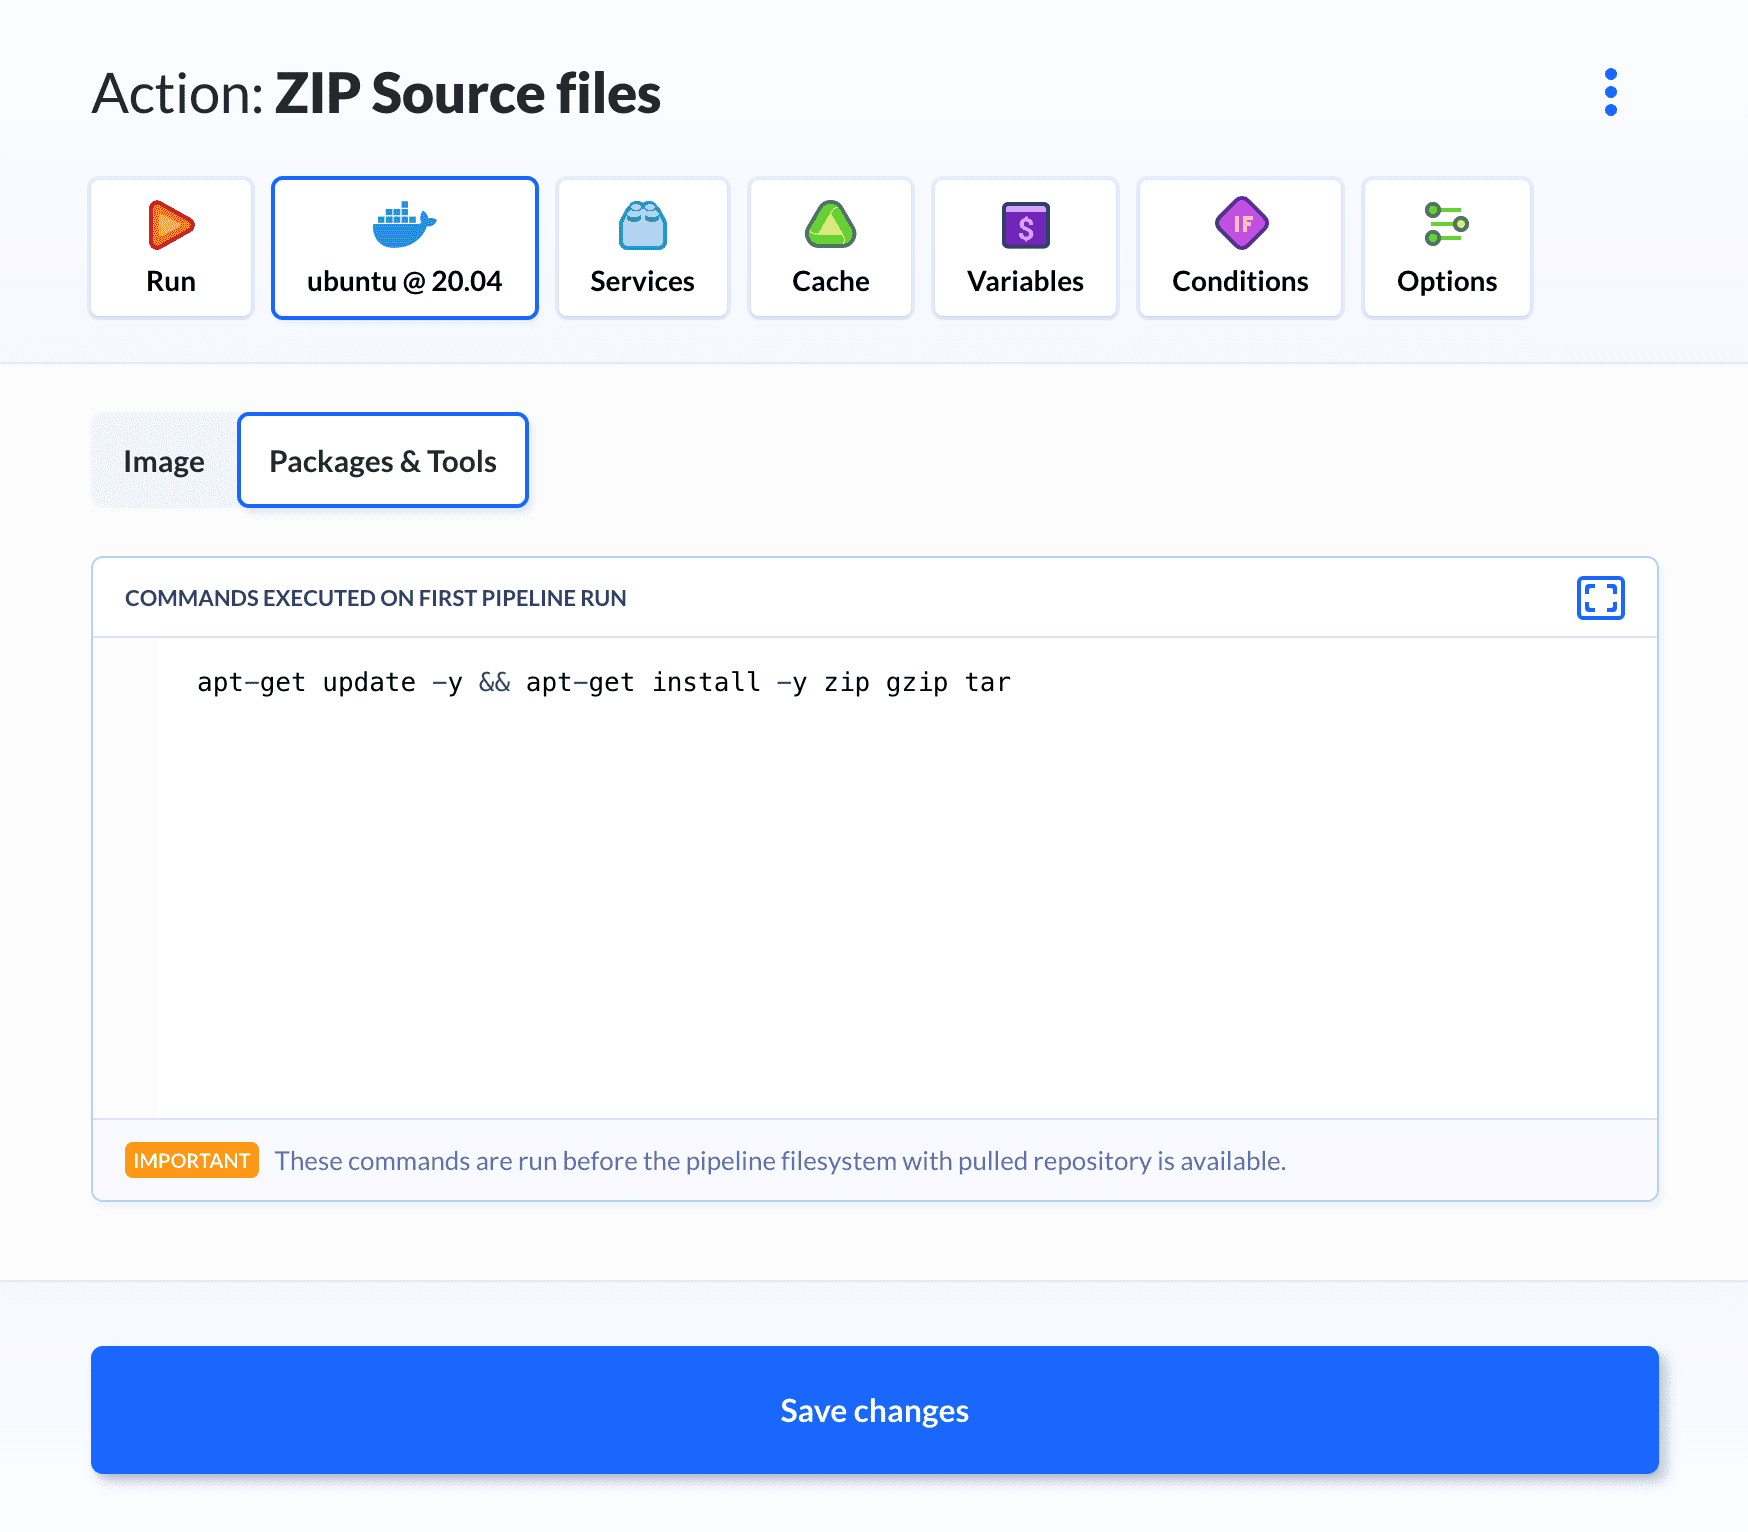
Go to the Environment tab and in the Customize Environment field enter:
apt-get update -y && apt-get install -y zip gzip tar
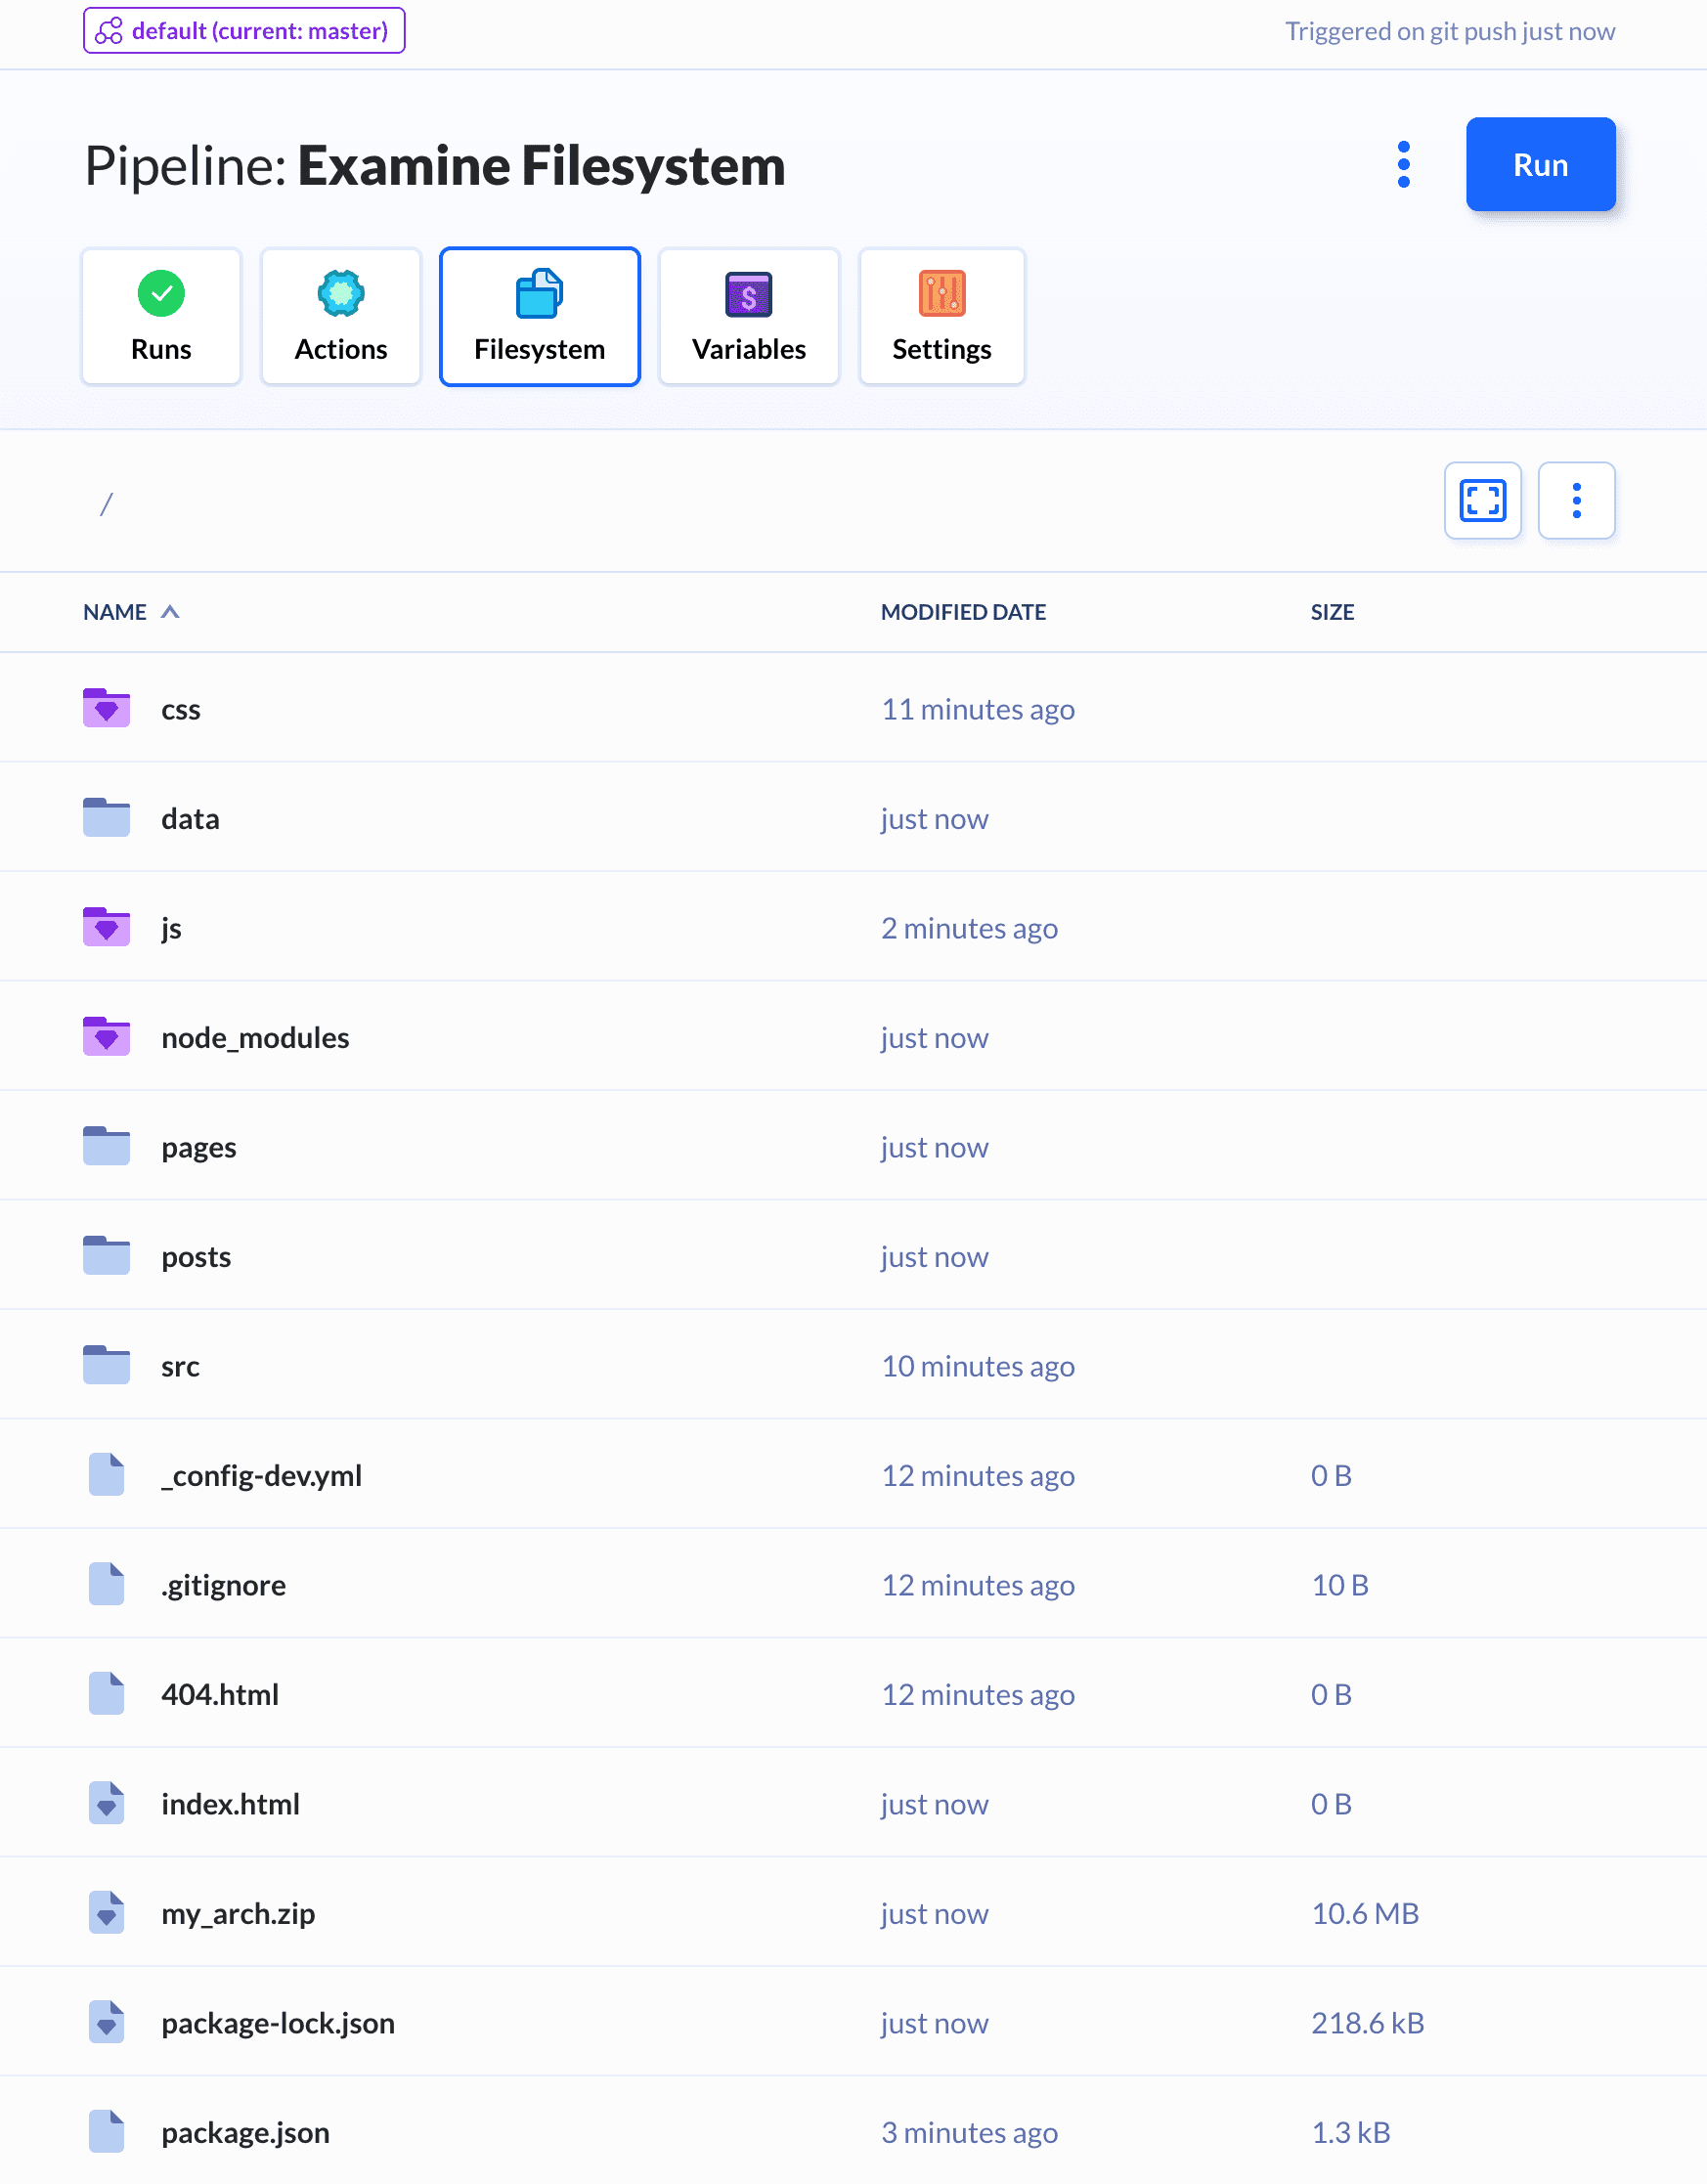
Run the pipeline and examine the filesystem
Upon completion of the Examine Filesystem pipeline the zipped file is placed in its filesystem.
How to download the compiled application
The file with the compressed repository can be downloaded:
- From Buddy’s interface (Browse filesystem → Pick the file → Download)
- Using the HTTP authorization (via a terminal, no need to log in to Buddy).
Delivering compiled files to the server
The compiled files can be delivered to any server. Simply add a delivery action after the build action.
Manual operations in the filesystem
As a user you’re allowed to perform a set of operations in the filesystem:
- Browse and edit the existing files.
- Add new files, e.g. static or configuration files that are not subject to version control.
To display the contents of the file simply click it.
To edit the file open it, change its contents and save changes.
To add a new file:
- Click File to create a new file.
- Click Upload to upload any file to the filesystem.
Repository-filesystem relationship
Every execution of a build action checks out the selected revision of the repository to the filesystem. If we get a bit more into detail:
- If the clone is not in the filesystem, the build action executes
git clone. - If the clone is in the filesystem, the subsequent build actions execute
git reset --hard HEAD && git pull.
If the files modified in the filesystem are in the repository as well, on every execution of the build action the versions from the repository will overwrite them. You can block this operation by adding entries concerning the files to .gitignore.
Using .gitignore in the filesystem
If you want to prevent overwriting files, you can configure filesystem to keep them intact—you just need to add the files to .gitignore:
- Enter filesystem.
- Open
.gitignore(if it’s not there, create it—it’s just a text file). - Add an entry concerning the files you don’t want to be overwritten upon another execution of the pipeline and save the changes (you can find the syntax guidelines here).
Use the above instructions to add all the files to be kept as-is to .gitignore.
Deployment from the filesystem vs. deployment from the repository
Every deployment action requires choosing one of the options:
- Deploy from the repository.
- Deploy from the filesystem.
The table below lists the differences between these two options.
| Deploy from the repository | Deploy from the filesystem |
|---|---|
| 1. Files will be transferred directly from the Git repository. | 1. Files will be transferred from the pipeline filesystem: a clone of your Git repository with artifacts* and uploaded files**. |
| * You can compile / process files using dedicated pipeline actions. For example, you can zip files before deploying them to the server. | |
| ** You can add non-versioned files to the filesystem with drag & drop (e.g. configuration files). | |
| 2. On the first execution the action will upload all files from the repository | 2. On the first execution the action will upload all files from the filesystem. |
3. On subsequent executions only modified (added or changed) files will be uploaded. Buddy uses git diff to generate the change set. | 3. On subsequent executions only modified (added or changed) files will be uploaded. Buddy uses git diff to generate the changeset. |
| 4. Files removed from the repository will be removed from the target server as well. | 4. Files removed from the filesystem will be removed from the target server. |
Summary
This is it—now you know what lies beneath every pipeline: its filesystem, a great add-on to deploying the application from the repository. You know how it works and what are the different deployment options in Buddy. We hope you enjoy both of them!