如何使用Gatsby创建博客并部署至服务器
Gatsby is a web framework based on React.js and GraphQL. It is most commonly used for creating and optimizing static sites. Unlike other static sites generators like Jekyll or Hugo, sites created with Gatsby can serve as PWA's (Progressive Web Apps) using one source of code for all operating systems and browsers and always stay optimized to the latest standards.
In this tutorial, we will create a simple Gatsby blog that generates posts from Markdown files and then use Buddy CI/CD to automate the build and delivery process.
Prerequisites
To begin, all you need is Node and npm installed. This tutorial was written with Node in version 12.16.2, but any LTS in the current version should work just fine. You'll also need a code editor, for example PhpStorm or Visual Studio Code.
The repository that we used in this guide is available on our GitHub profile: github.com/buddy-works/gatsby-blog
Actions used in this guide:
Project Setup
Let's begin with the basics: installing the Gatsby CLI that will allow us to create a base project. Fire up your terminal and enter the following:
npm install -g gatsby-cli
With Gatsby installed, it's time to create a new project:
gatsby new guide-blog
The last step is testing if everything is working properly:
cd guide-blog
npm run develop
With all of this out of the way, you should be able to see a template page under localhost:8000:
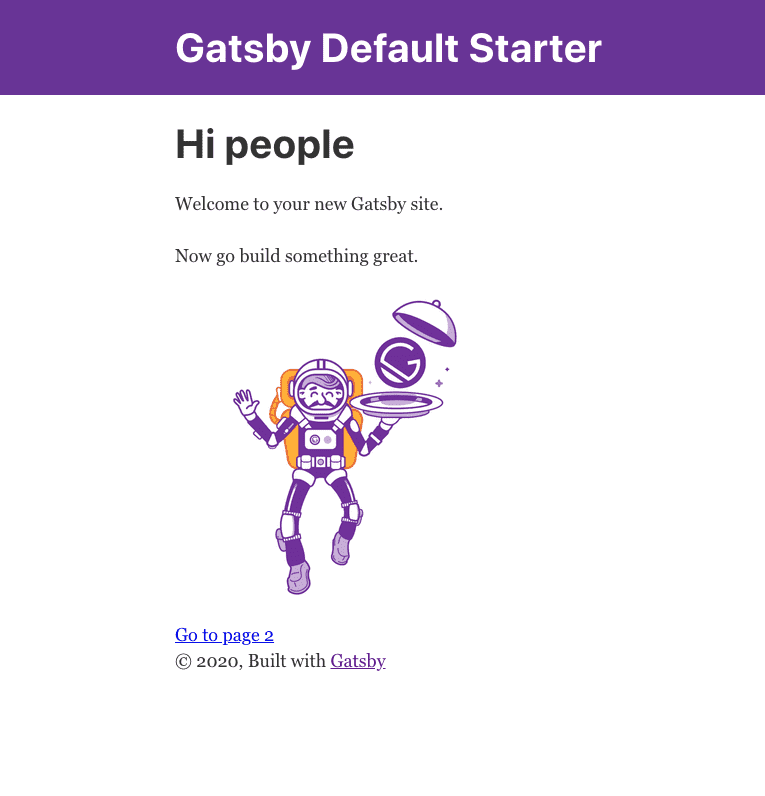
Our project is now running in developer mode, which means that any change to the source code will be immediately visible on the page without the need of reloading the site manually. Before we proceed, however, we will install a bootstrap that will help us build some neat UI so that we don't have to code it in CSS.
npm install react-bootstrap bootstrap
Time to introduce some human touch to our creation.
Style customization and post display
Right now, your project should contain the following:
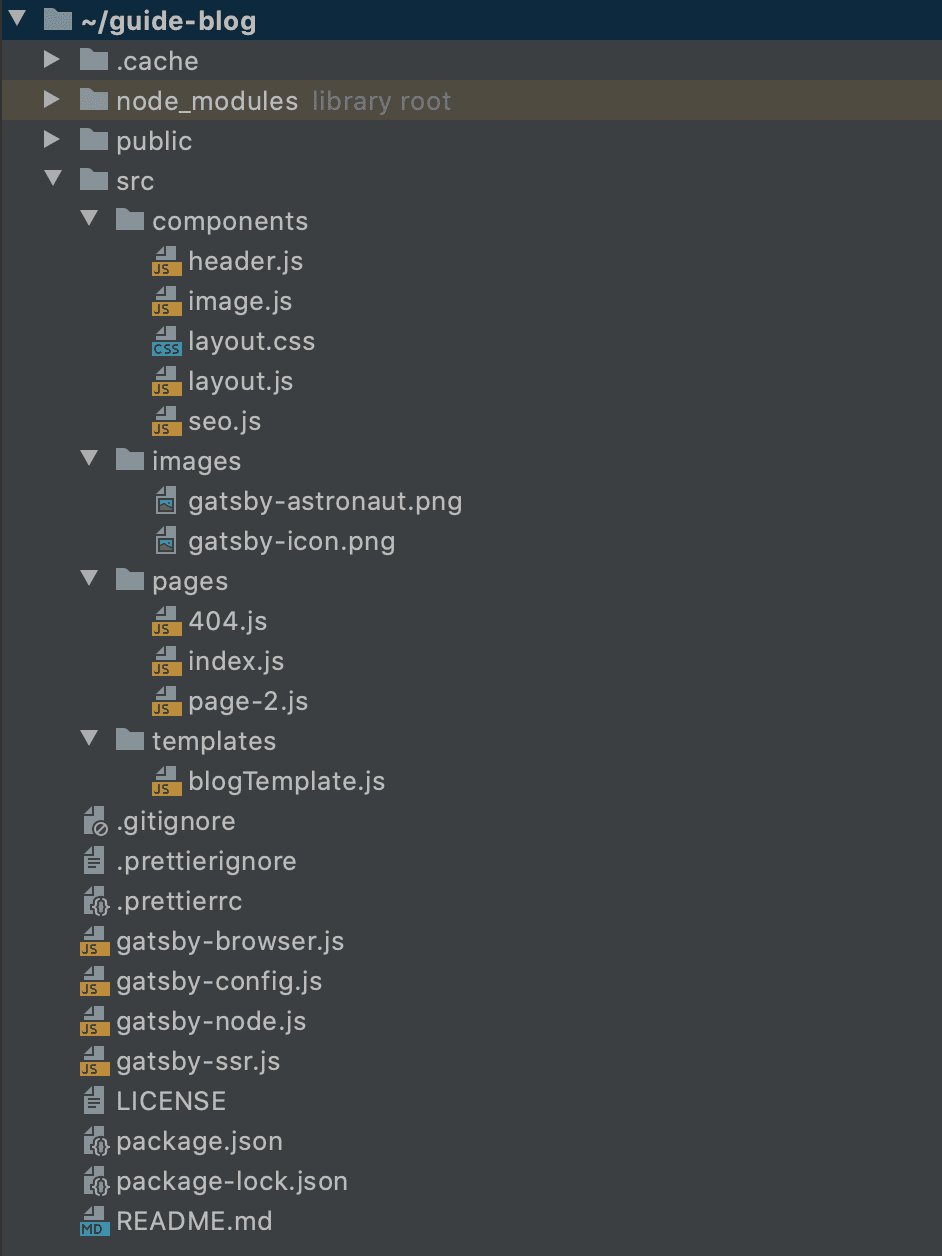
We'll be mainly focusing on three things:
src/components– that's where we will create our components and style themsrc/pages– we'll be keeping our pages here; the file name translates directly to the URLgatsby-config.js– this file allows us to manage the website's metadata and plugins
Header modification
Let's begin with modifying the header of our site so that our images will dynamically change on every access to the article. To do this, we need to do changes in two files. The first one is src/components/layout.js:
import React from "react"
import 'bootstrap/dist/css/bootstrap.min.css';
import PropTypes from "prop-types"
import { useStaticQuery, graphql } from "gatsby"
import Header from "./header"
import "./layout.css"

const Layout = ({ children, imageUrl }) => {
  const data = useStaticQuery(graphql`
    query SiteTitleQuery {
      site {
        siteMetadata {
          title
        }
      }
    }
  `)

  return (
    <>
      <Header siteTitle={data.site.siteMetadata.title} imageUrl={imageUrl} />
      <div
        style={{
          margin: `0 auto`,
          maxWidth: 960,
          padding: `0 1.0875rem 1.45rem`
        }}
      >
        <main>{children}</main>
        <footer>
          © {new Date().getFullYear()}, Built with
          {` `}
          <a href="https://www.gatsbyjs.org">Gatsby</a>
        </footer>
      </div>
    </>
  )
}


Layout.propTypes = {
  children: PropTypes.node.isRequired
}


export default Layout
The second is src/components/header.js:
import PropTypes from "prop-types"
import React from "react"

const Header = ({ siteTitle, imageUrl }) => (
  <header>
    <div
      style={{
        height: "20rem",
        backgroundImage: `linear-gradient(0deg, rgba(0, 0, 0, 0.5), rgba(0, 0, 0, 0.5)), url(${imageUrl ? imageUrl : "https://images.unsplash.com/photo-1432821596592-e2c18b78144f?ixlib=rb-1.2.1&ixid=eyJhcHBfaWQiOjEyMDd9&auto=format&fit=crop&w=1950&q=80"})`,
        backgroundSize: "cover",
        backgroundPosition: "center"
      }}
      className="d-flex justify-content-center align-items-center"
    >
      <h1 className="text-white">{siteTitle}</h1>
    </div>
  </header>
)

Header.propTypes = {
  siteTitle: PropTypes.string
}

Header.defaultProps = {
  siteTitle: ``
}

export default Header
Adding Markdown parsing
The blog we are creating will use Markdown files to generate posts. To do so, we have to install two plugins:
gatsby-source-filesystem– this plugin will let you use files from your local filesystemgatsby-transformer-remark– this plugin will let you parse Markdown
The install command is:
npm install --save gatsby-source-filesystem gatsby-transformer-remark
Apart from the package installation, it is necessary to modify the gatsby-config.js to turn on Markdown-to-HTML parsing and define where our Markdown files will be stored. To do so, add the following code to the plugins board.
   {
      resolve: `gatsby-source-filesystem`,
      options: {
        path: `${__dirname}/src/articles`,
        name: `articles`
      }
    },
    `gatsby-transformer-remark`,
Whenever you make changes to a config file, make sure to restart your console and run npm run develop to avoid errors.
The entire file should look something like this:
module.exports = {
  siteMetadata: {
    title: `Simple blog template`,
    description: `Blog Template made from scratch`,
    author: `@gatsbyjs`
  },
  plugins: [
    `gatsby-plugin-react-helmet`,
    {
      resolve: `gatsby-source-filesystem`,
      options: {
        name: `images`,
        path: `${__dirname}/src/images`
      }
    },
    {
      resolve: `gatsby-source-filesystem`,
      options: {
        path: `${__dirname}/src/articles`,
        name: `articles`
      }
    },
    `gatsby-transformer-remark`,
    `gatsby-transformer-sharp`,
    `gatsby-plugin-sharp`,
    {
      resolve: `gatsby-plugin-manifest`,
      options: {
        name: `gatsby-starter-default`,
        short_name: `starter`,
        start_url: `/`,
        background_color: `#663399`,
        theme_color: `#663399`,
        display: `minimal-ui`,
        icon: `src/images/gatsby-icon.png` // This path is relative to the root of the site.
      }
    }
  ]
}
Testing display
Now, it's time to see if it works. Let's add two "Lorem Ipsum" articles. Create an articles directory in /src/ and add two md files that will serve as posts on our site:
src/articles/first-article.md
---
path: "/first-article"
date: "2020-04-29"
title: "My first blog post"
imageUrl: "https://images.unsplash.com/photo-1587058571836-8562bb05e548?ixlib=rb-1.2.1&ixid=eyJhcHBfaWQiOjEyMDd9&auto=format&fit=crop&w=1335&q=80"
---

Lorem ipsum dolor sit amet, consectetur adipiscing elit. Morbi non maximus mi. Nunc vitae aliquam elit, eget rutrum urna. Vivamus ac risus nunc. Phasellus eleifend, mi vitae venenatis volutpat, elit justo sagittis ligula, bibendum aliquam ante odio ac leo. Phasellus rutrum nibh ultricies maximus ullamcorper. Maecenas hendrerit odio in velit facilisis blandit. Morbi non vestibulum massa. Pellentesque metus libero, accumsan vitae enim eget, vestibulum suscipit arcu. Sed egestas neque a quam sodales elementum. Quisque consequat sem mi, eu auctor leo dapibus et.

Vivamus elementum vel ligula sed vehicula. Ut tempus quam a ligula sodales, ac aliquam justo aliquam. Maecenas condimentum lorem arcu, at vulputate metus aliquet eget. Aliquam a vulputate nibh, ultrices viverra ante. Nulla eget ex congue, fermentum ipsum et, euismod neque. Etiam vestibulum fermentum justo, at imperdiet ligula rutrum eget. Phasellus eu rhoncus nulla.
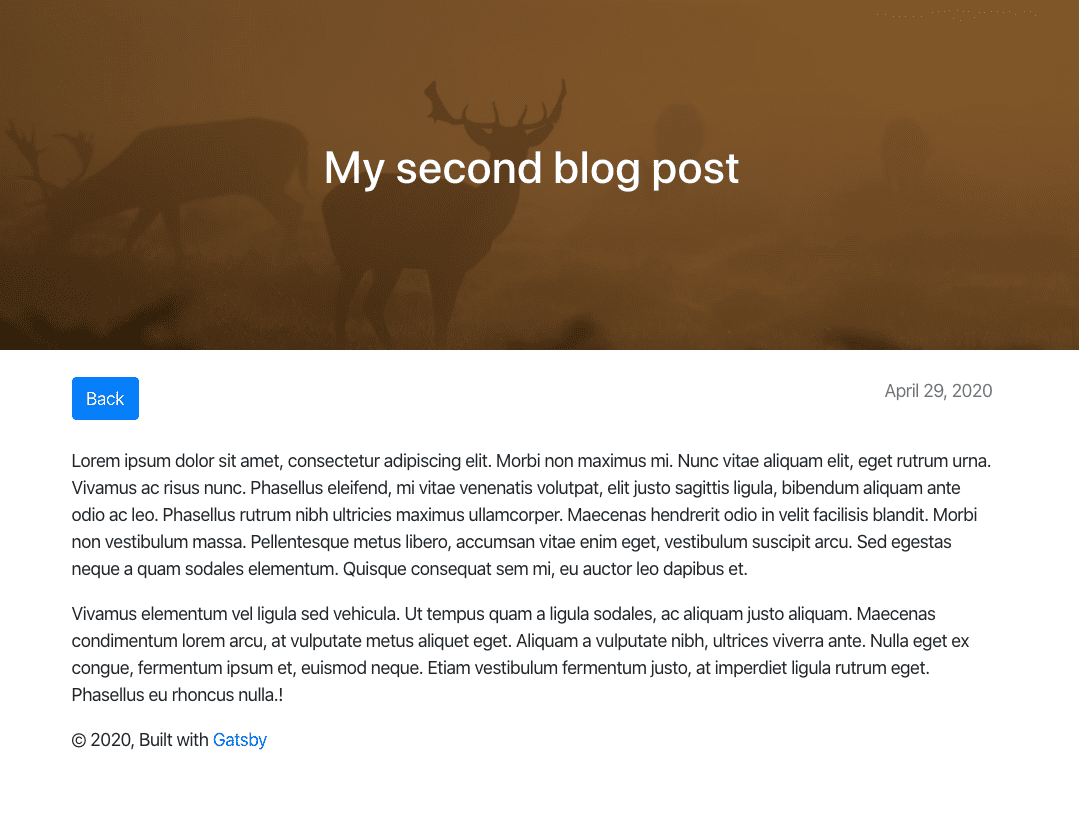
src/articles/second-article.md
---
path: "/second-article"
date: "2020-04-29"
title: "My second blog post"
imageUrl: "https://images.unsplash.com/photo-1447014421976-7fec21d26d86?ixlib=rb-1.2.1&ixid=eyJhcHBfaWQiOjEyMDd9&auto=format&fit=crop&w=1350&q=80"
---

Lorem ipsum dolor sit amet, consectetur adipiscing elit. Morbi non maximus mi. Nunc vitae aliquam elit, eget rutrum urna. Vivamus ac risus nunc. Phasellus eleifend, mi vitae venenatis volutpat, elit justo sagittis ligula, bibendum aliquam ante odio ac leo. Phasellus rutrum nibh ultricies maximus ullamcorper. Maecenas hendrerit odio in velit facilisis blandit. Morbi non vestibulum massa. Pellentesque metus libero, accumsan vitae enim eget, vestibulum suscipit arcu. Sed egestas neque a quam sodales elementum. Quisque consequat sem mi, eu auctor leo dapibus et.

Vivamus elementum vel ligula sed vehicula. Ut tempus quam a ligula sodales, ac aliquam justo aliquam. Maecenas condimentum lorem arcu, at vulputate metus aliquet eget. Aliquam a vulputate nibh, ultrices viverra ante. Nulla eget ex congue, fermentum ipsum et, euismod neque. Etiam vestibulum fermentum justo, at imperdiet ligula rutrum eget. Phasellus eu rhoncus nulla.
As you can see in the examples above, we have provided the metadata (path, date, title and image URL) in the very beginning. Of course, there is other information you can contain in the metadata, such as author, path to the thumbnail, or the last update. You are completely free to add any type of info you want – just remember to indicate the data in the GraphQL query.
With the example post contents up, it's time to add a template that will be used by our entries. Create the src/templates/blogTemplate.js file and paste the following code:
import React from "react"
import { graphql, Link } from "gatsby"
import Layout from "../components/layout"

export default function Template({ data }) {
  const { markdownRemark } = data
  const { frontmatter, html } = markdownRemark

  return (
    <Layout imageUrl={frontmatter.imageUrl}>
      <div>
        <Link to="/">back</Link>
        <h1>{frontmatter.title}</h1>
        <h2>{frontmatter.date}</h2>
        <div dangerouslySetInnerHTML={{ __html: html }} />
      </div>
    </Layout>
  )
}

export const pageQuery = graphql`
  query($path: String!) {
    markdownRemark(frontmatter: { path: { eq: $path } }) {
      html
      frontmatter {
        date(formatString: "MMMM DD, YYYY")
        path
        title
        imageUrl
      }
    }
  }
`
In order for our GraphQL to execute, we have to support the createPages functions that will resolve the query and create the page. To achieve that, we have to modify the gatsby-node.js file:
const path = require(`path`)

exports.createPages = async ({ actions, graphql, reporter }) => {
  const { createPage } = actions
  const blogPostTemplate = path.resolve(`src/templates/blogTemplate.js`)
  const result = await graphql(`
    {
      allMarkdownRemark(
        sort: { order: DESC, fields: [frontmatter___date] }
        limit: 1000
      ) {
        edges {
          node {
            frontmatter {
              path
            }
          }
        }
      }
    }
  `)

  // Handle errors

  if (result.errors) {
    reporter.panicOnBuild(`Error while running GraphQL query.`)
    return
  }

  result.data.allMarkdownRemark.edges.forEach(({ node }) => {
    createPage({
      path: node.frontmatter.path,
      component: blogPostTemplate,
      context: {}
    })
  })
}
Creating a post list
At this stage, the hardest part is behind us. All that's left is creating a post list that will link to the corresponding articles. In order to see our articles listed in a chronological order, edit the src/pages/index.js file as follows:
import React from "react"
import Layout from "../components/layout"
import SEO from "../components/seo"
import { graphql, Link } from "gatsby"
import Card from "react-bootstrap/Card"
import Button from "react-bootstrap/Button"

const IndexPage = ({ data: { allMarkdownRemark: { edges } } }) => {
  return (
    <Layout>
      <SEO title="Home" />
      <main className="d-flex flex-column align-items-center">
        {edges.map(({ node }, i) => (
          <div key={i} className="my-5">
            <Card style={{ width: '40rem' }}>
              <Card.Img variant="top" src={node.frontmatter.imageUrl} />
              <Card.Body>
                <Card.Title>{node.frontmatter.title} <small className="text-muted ">{node.frontmatter.date}</small></Card.Title>
                <Card.Text>
                  {node.excerpt}
                </Card.Text>
                <Link to={node.frontmatter.path} className="text-white">
                  <Button variant="primary">Read</Button>
                </Link>
              </Card.Body>
            </Card>
          </div>
        ))}
      </main>
    </Layout>
  )
}

export const pageQuery = graphql`
  query {
    allMarkdownRemark(sort: { order: DESC, fields: [frontmatter___date] }) {
      edges {
        node {
          excerpt(pruneLength: 250)
          frontmatter {
            date(formatString: "MMMM DD, YYYY")
            path
            title
            imageUrl
          }
        }
      }
    }
  }
`

export default IndexPage
If you did everything correctly, you should see the list of your articles on the main page:
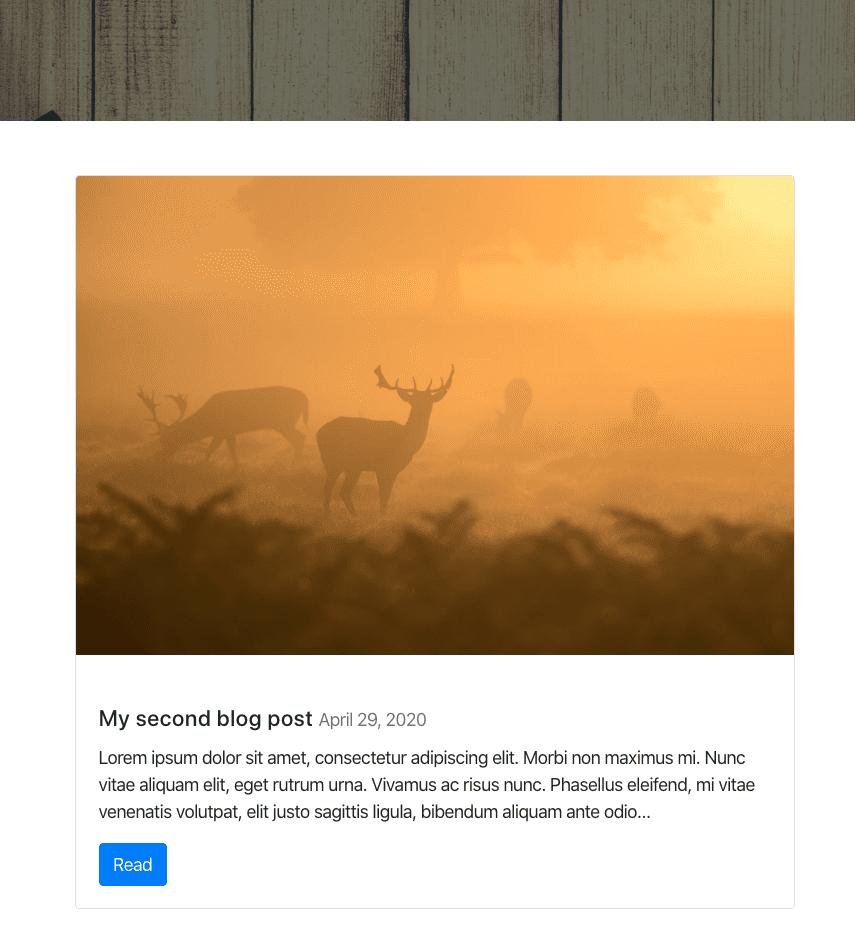
Every consecutive .md file added to src/articles will be visible on the main page and will link to the article:
Deployment
Our blog is almost ready. Now it's time to deploy it to the server and make it available to the public. For the purpose of this guide, we'll use Netlify as the hosting service, and GitHub as the source provider. The deployment process will be handled by Buddy.
Configuring hosting service
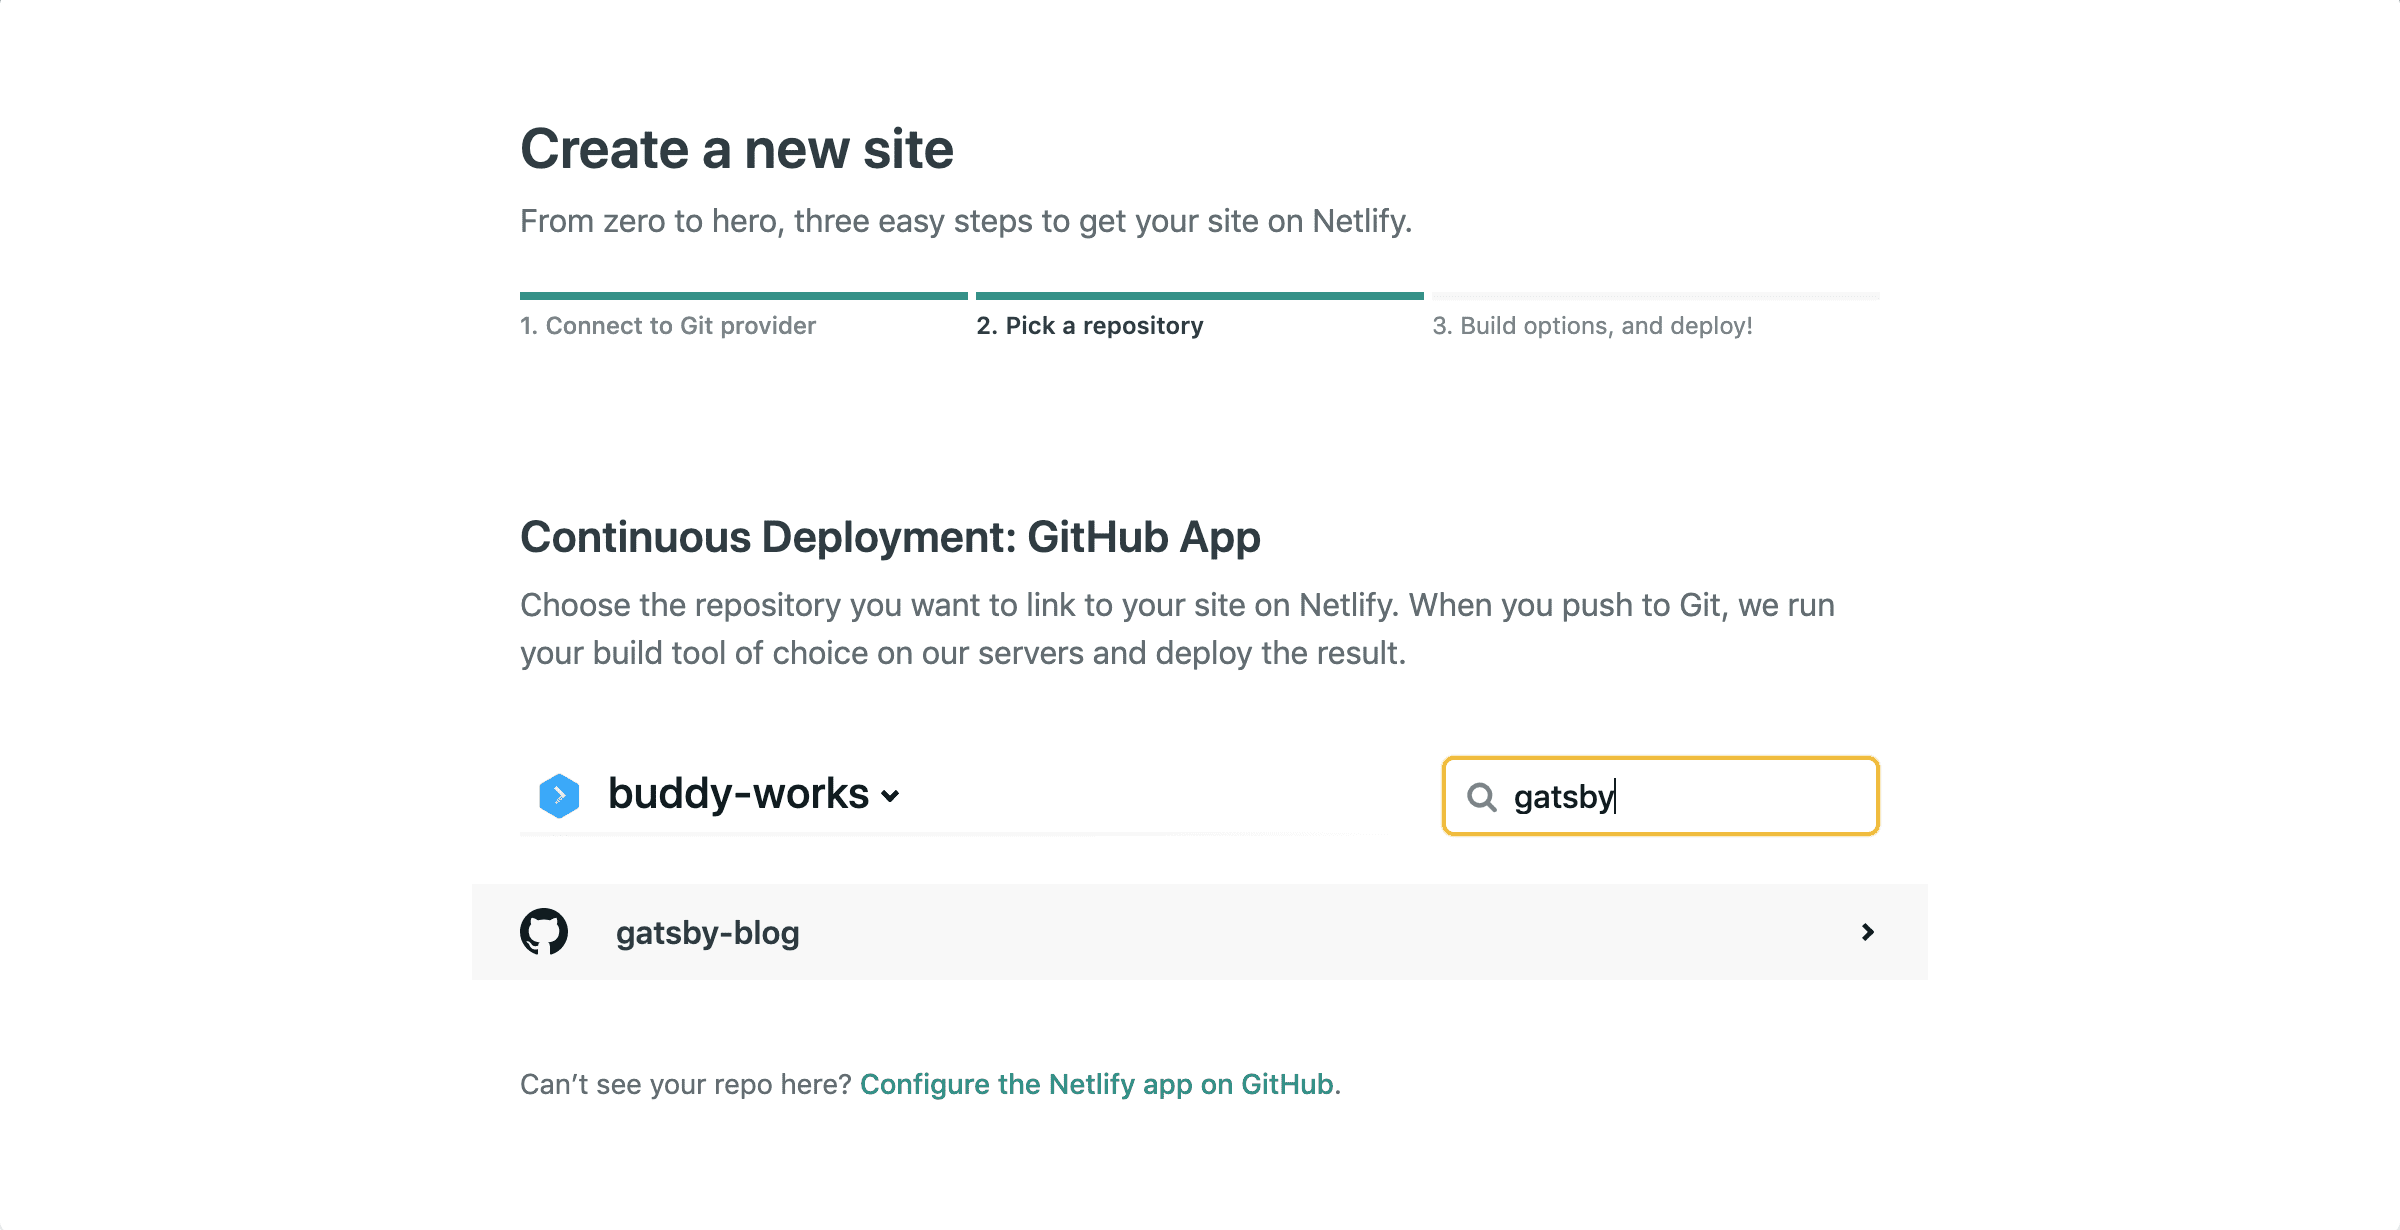
Let's begin by configuring our server. Log in to Netlify and click "New site from Git". Select your repository and add your site:
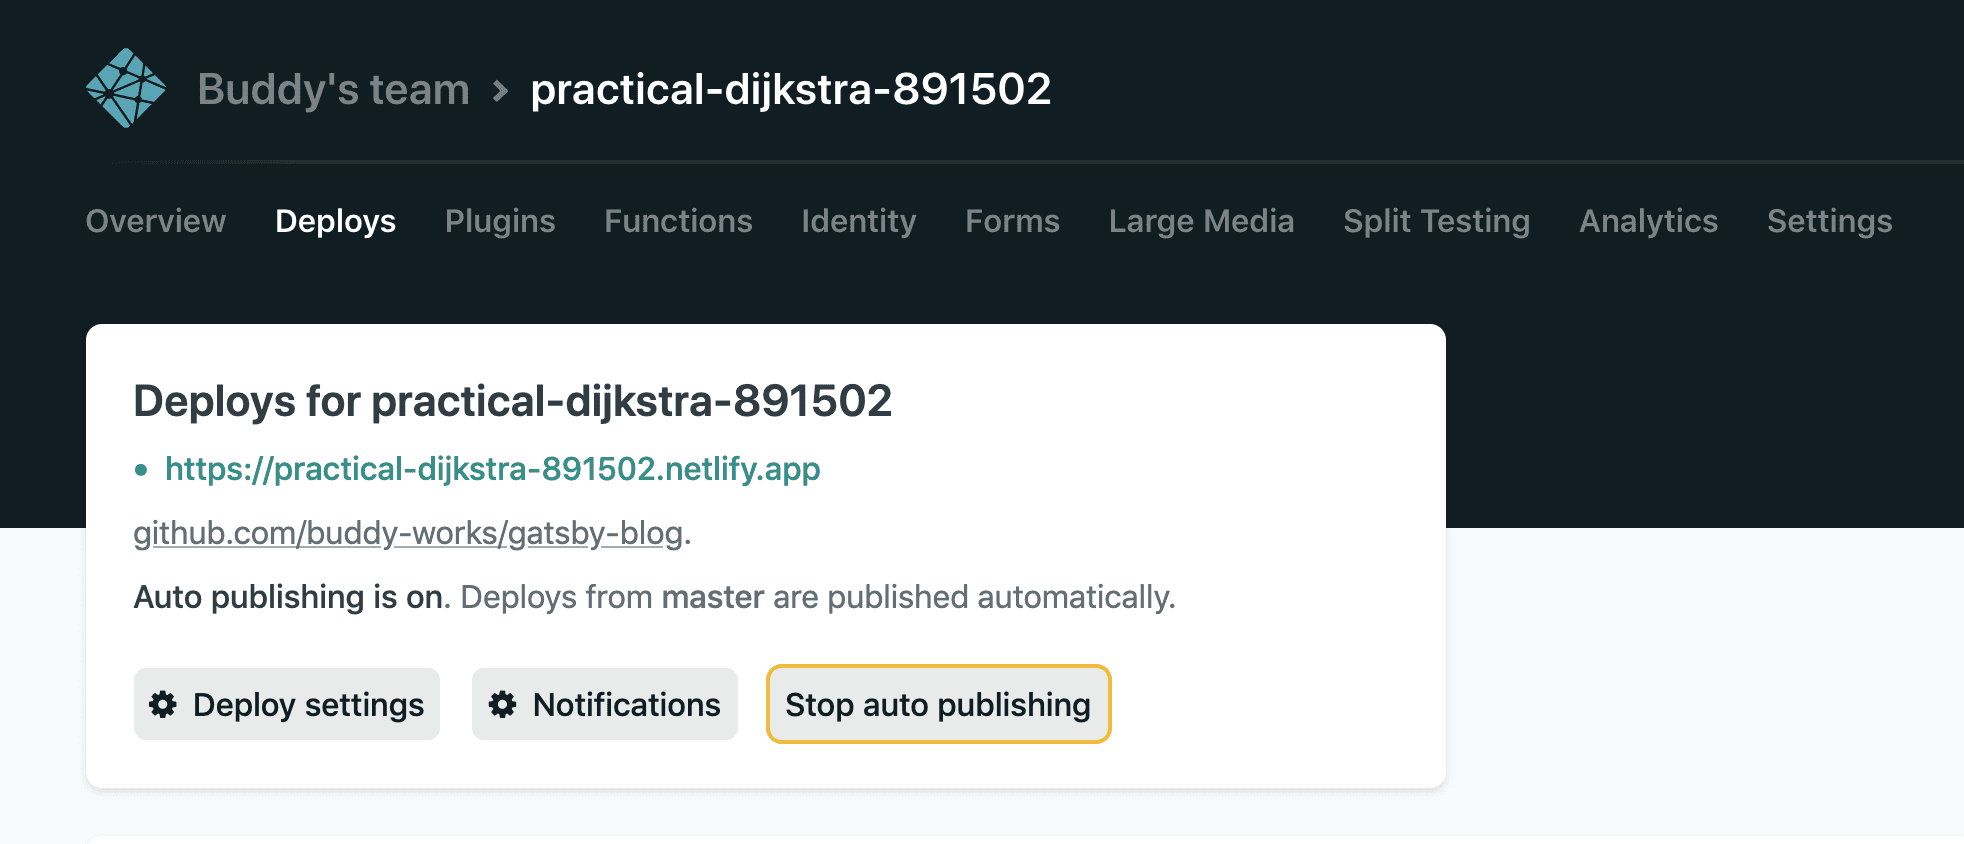
Since we want Buddy to handle the deployments, we'll need to turn off the setting with Netlify as the default publishing service. To do so, go to the Deploys tab and click Stop auto publishing:
Configuring pipeline
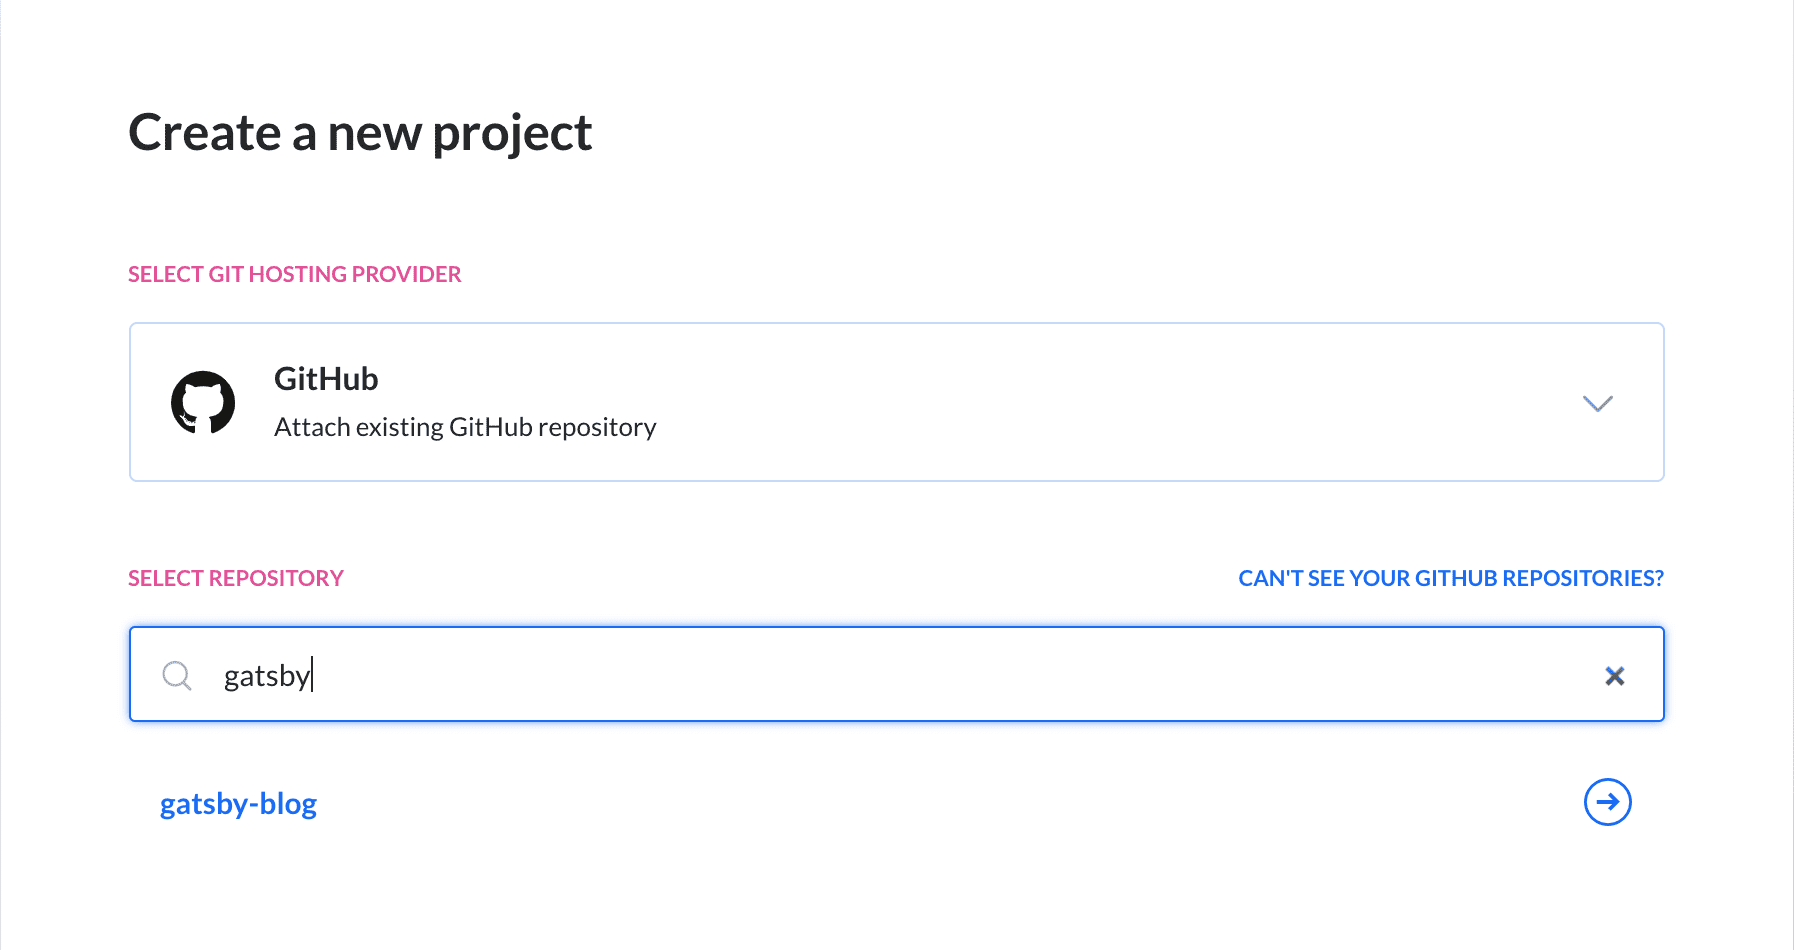
Now, go to Buddy and add the repository with the blog as a new project:
Buddy will synchronize with the selected repository and suggest creating a new pipeline:
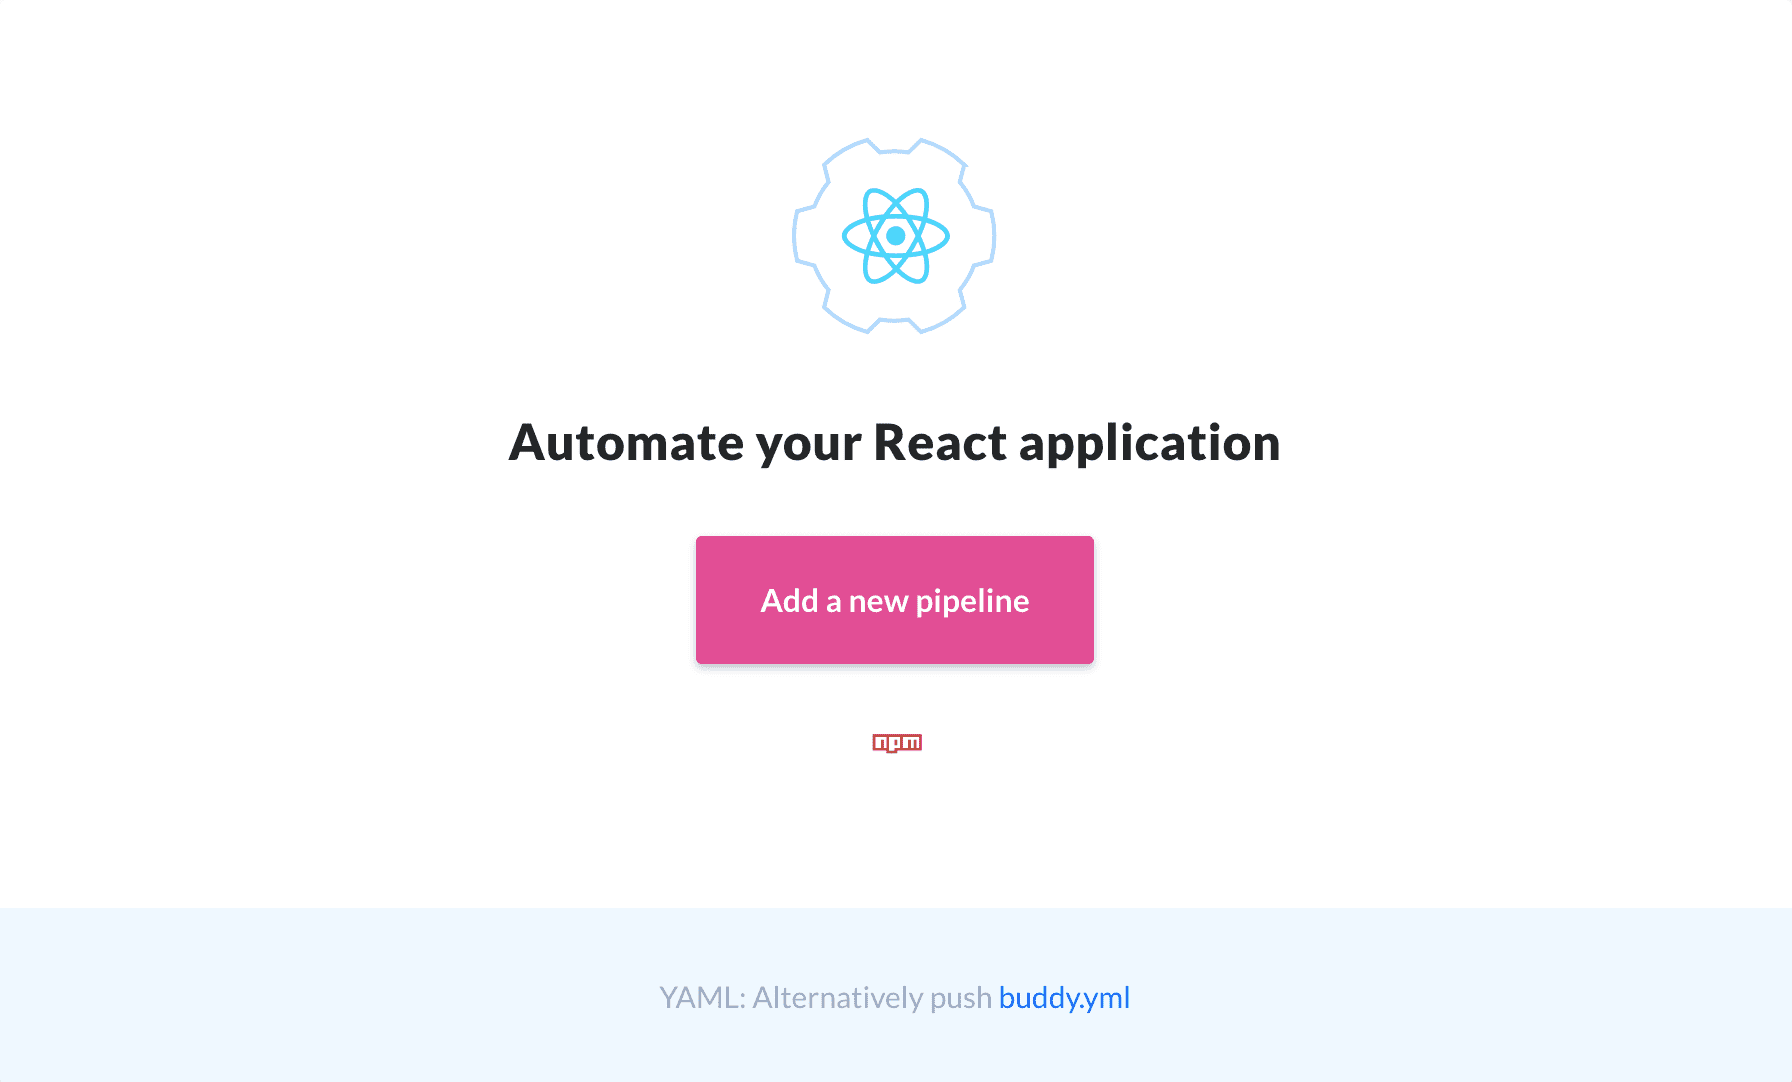
A pipeline is a set of actions performed on the repository code, such as builds or tests.
We will now create a pipeline that will automatically generate the website and deploy it to Netlify on every push to the master branch. Click the button to enter the pipeline configuration and set the options accordingly:

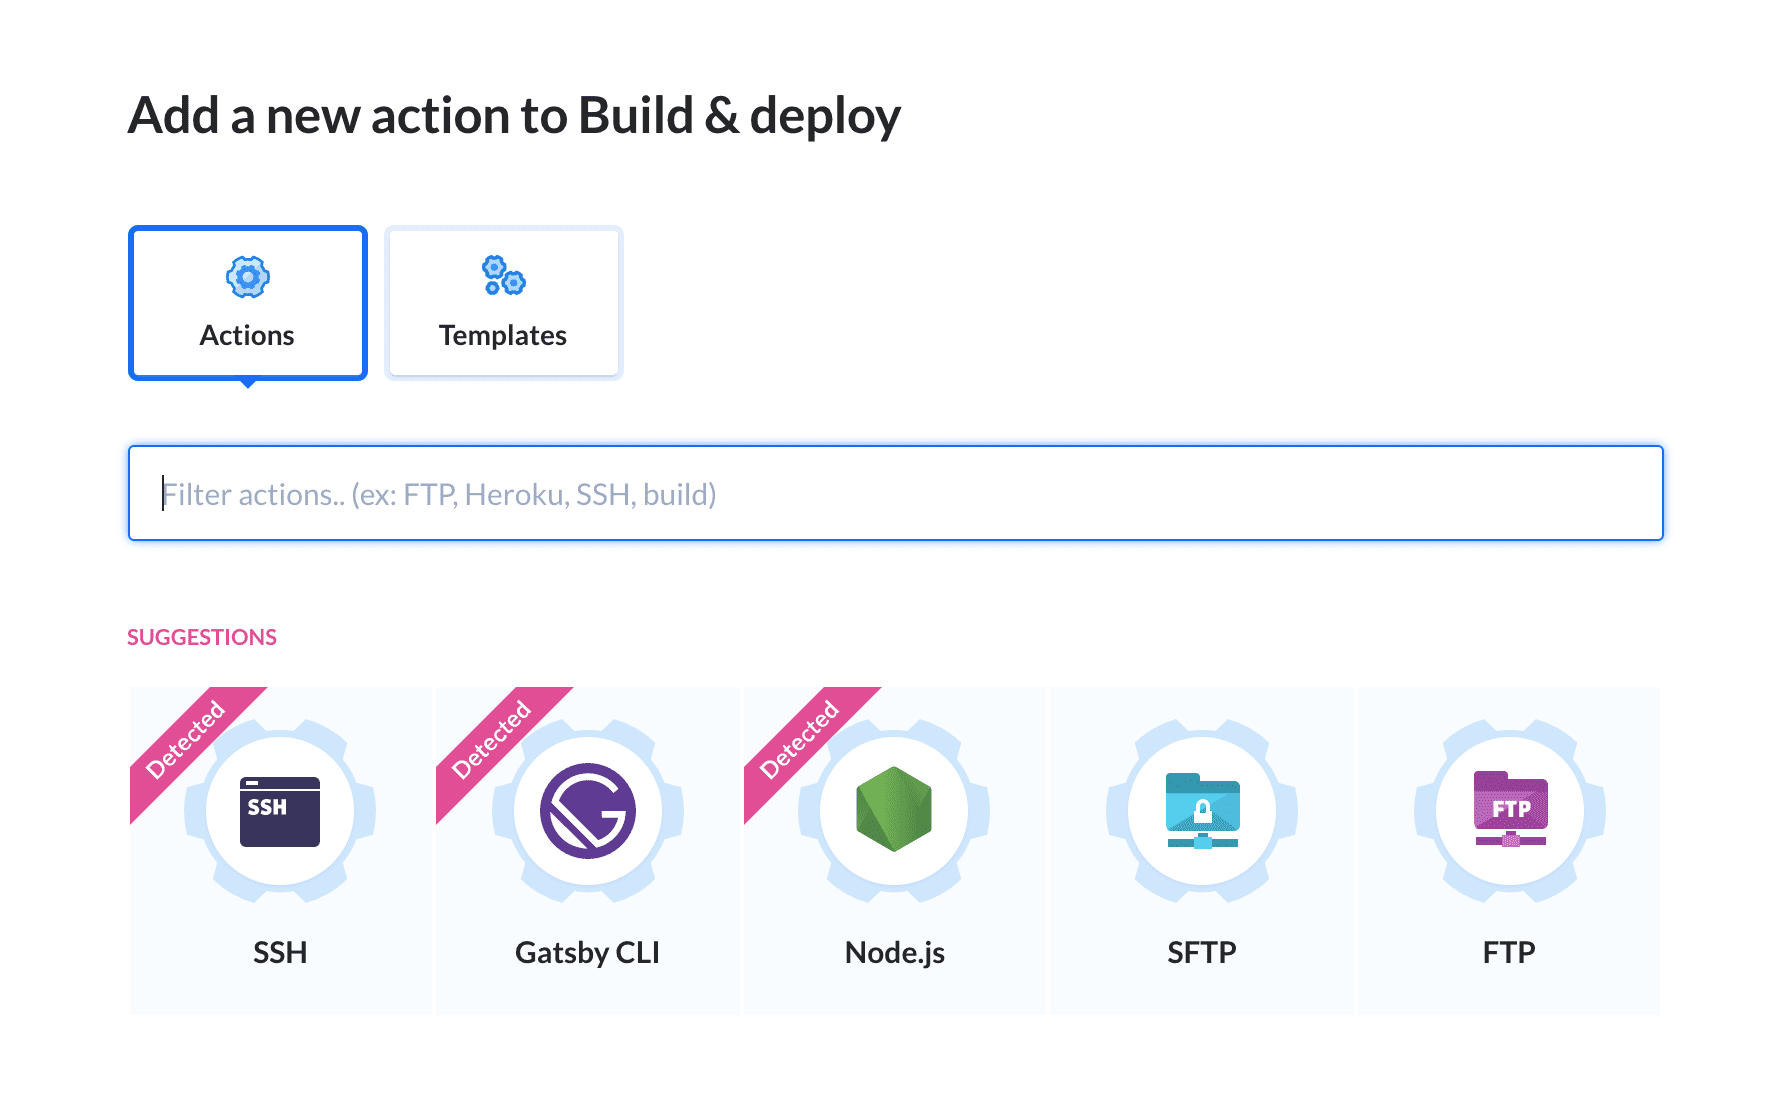
The next step is adding the build and deployment actions. Basing on the repository contents, Buddy will automatically suggest the Gatsby CLI action. Click it to open its configuration details:
Before building the site we need to install the packages listed in package.json. To do this, add npm install before the build command on the Run tab of the action:
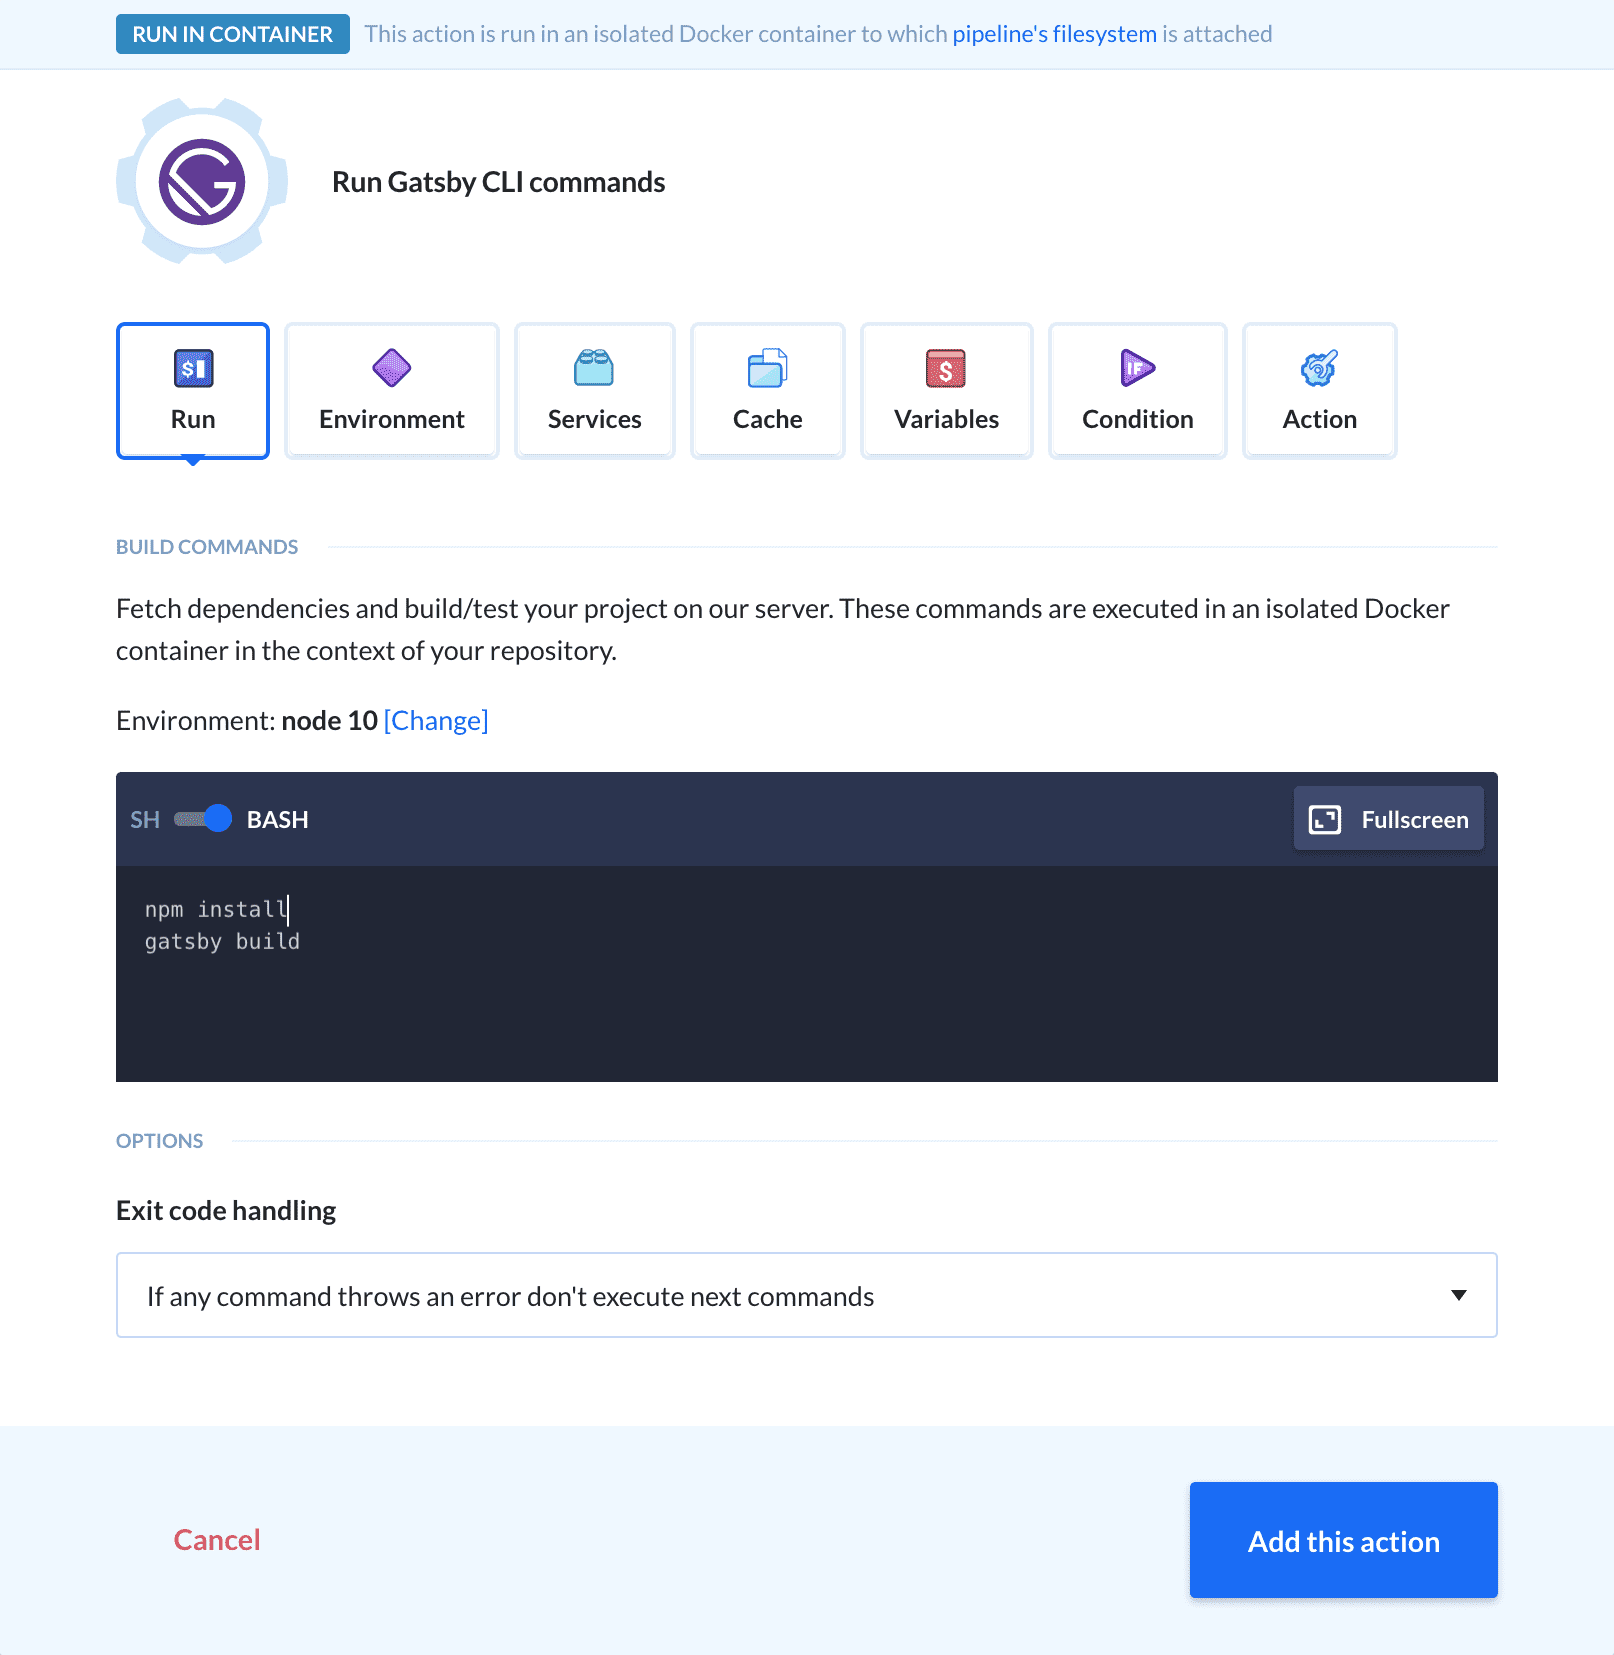
If your build requires additional tools or packages, you can install them in the Environment tab. The listed items will be downloaded on the first pipeline execution and will stay cached in the container.
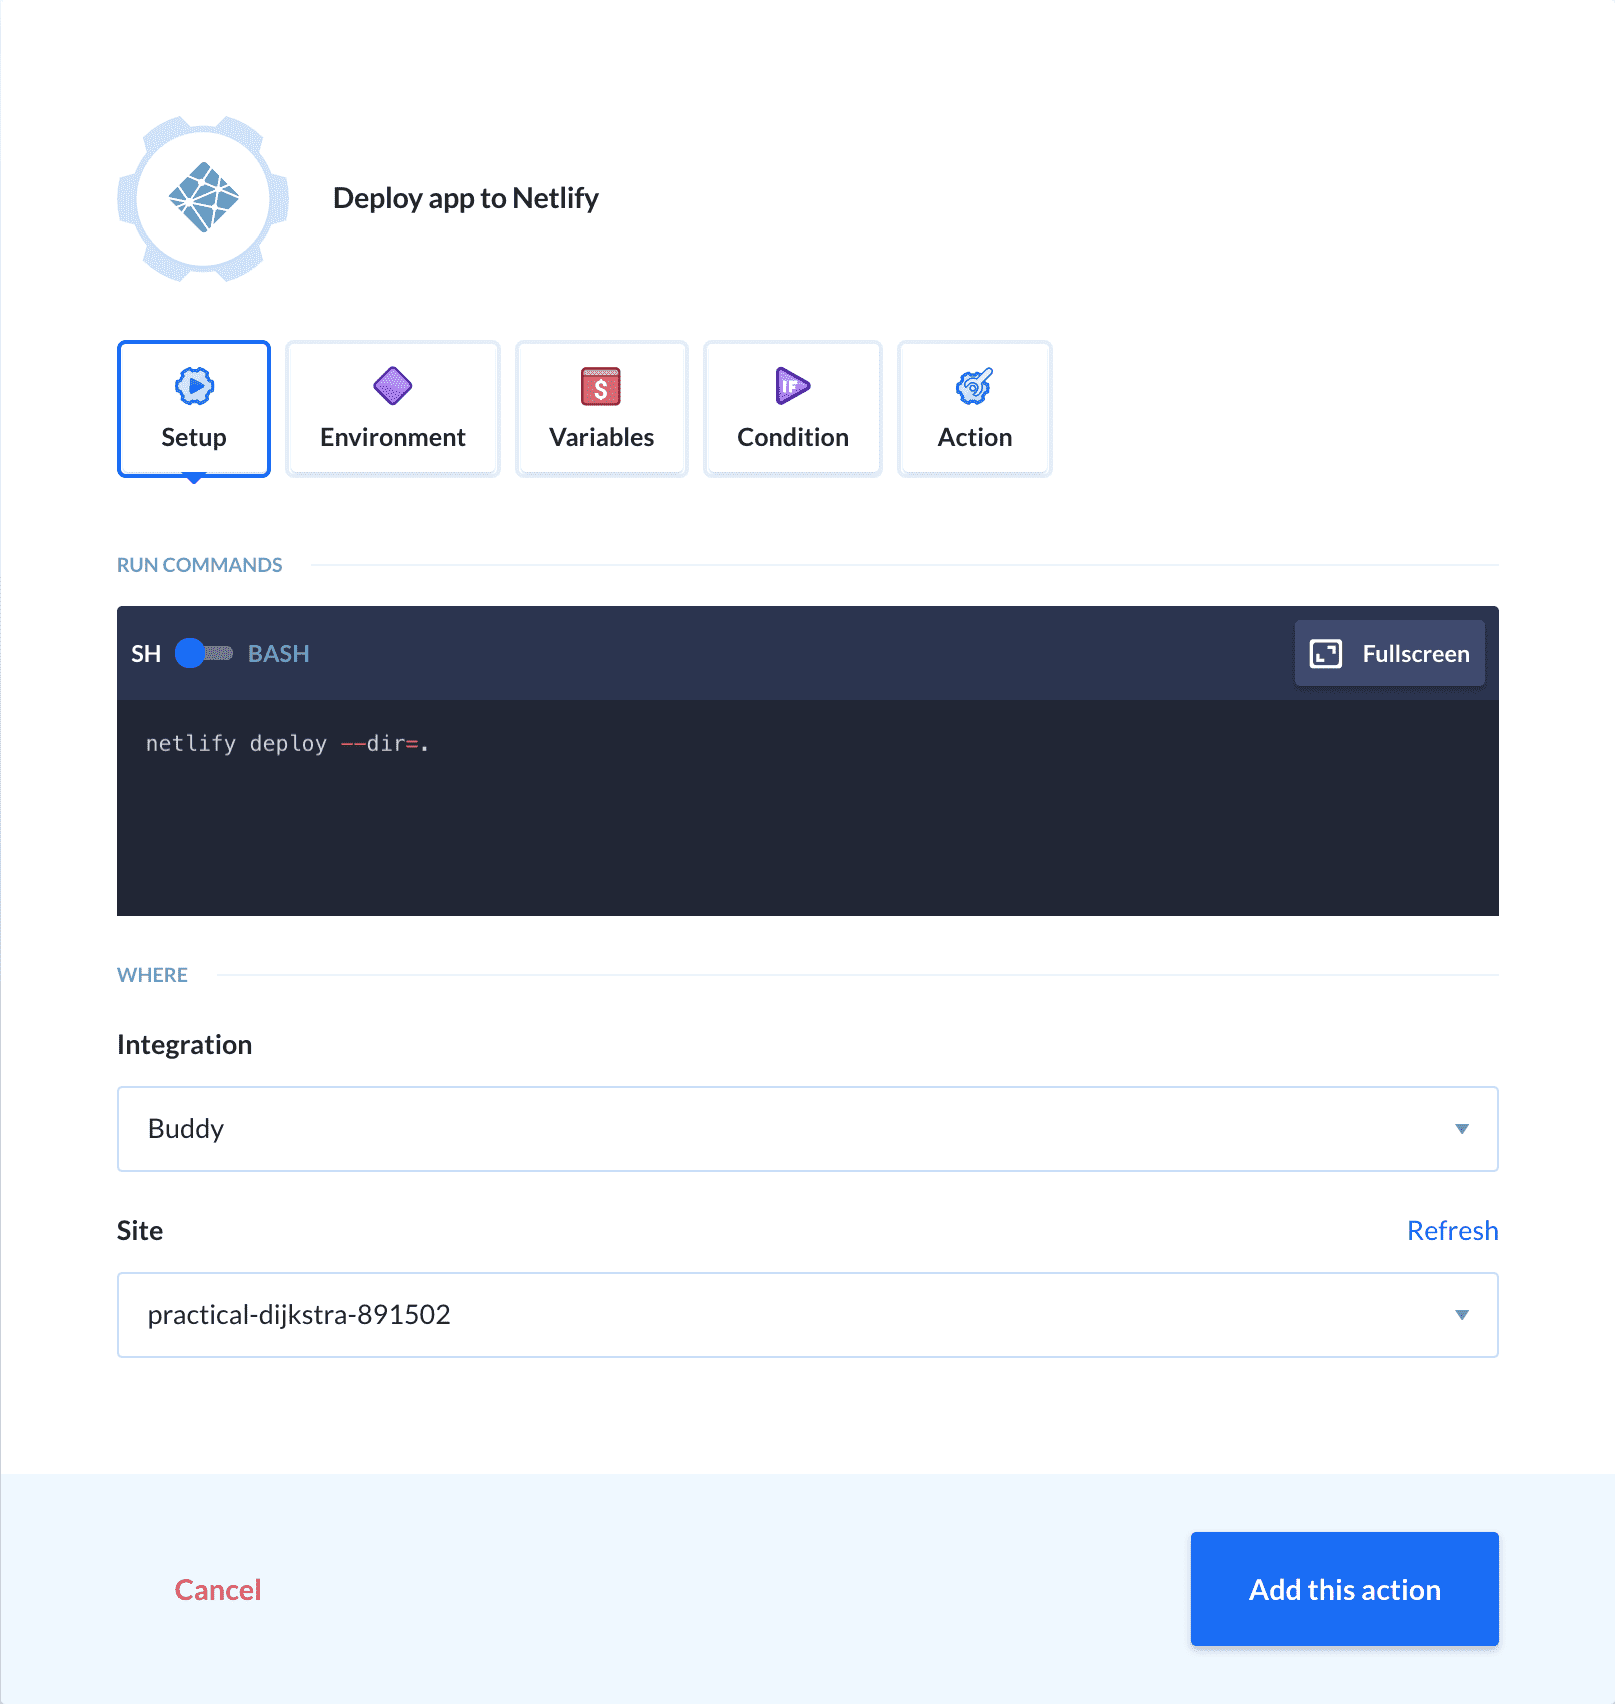
The next step should deploy our site to Netlify. Buddy has a dedicated integration with Netlify available in the IaaS section of the action roster:
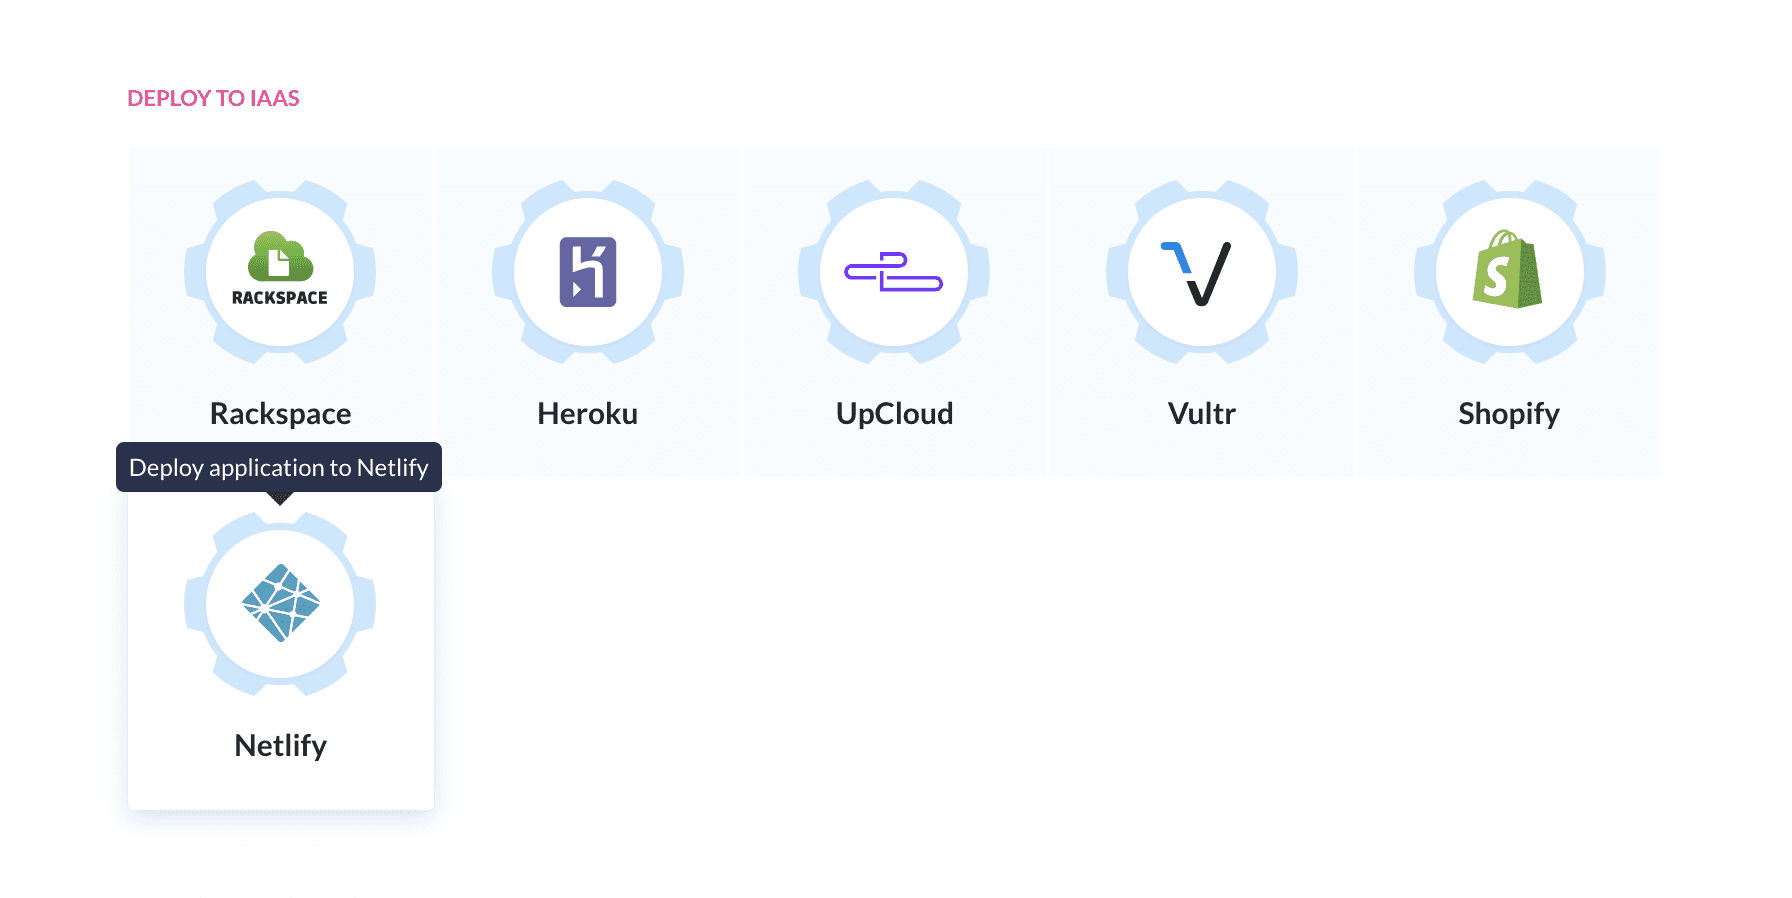
You will need to modify the action to use your public folder for deployment. Also, remember to select the previously added site:
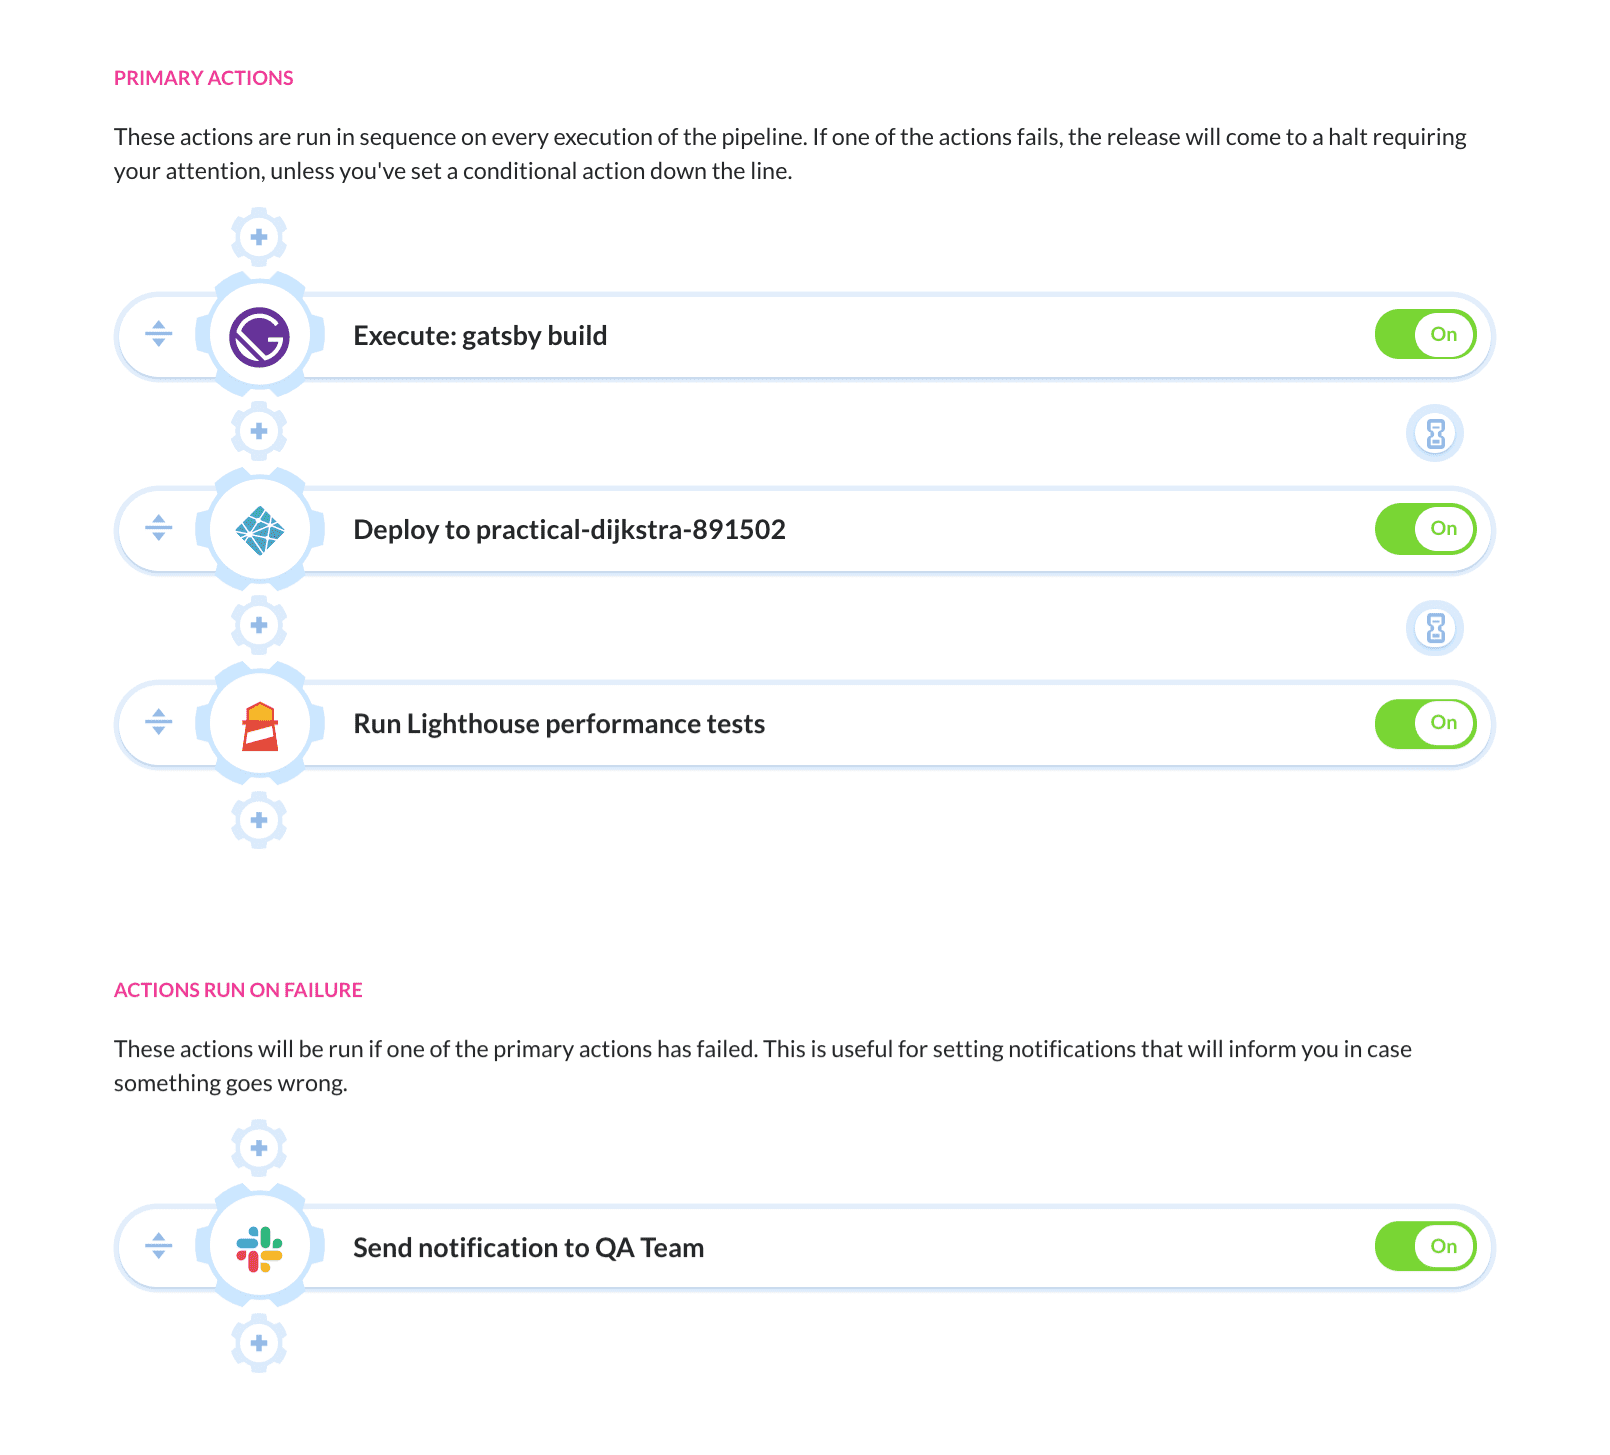
With the build and deployment configured, the pipeline should look like this:

It's time to give the pipeline a test run!
Testing pipeline
Click the Run pipeline button to trigger it manually. Alternatively, you can push something to the repository.
- In the first step, Buddy will prepare the environment: fetch the changes from your repository and set up ENV VARs.
- In the second step, it will download dependencies required by Gatsby and prepare the build for deployment.
- In the third step, it will connect to Netlify and deploy the site.
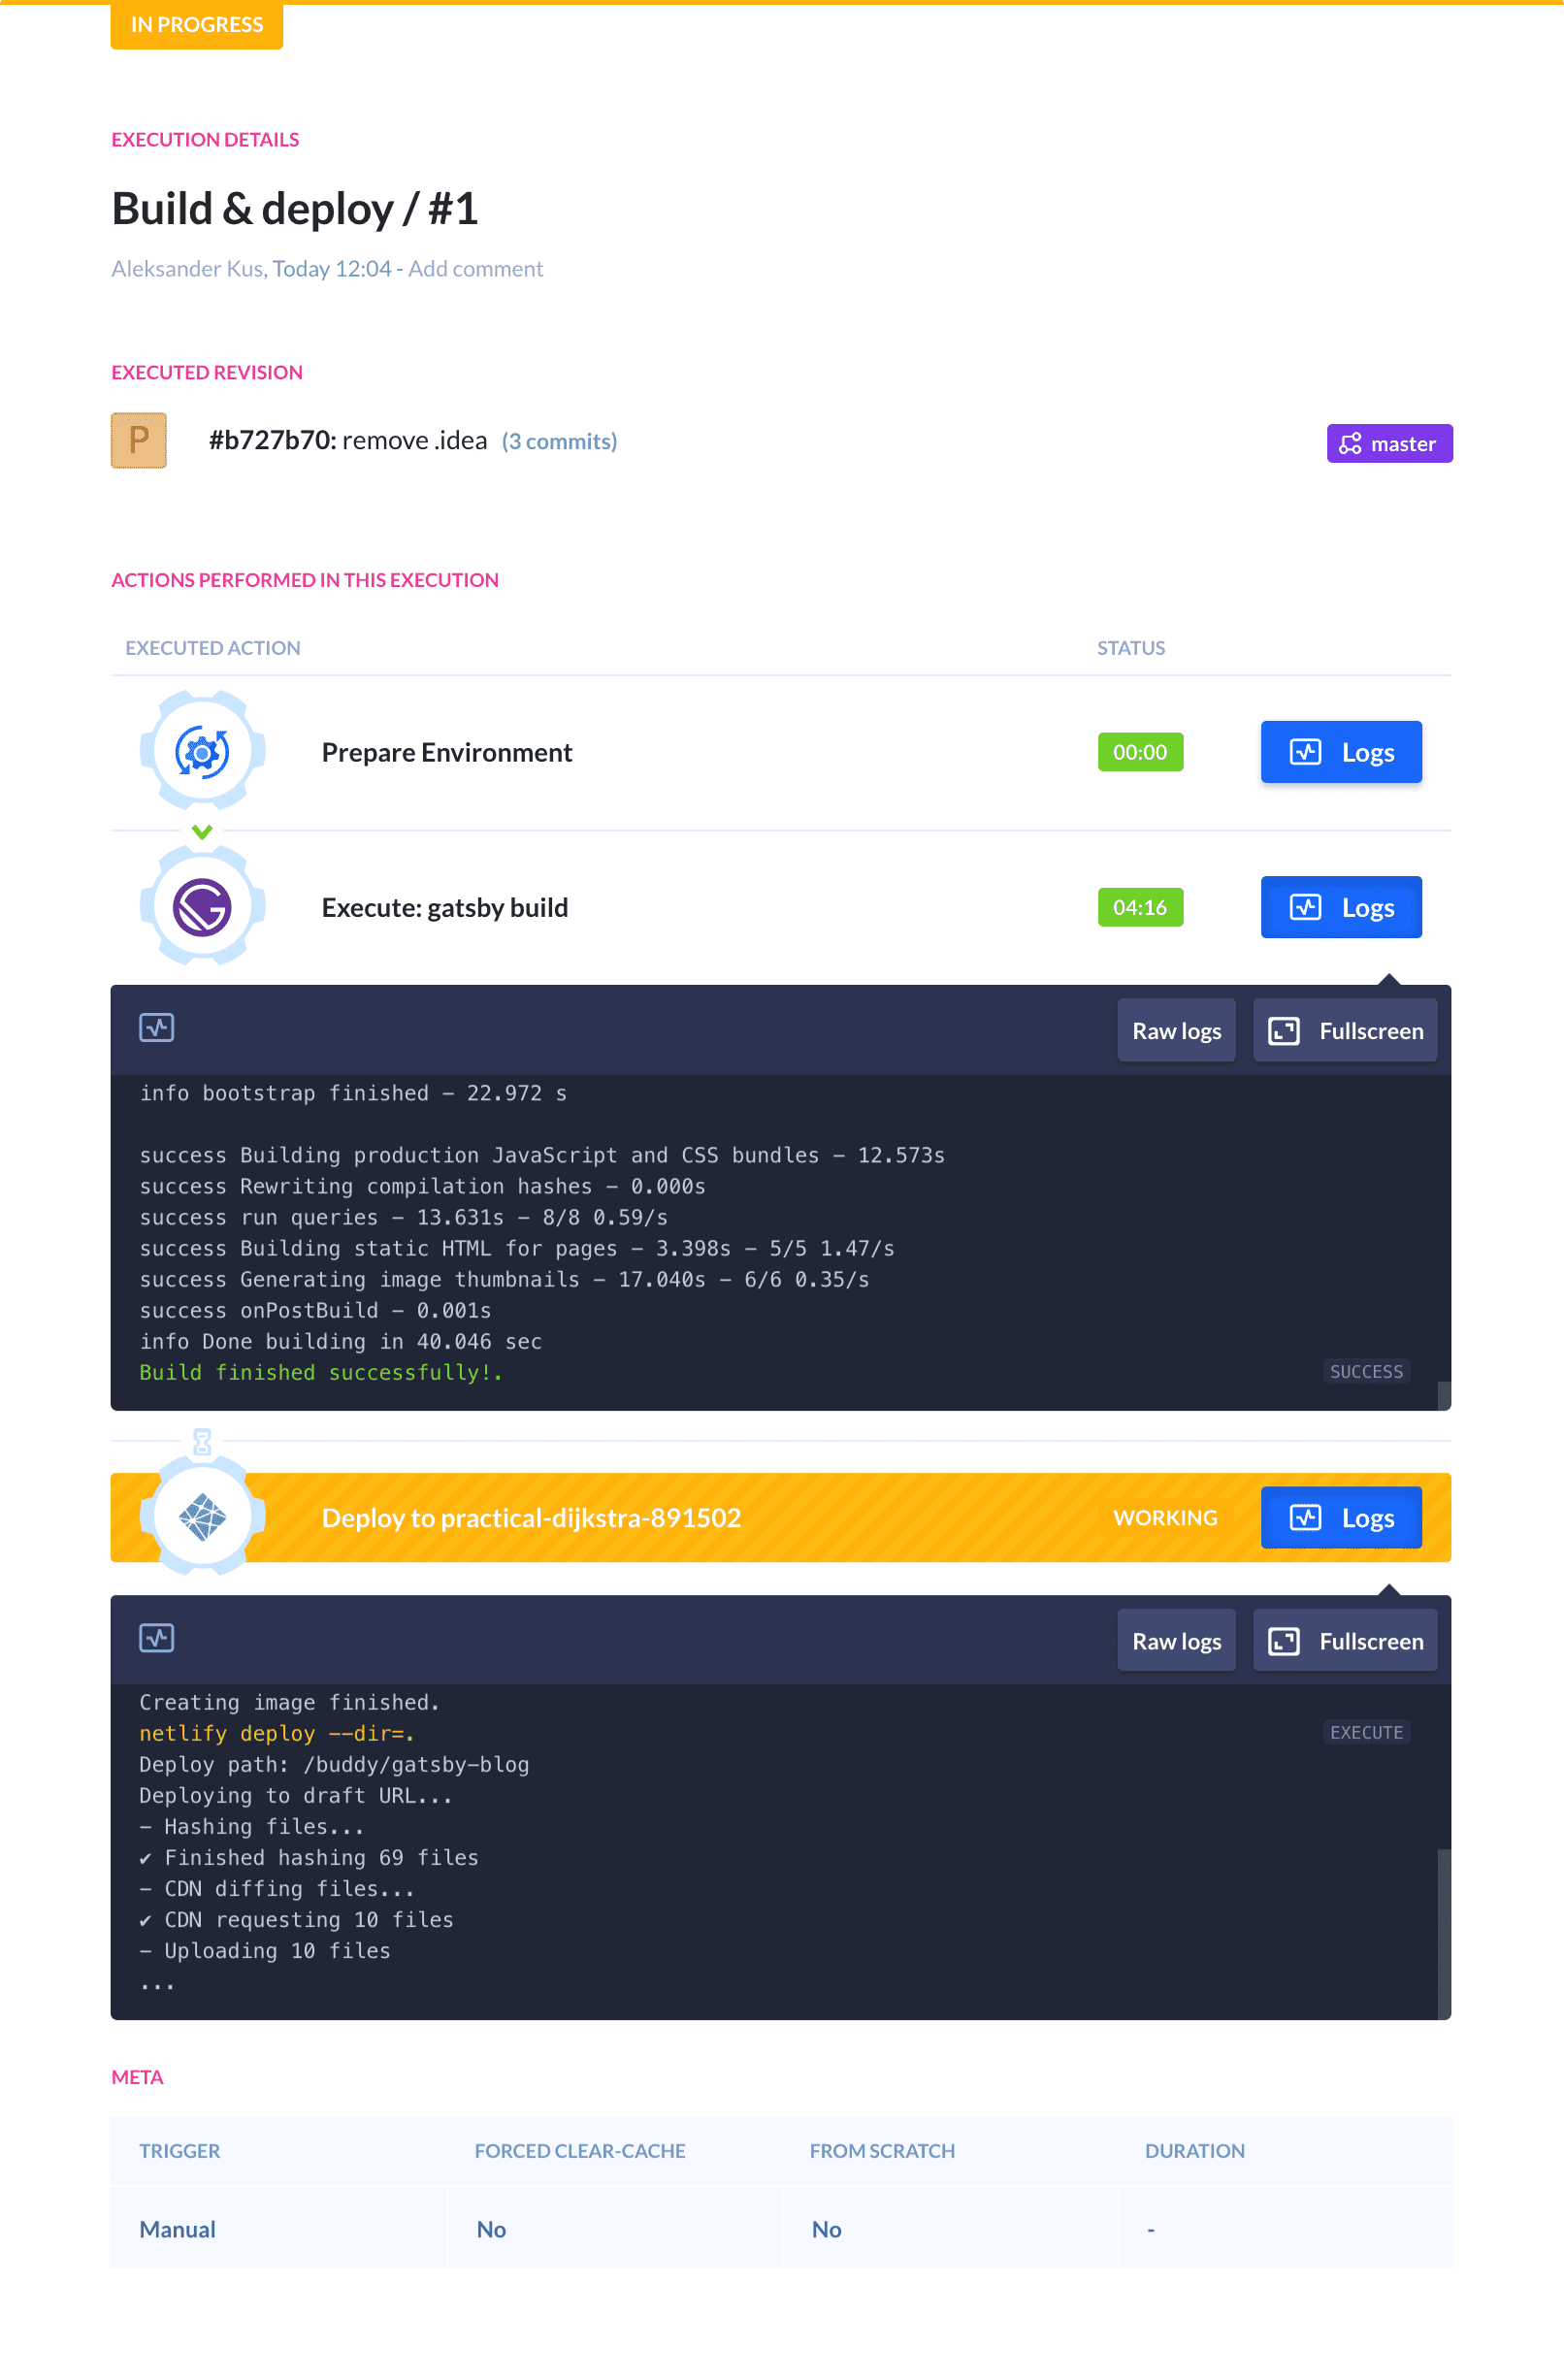
You can expand logs from each step to examine the details.
Summary
The guide above covers the two core features of Buddy: build and deployment automation. However, each pipeline can be easily expanded with extra features that will help you deliver better quality websites much faster. You can, for example, add a Lighthouse that will check your website performance after each deployment, or add a notification action that will inform you when something goes wrong. There are tons of possibilities and they are yours to explore. Go wild!