如何使用Buddy自动化和部署Node.js应用
We designed Buddy to help developers gain the upper hand within the ever-changing web environment by automating and streamlining development process to the maximum. This guide will tell how to achieve that by introducing the Continuous approach to your workflow, so that you'll be able to deliver better Node.js apps more often with as little hassle as possible.
Objectives of this guide
Upon completing this guide you will be able to:
- Understand the idea of Continuous Integration and Delivery
- Configure tests for your Node.js app
- Automate package deliveries upon every change to code
Automating releases with CI/CD
The concept of Continuous Integration and Delivery assumes that your software is always tested and ready to deploy with every release. Buddy supports a wide variety of tools and frameworks that let you achieve that by constructing your own delivery workflow. So here's how you can test out Buddy and Node Js in action:
Employing Continuous Integration will allow you to:
- produce reliable software in short iterations
- receive feedback faster any time a change is made to the system
- ensure all tests are performed in one consistent environment across all developers
- facilitate manual QA processes by applying automatic continuous testing on the build server
- avoid last-minute panic in the office before deployments to production :)
- automate repeatable activities and focus on actual coding
Ready to begin? Go!
Prepare the Git repository
It's not possible to apply Continuous Integration without first putting your files safe and sound under version control.
Begin with forking our demo project from GitHub: github.com/buddy-works/node-demo
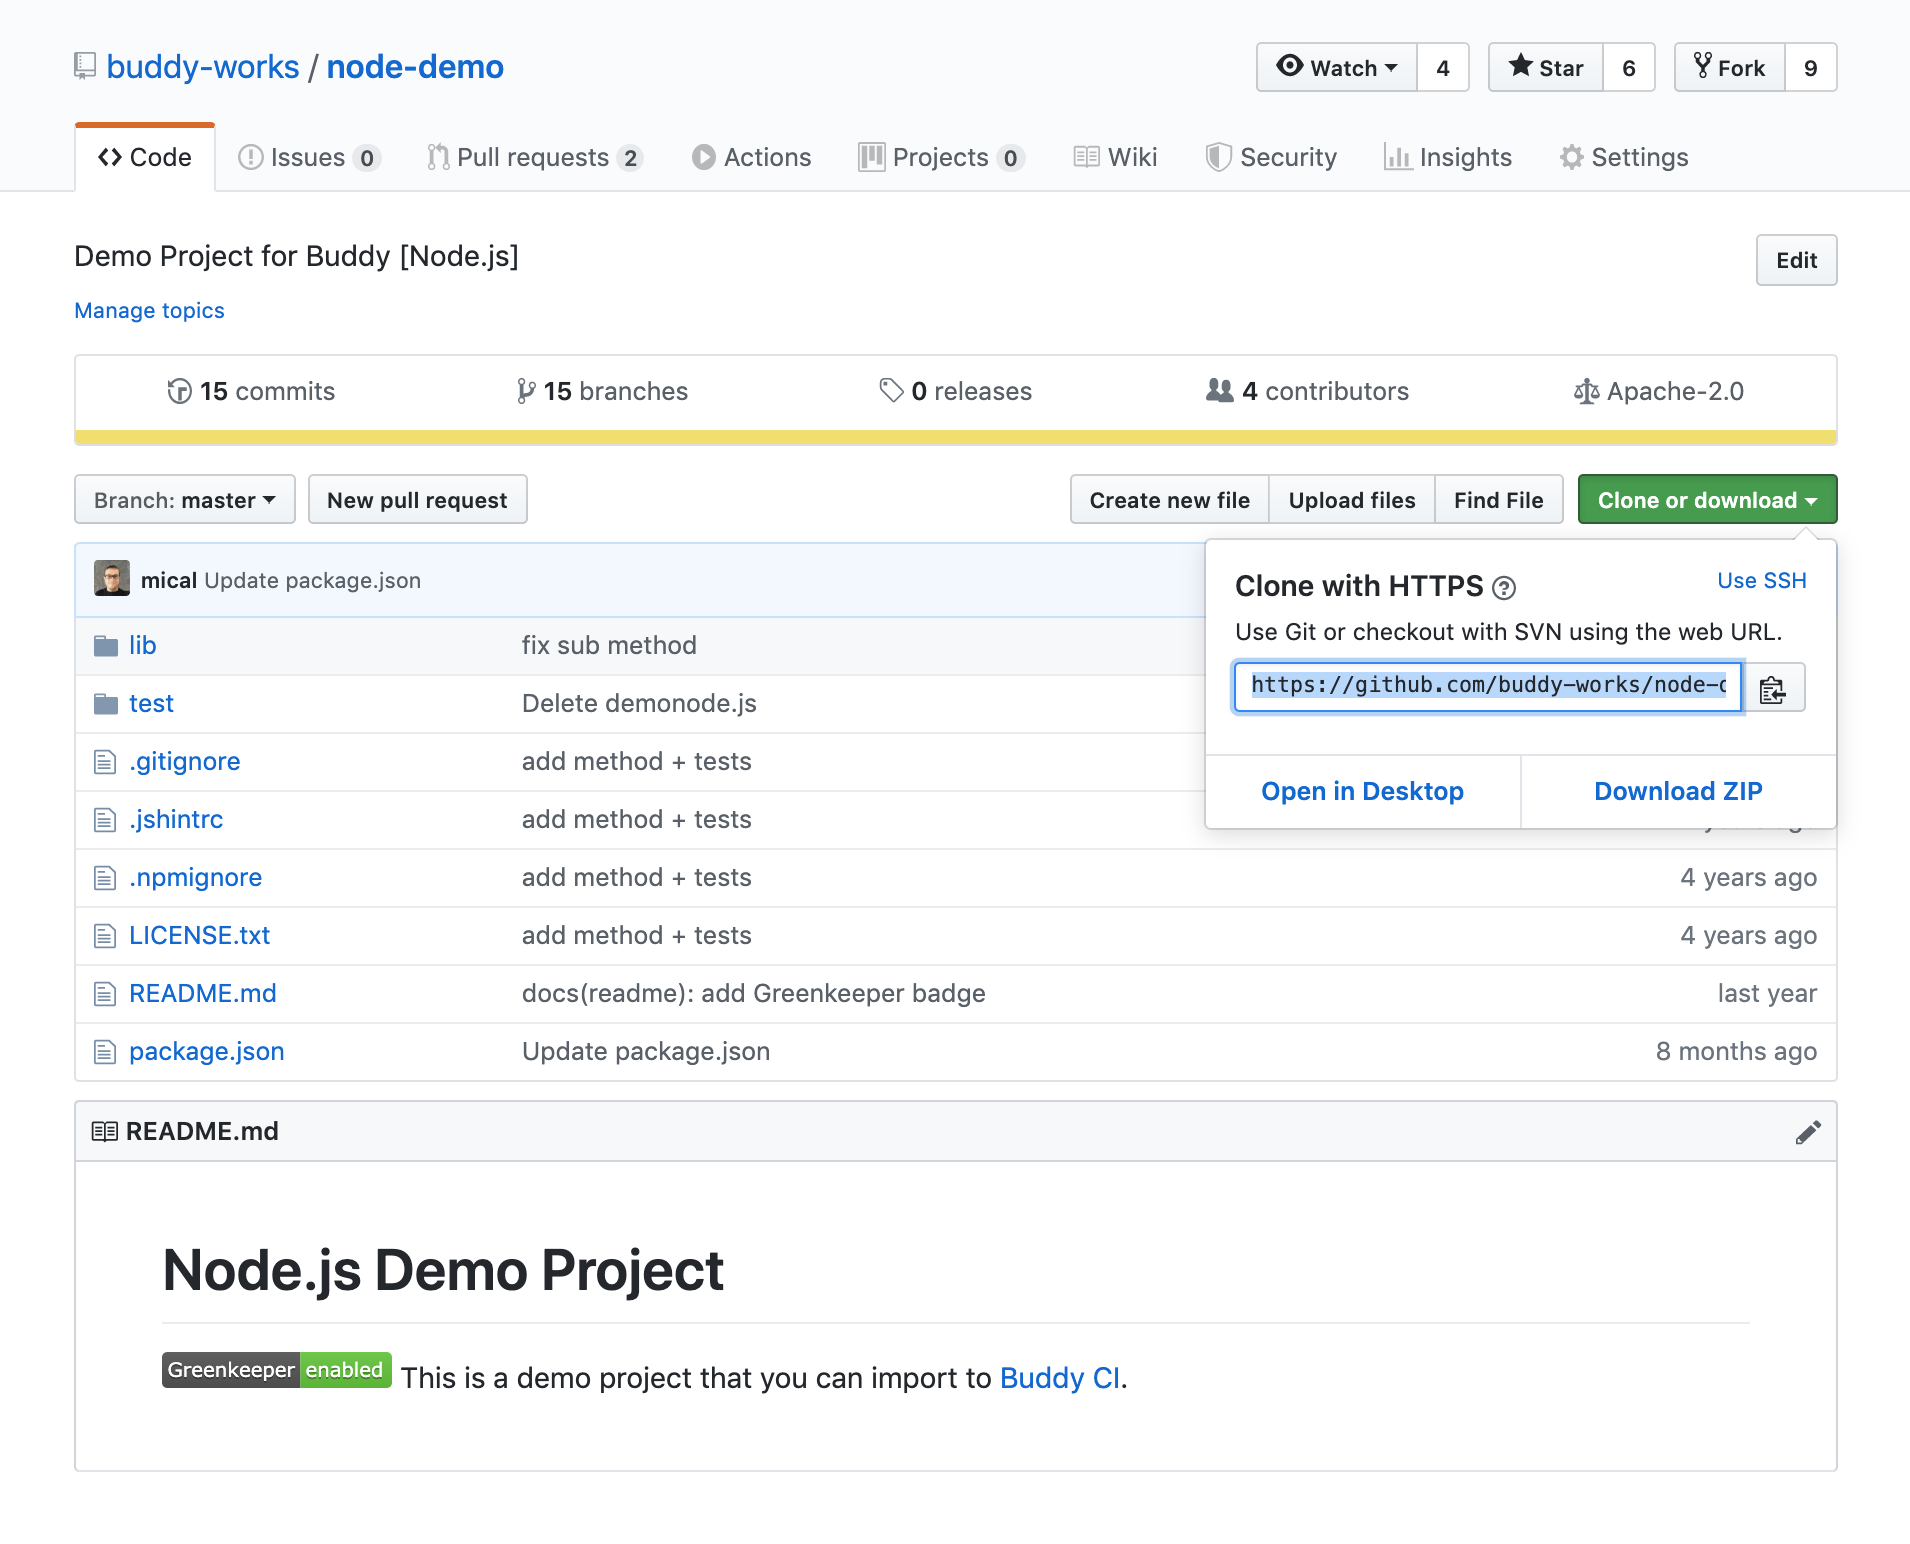
The project is Node-based, but you can use any JavaScript project instead if you like.
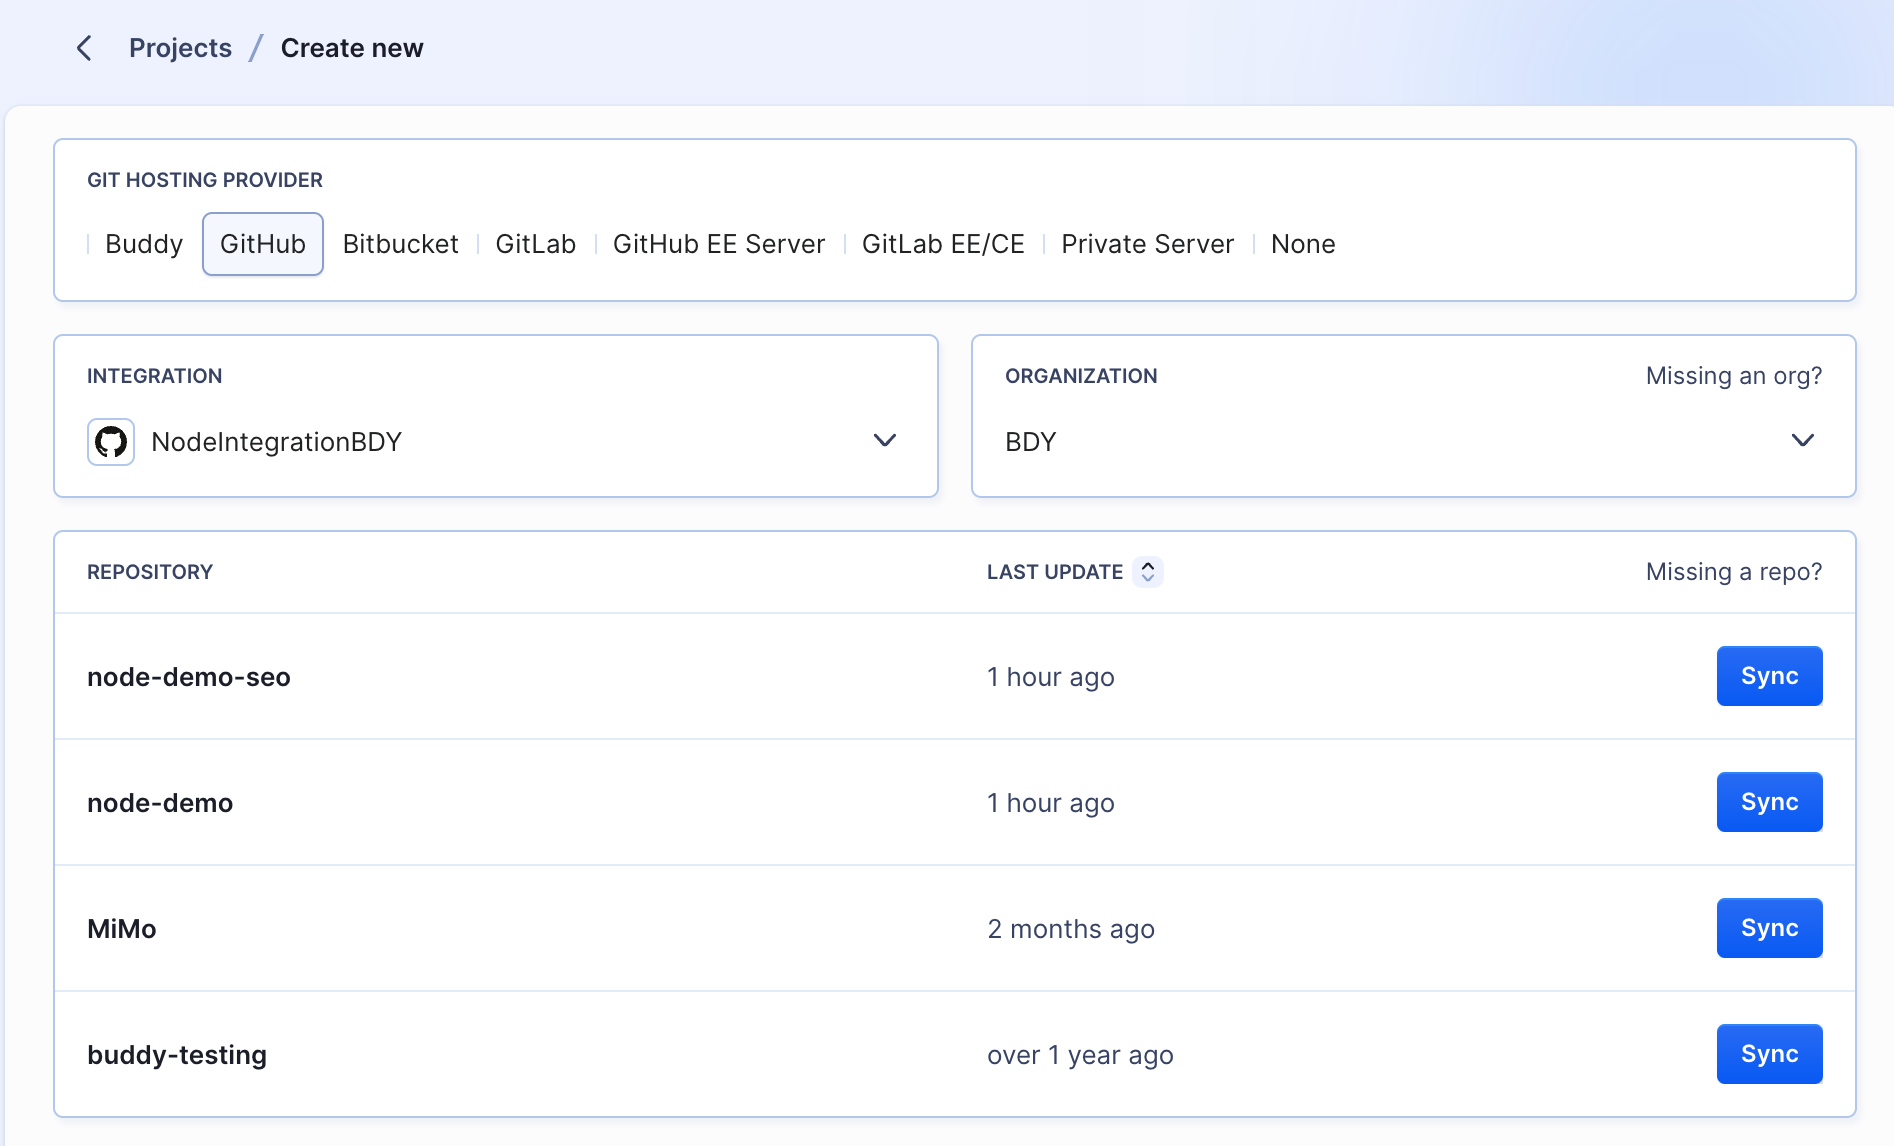
Synchronize the Git project
Fire up Buddy and create a new project. Select your Git provider and our demo project:
- If you're not familiar with Git, this beginner's guide to Git will get you started.
Create a delivery pipeline
Pipelines let you plan and execute actions that will build and test your app and deploy it to the server. This way you're able to release stable software more frequently which is one of the main goals of Continuous Integration. Let's create a pipeline that will test and deliver your app on every push to branch in the repository:
- Add a new pipeline, set the trigger mode to On every push and assign it to the branch to which you'll push the changes so that Buddy knows when to launch the tests.
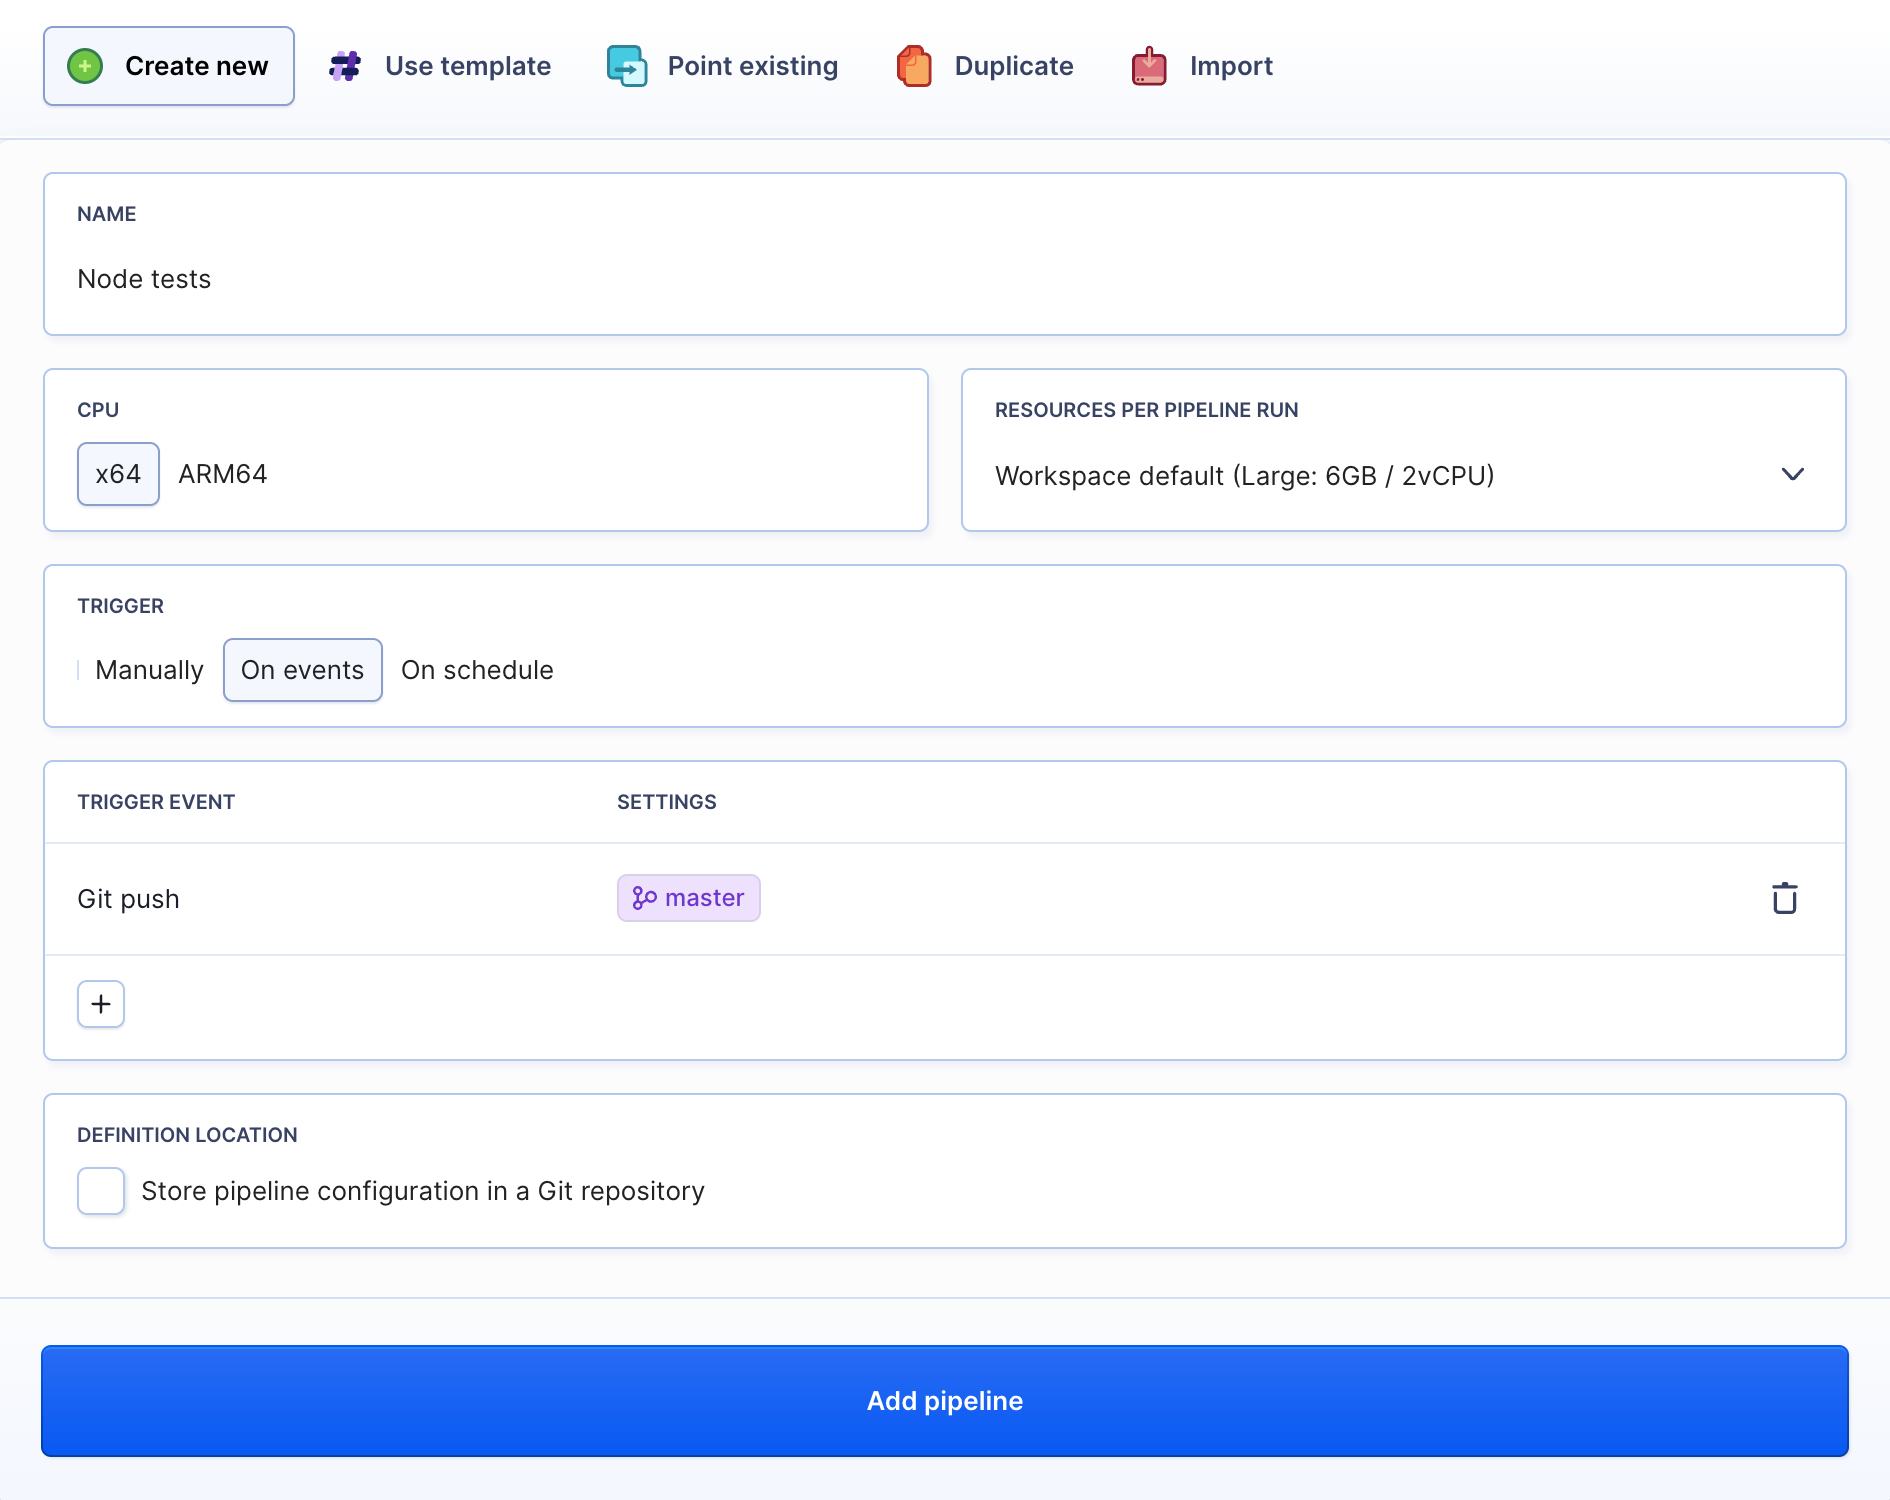
You can also set the trigger mode to manual or recurrent, which is useful for stage and production servers, or set a wildcard if you like to trigger the release from more than one branch. You can read more about pipelines and their settings here.
Configure the tests for your Node.js app
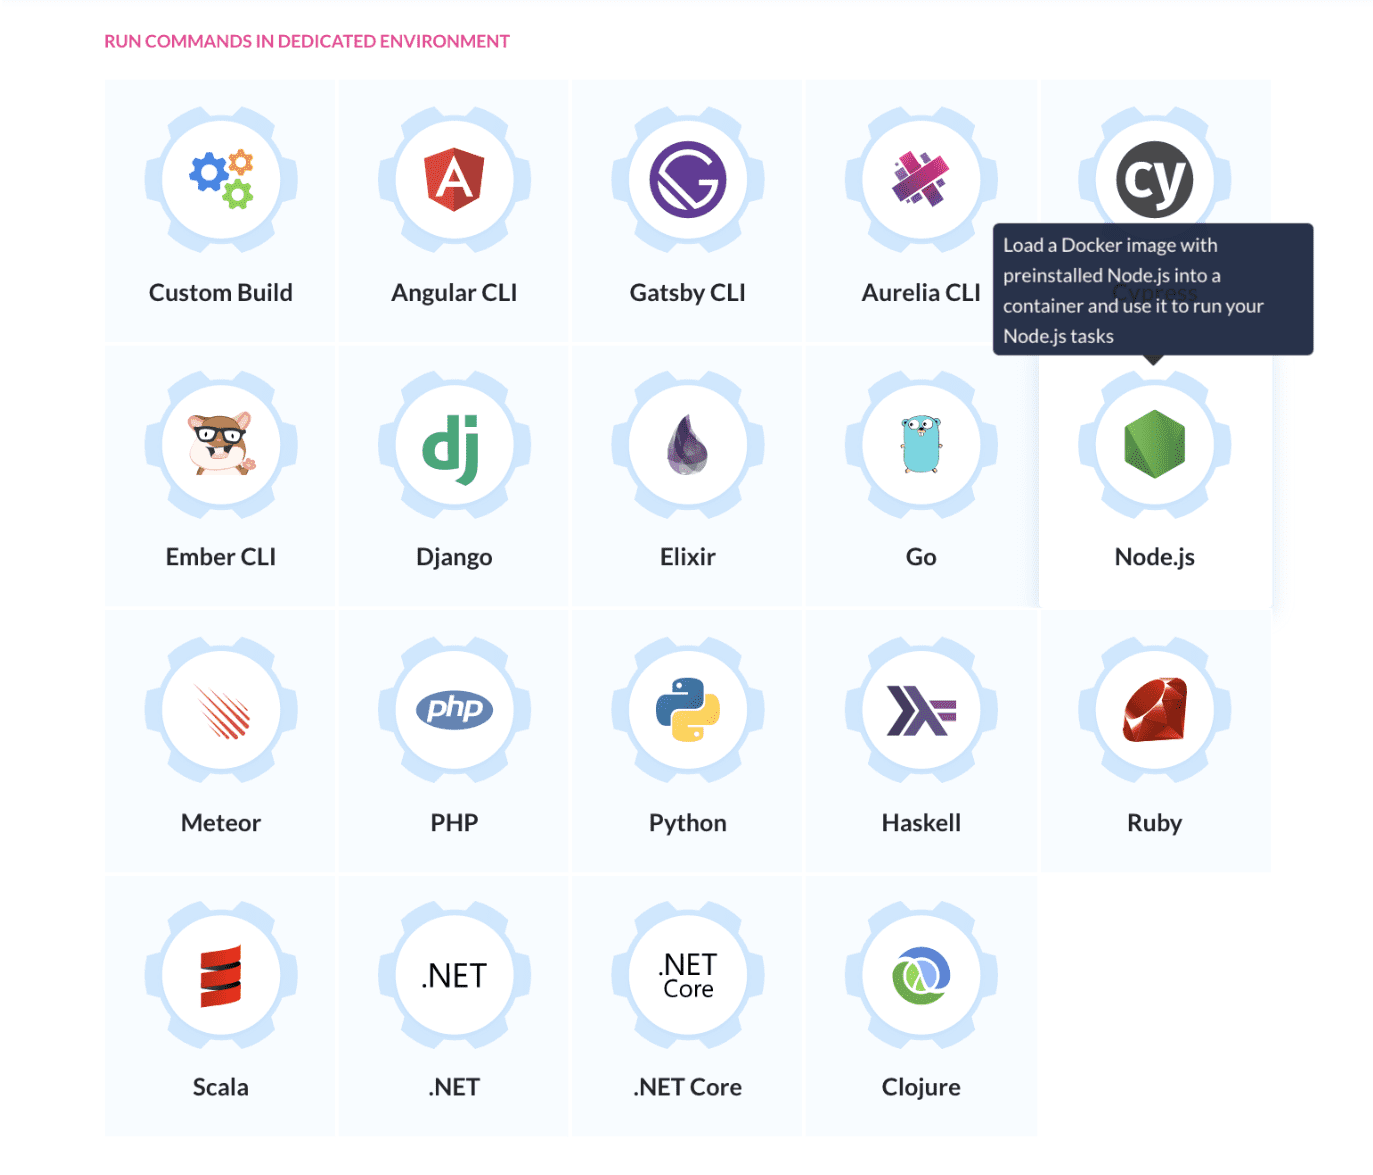
Now we need to configure an action that will run the tests. Buddy uses Docker containers with pre-installed tools (apps, frameworks, etc.) that you can modify to your liking.
Select Node from the action list:
Here you can specify the commands that will be run with each execution. The default commands for this action are:
npm install- installation of dependenciesnpm test- running tests
Click Add action when you're ready to save all changes.

NOTES
- You can change the version of Node and install missing packages in the Environment tab
- If you want to test your app in different instances, just add more actions with different Node versions
- If your tests require a database to run (eg. MongoDB), you can set it up in the Services tab
Automate deployment to the server
Once the unit tests have passed, it is time to deploy the app to the server. There you can, eg. run integration tests or preview it to your client. Automating these activities is the core of the Continuous Delivery approach.
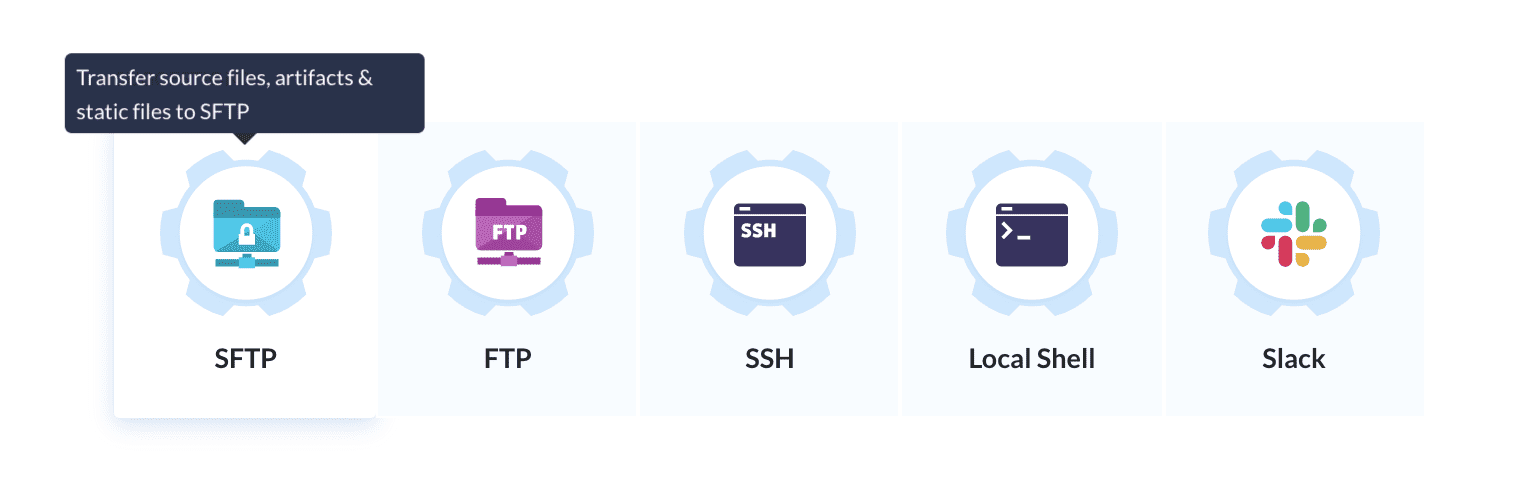
Add another action and select the transfer method for your server type. In this example we'll use SFTP:
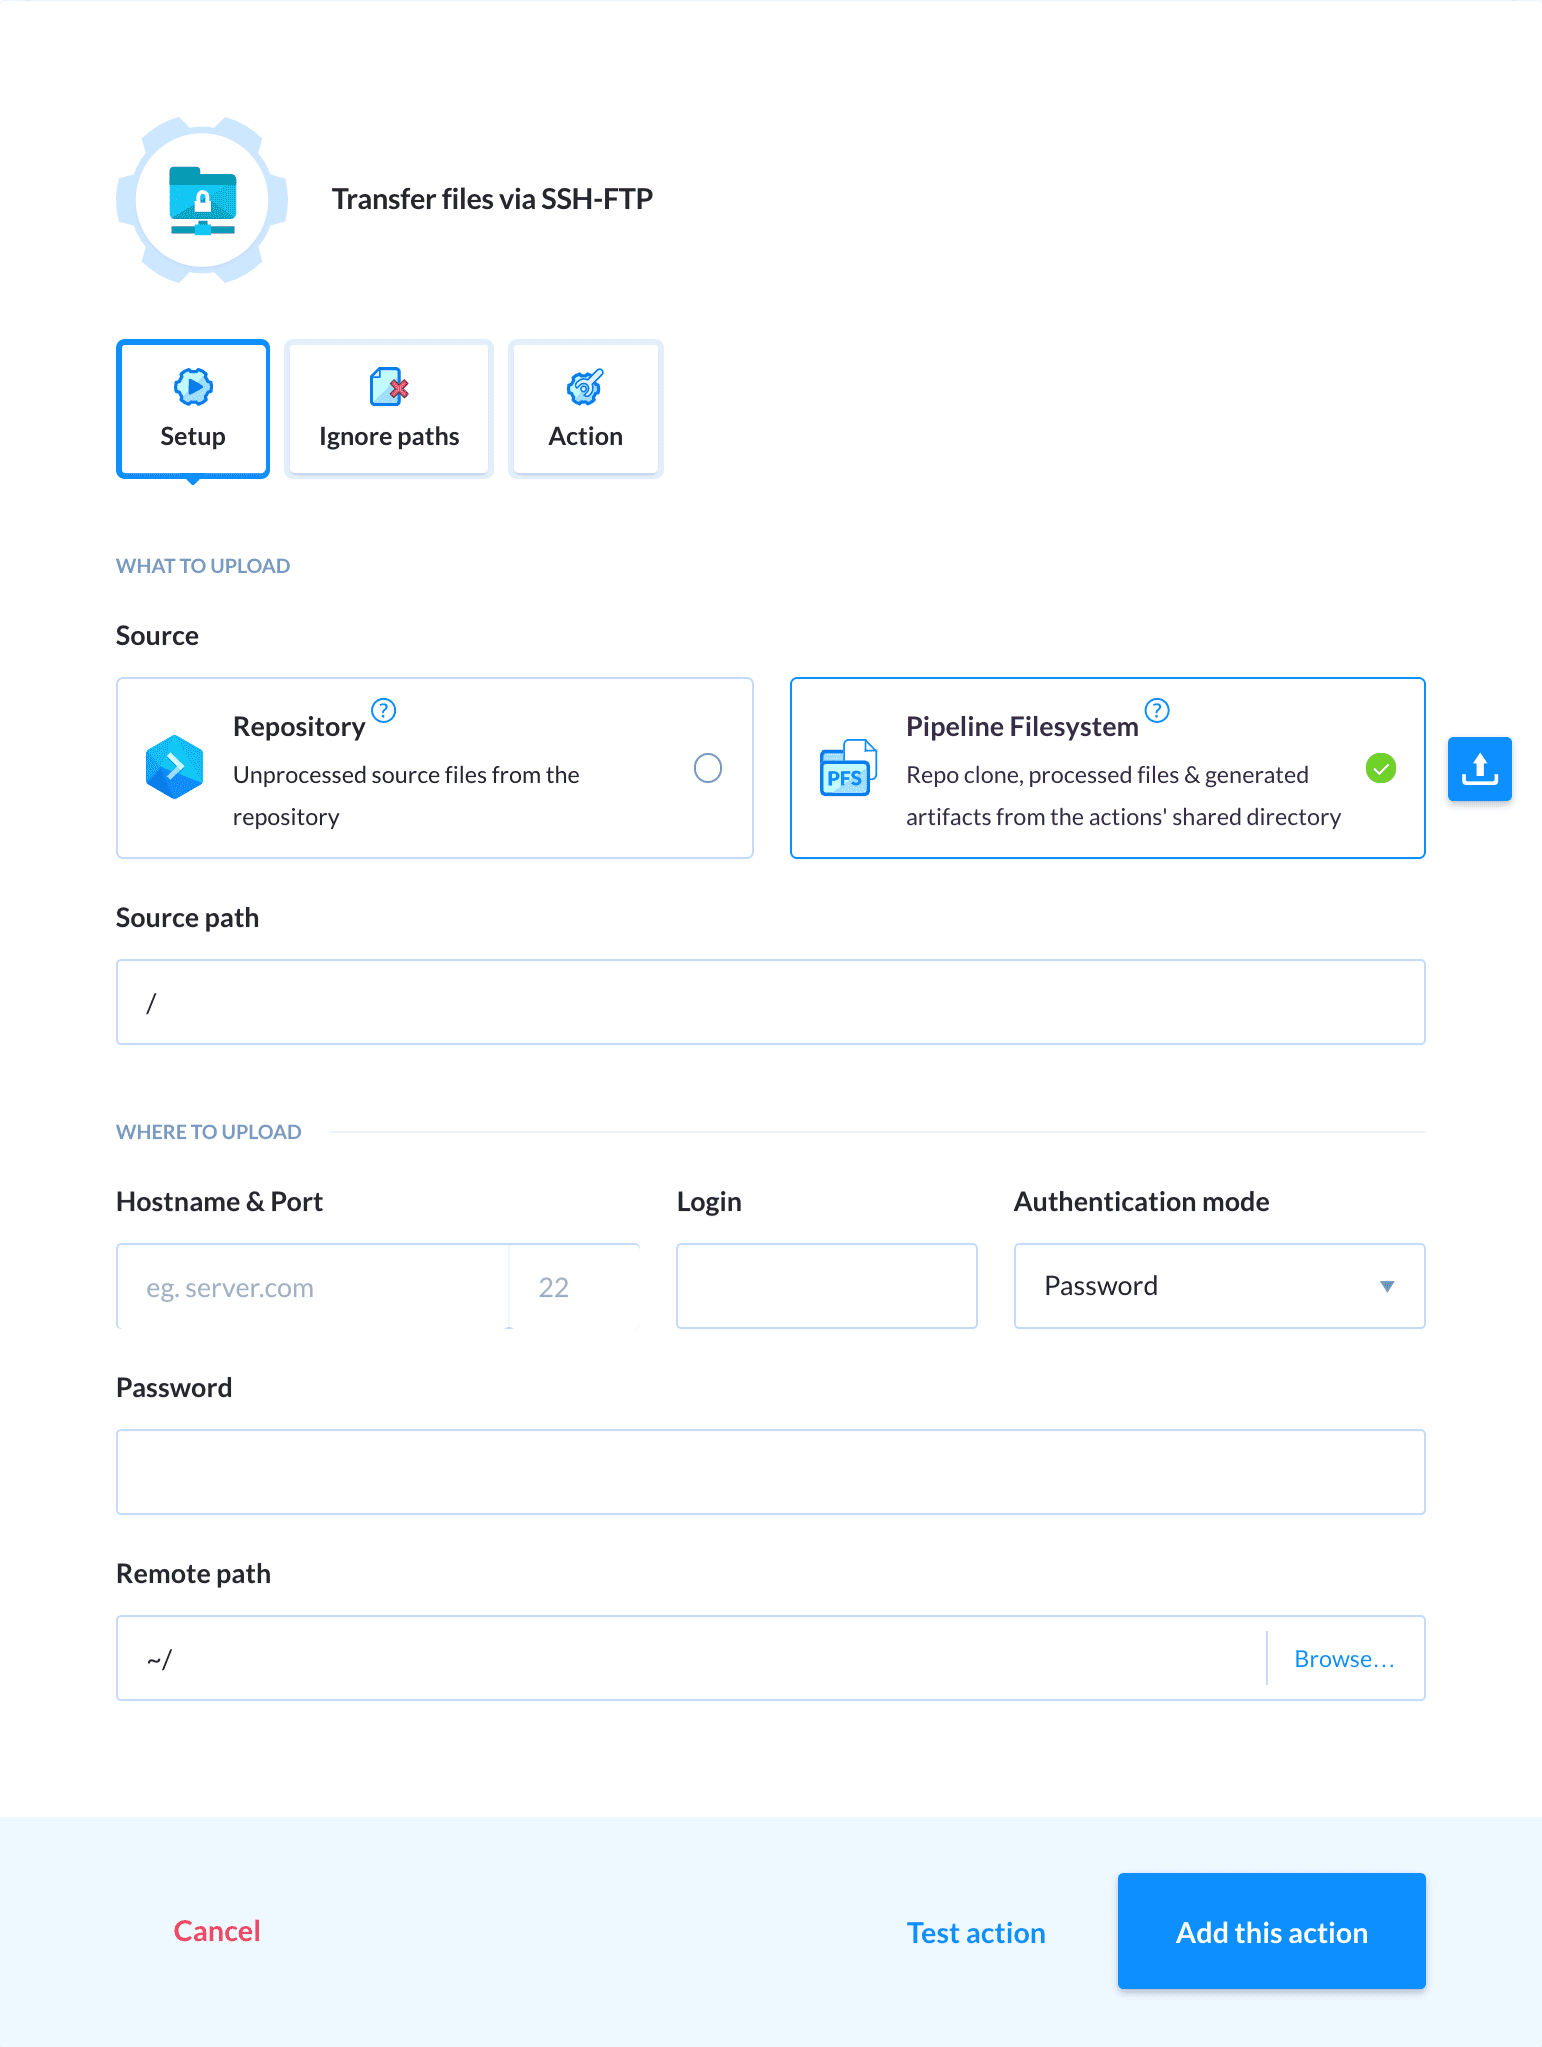
On the action settings screen, select Repository as the source so that Buddy will only deploy the tested app without any packages generated by npm. In this example, we don't want to deploy any packages because their shape depends on the system where the npm was executed. That's we'll first upload the files and run
npm installon the server afterward.Select the authentication mode and provide login details to your server. Clik Test to check if everything's correct, and add the action to the pipeline:
Run npm install on the server
To ensure everything will work as it should, we now have to run npm install on your server. The action can be automated with an SSH script:
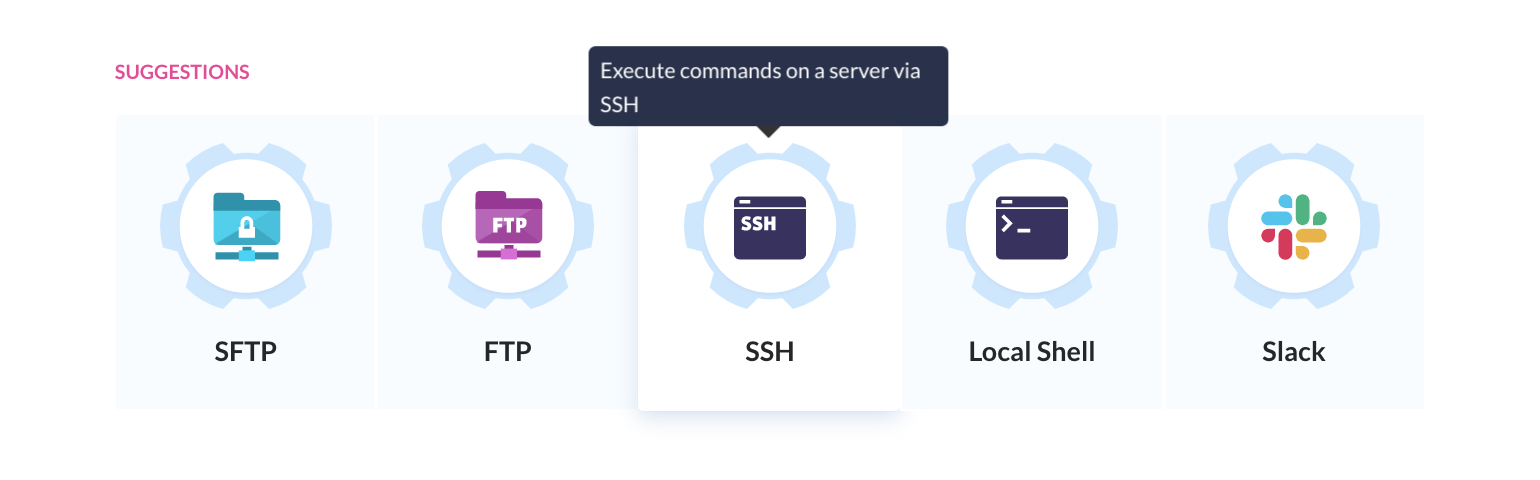
Add another action and select the SSH action:
Provide the authorization details to your server s you did with the SFTP action and enter
npm installin the command field: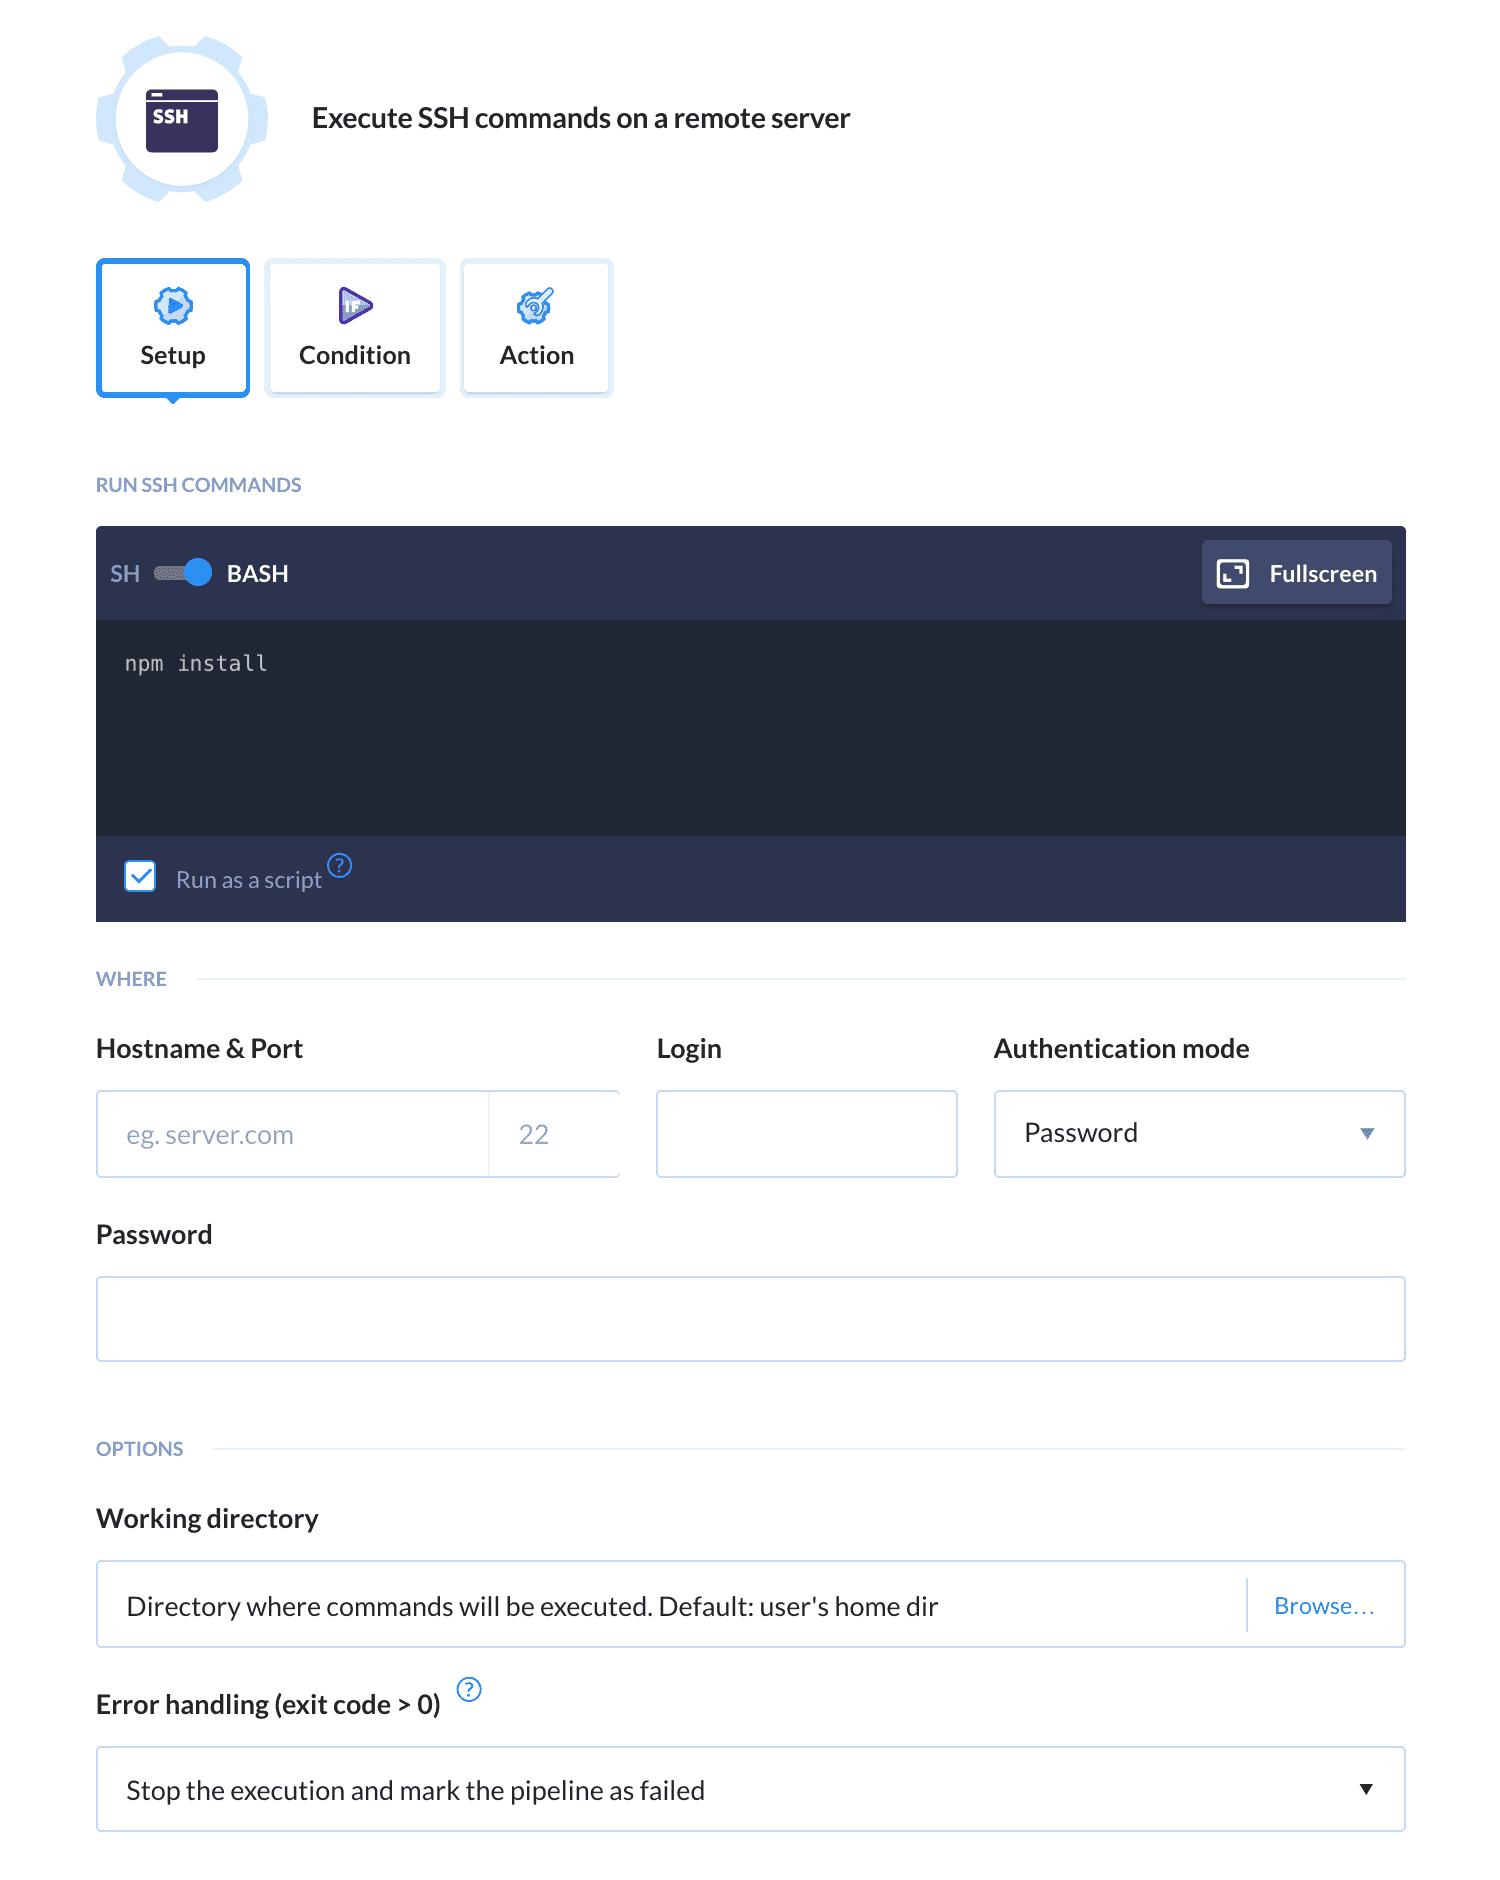
NOTES:
You can use environment variables to store sensitive data to your servers.
Run the pipeline
Congratulations! Your pipeline is configured and waiting for the execution. Make a push to the selected branch and watch Buddy automatically test and deliver your app:
Summary
The pipeline described represents a small portion of Buddy's capabilities. You can as well add conditional notifications keeping you aware when a test fails; monitoring actions that will check if your website is up and running; more deployment methods to update assets on IaaS platforms like AWS S3; or restart your server with an SSH script once the deploy is over.
If you need any help with setting up your workflow, drop a line to support@buddy.works with a short description of your development process and we'll tell you how to make it better with Buddy.