Astro
Creating static sites has never been easier and more accessible - that's a fact. Just look at the Hugos, Gatsbys, and Docusauruses (Docusaurai?) of the world. Tonnes of built-in functionality, modern styling, an abundance of available themes, etc. You can't go wrong with any of the available tools, and the number of possible choices is just mind-boggling.
Don't believe me? Just go and check out the list available here. Good luck going through it without your coffee going cold.
Today I'd like to draw your attention to Astro, which is one of the newest kids on the static site generation block. Why would you want to try it and choose it over its more popular and older brethren?
While the developer experience doesn't differ from other JS-based static site generators that much, websites created with Astro come with much less JavaScript on the front-end. Not only that, but Astro is also a breeze to use and it works great in Buddy CI/CD pipelines.
Let's check it out together, shall we?
Installation
First things first, let's install Astro on our machines. The process is pretty straightforward - run this command to start a handy installation wizard:
npm init astro
From there it's as easy as following the onscreen instructions and prompts.
You can apply specific templates during the installation by using the template parameter:
# official templates
npm init astro -- --template [OFFICIAL_EXAMPLE_NAME]
# community templates
npm init astro -- --template [GITHUB_USER]/[REPO_NAME]
After the installation is complete, install your project's dependencies and start it:
npm install
npm start
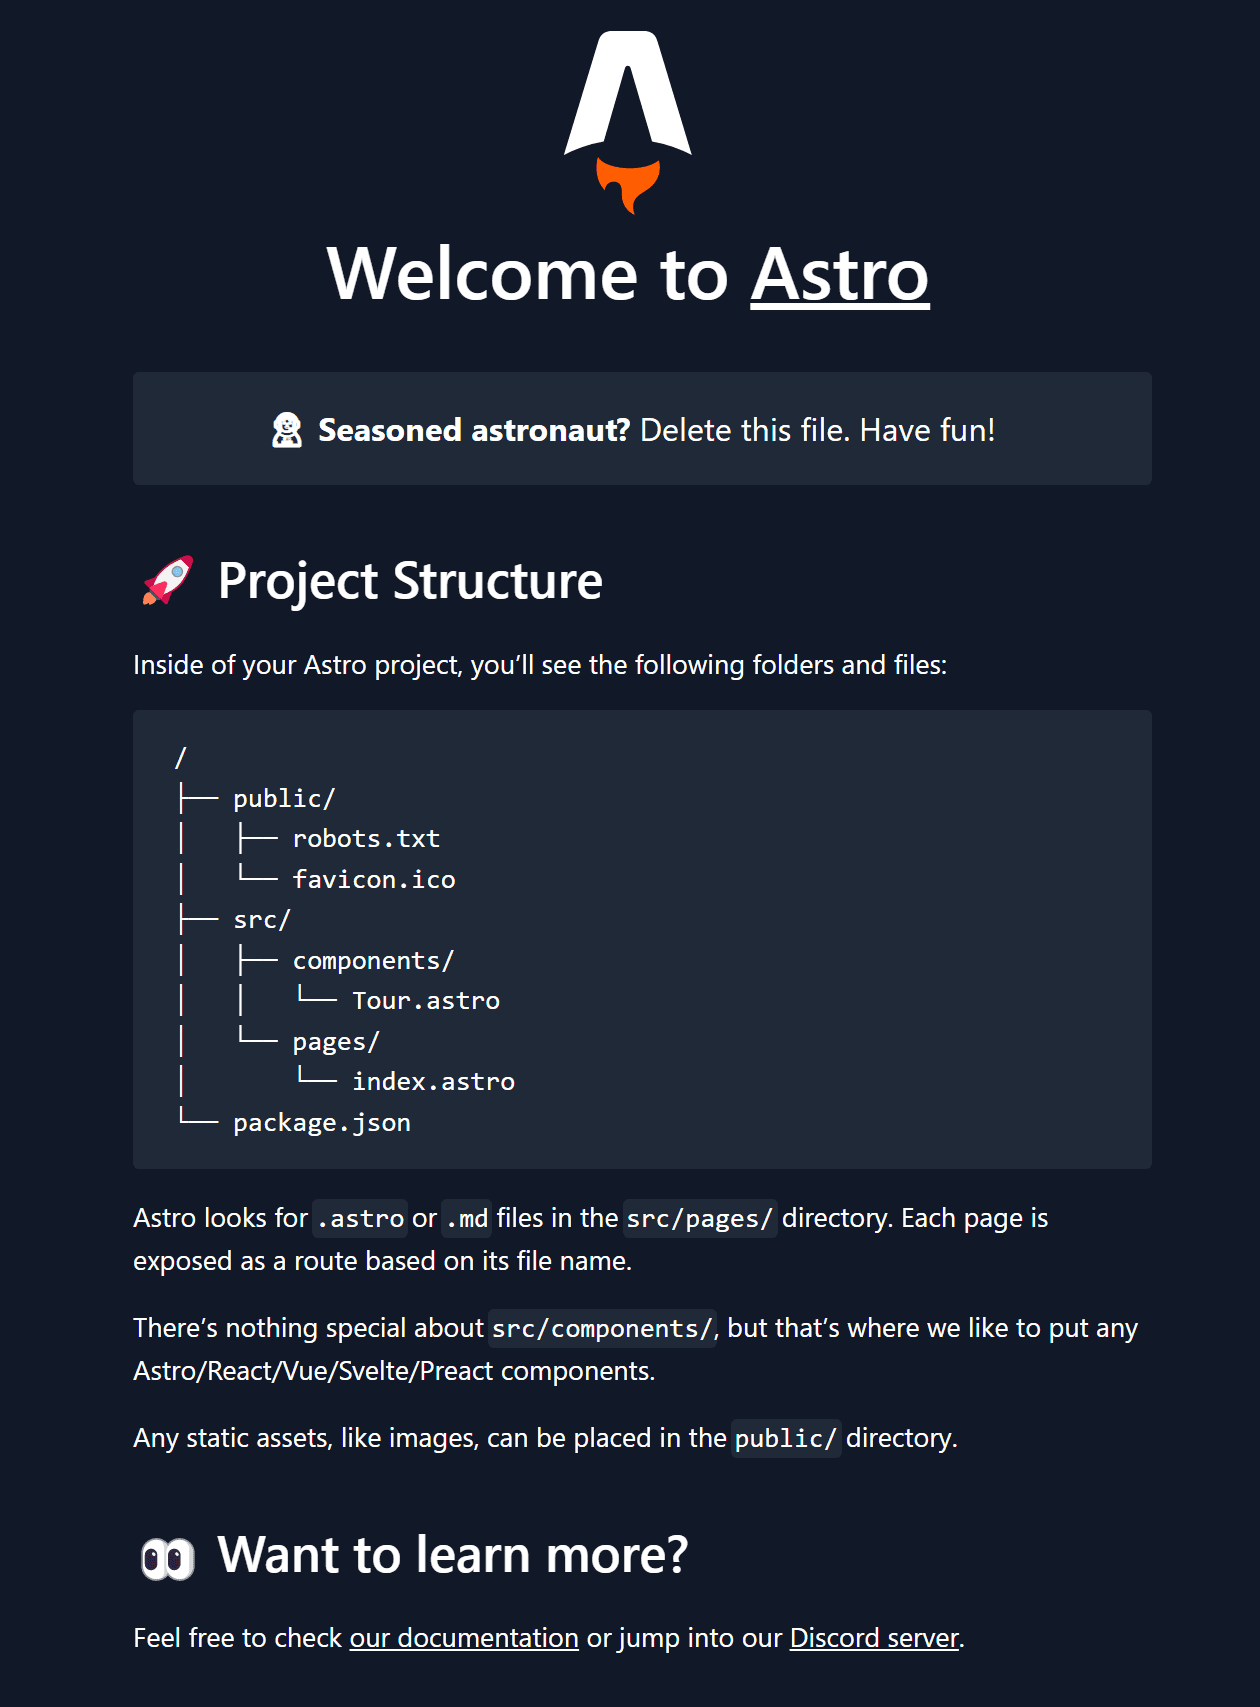
This is what the official Astro Starter looks like:
Structure
With astro installed, let's have a look at the default project structure:
├── dist/
├── src/
│   ├── components/
│   ├── layouts/
│   └── pages/
│       └── index.astro
├── public/
└── package.json
As you can see, the basic structure is clear and logically laid out. Here are the most important things you need to know about your Astro project:
- Most of our project lives in the
srcfolder. Components, layouts, and pages are arranged neatly into clearly-labeled sub-folders. - The
publicfolder is used to store all files that live outside of the build process such as images, fonts, or therobots.txtfile. - The
distfolder is the home of the fully built website that is ready to deploy on the production server.
Now that we've got a good understanding of the project structure, let's study the nature of the residents of the src directory.
Components
Components are reusable chunks of code you can use in multiple places through importing. Native components use the .astro extension. You're not limited to using .astro components, though. Non-Astro components built in React, Preact, Svetle, etc. are also supported.
Let's create our first component:
<!-- src/components/Buddy.astro -->
<div class="buddy-component">
  <h2>Hello world!</h2>
</div>
Remember to save the file with the .astro extension.
As mentioned earlier, to use a component in your code you must import it first.
If we want to use it, we have to import it first:
---
import BuddyComponent from ../components/Buddy.astro
---
<div>
    <BuddyComponent />
</div>
While importing the component, you probably saw the three dashes ---:
---
// {SOME_CODE_HERE}
---
Between the dashes is where you should add all of the JS code you want to run during the build of your website.
Let's move along and add props to our component:
---
const { title = 'Hello' } = Astro.props
---

<div class="buddy-component">
  <h2>{title}</h2>
</div>
This is how this component will look in our code:
---
import BuddyComponent from ../components/Buddy.astro
---

<div>
  <BuddyComponent title="Good day"/>
</div>
Layouts
Layouts are also reusable components, but they are used as HTML page layouts. Thanks to them we can put all the repeatable code like <body>, <head>, etc. in a single file.
When it comes to syntax, Layouts look exactly the same as Components:
---
// src/layouts/Base.astro
const { pageTitle = 'Hello world' } = Astro.props
---

<html lang="en">
<head>
    <meta charset="UTF-8">
    <meta name="viewport" content="width=device-width">
    <title>{pageTitle}</title>

</head>
<body>
    <main>
           <slot />
    </main>
</body>
</html>
Nothing new here apart from using the <slot/> component. It will be replaced with any content we put inside of the <Base></Base> component.
---
// Component Imports
import Base from '../layouts/Base.astro';
import BuddyComponent from '../components/Buddy.astro';
---

<Base title="Hello world">
    <div>
        <p>Some example text.</p>

        <BuddyComponent />
    </div>

</Base>
So in this case, the <slot/> component will be replaced with this:
<div>
        <p>Some example text.</p>
        <BuddyComponent />
</div>
As you can see, layout also works great with props.
Pages
Pages are also a special type of components that are responsible for routing, data loading, and templating of all your website pages.
Astro uses a file-based routing, which means that:
src/pages/index.astro -> domain.com
src/pages/test.astro -> domain.com/test
src/pages/test/subpage -> domain.com/test/subpage
The most basic example of a page looks like this:
<!-- src/pages/index.astro -->
<!doctype html>
<html>
  <head>
    <title>Title</title>
  </head>
  <body>
    <h1>Hello, Buddy!</h1>
  </body>
</html>
It would be a great idea to import a Layout here, so let's use the one we already have:
---
// src/pages/index.astro

import Base from '../layouts/Base.astro';
---

<Base>
    <h1>Hello, Buddy!</h1>
</Base>
Let's extend this page a bit more and fetch some data from the Star Wars API :
---
import Base from '../layouts/Base.astro';

const response = await fetch('https://swapi.dev/api/films/');
const data = await response.json();
---

<Base>
    <h1>Star Wars movies</h1>
    <ul>
        {data.results.map(item => <li><strong>{item.title}</strong> ({item.release_date})</li>)}
    </ul>
</Base>
Thanks to the code above we'll be able to fetch the data about all the Star Wars movies. Also, each time we'll build the website all the data will be saved as HTML, which means that when users will visit our website, there's no need to fetch the data every time.
Routing
Astro has two types of routing - static and dynamic. A good example of static routing has been described in the Pages section.
In this paragraph, we'll look at dynamic routing, which can be used to create static pages based on data fetched from APIs.
Because Astro has a file-based routing system, the first step is to create a specific file:
pages/blog/[slug].astro -> blog/test
pages/[lang]/[slug].astro -> en/about-us
The URLs are built based on the variables in brackets.
Let's take a look at the complete website and dissect it as we go:
---
import Base from '../../layouts/Base.astro';

export async function getStaticPaths() {
  const data = await fetch('https://swapi.dev/api/films/').then(response => response.json());
  return data.results.map((post) => {
    return {
      params: { id: post.episode_id.toString() },
      props: { post } };
  });
}
const {post} = Astro.props;
---

<Base>
    <p>Episode {post.episode_id}</p>
    <h1>{post.title}</h1>

    <p>{post.opening_crawl}</p>
</Base>
If we want to create static pages based on an API, we have to use the getStaticPaths function. The params object will consist of variables we want to use contained in brackets. The props object is for all the other variables we want to use on the page.
In our case, we used episode_id as a param and we put the rest of the data inside of props. All of this leads to generating pages with URLs like /1, /2 etc.
Deployment using Buddy
Now that we've learned the ropes of creating websites using Astro, it's time to build one and deploy it on a server.
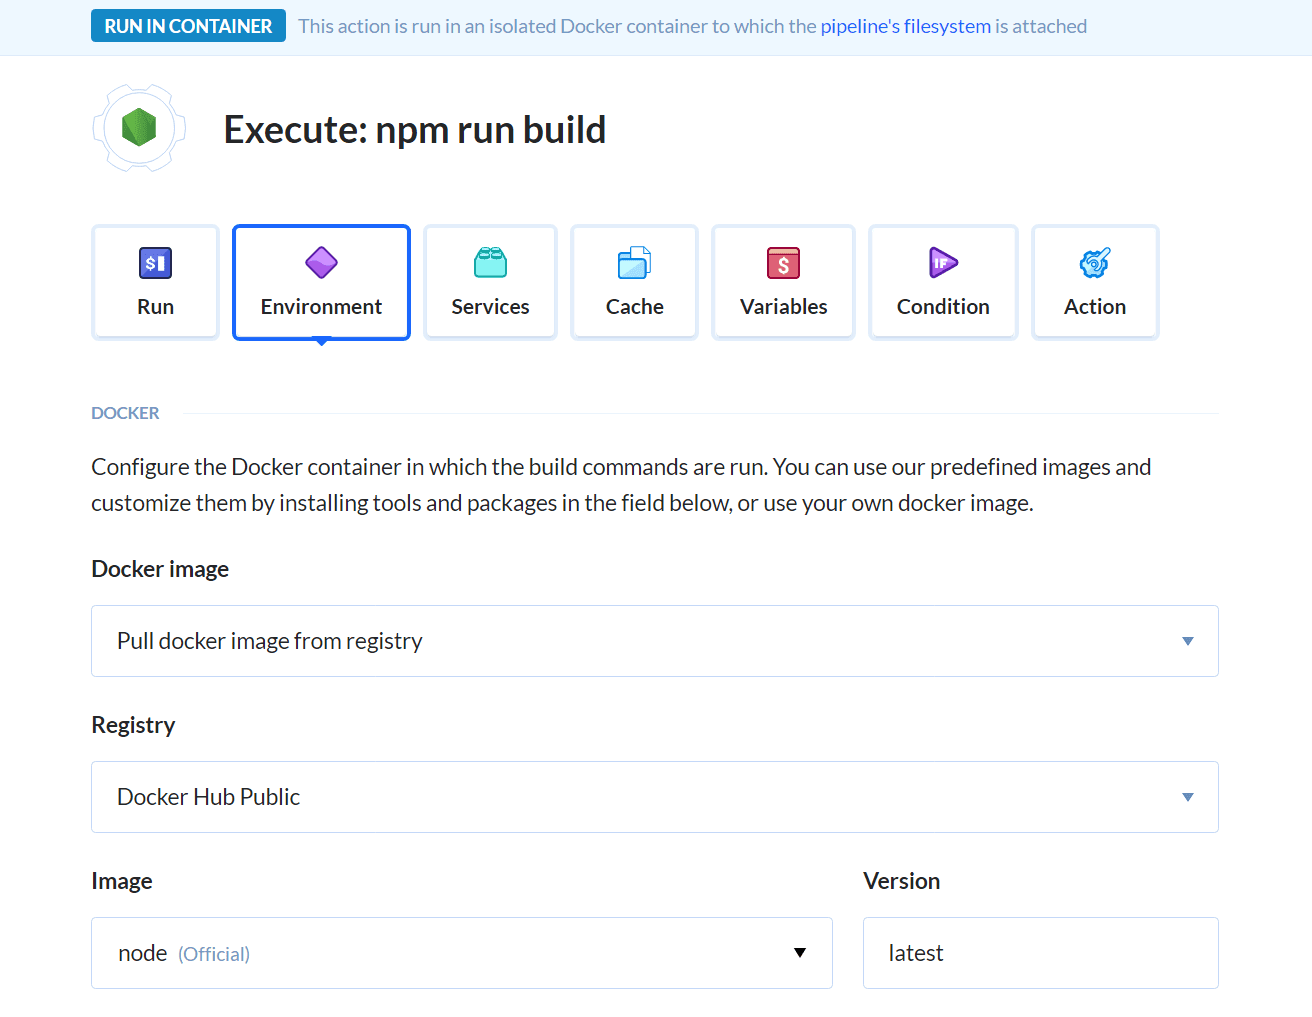
After creating a new pipeline, we need to add a Node.js action with these commands:
npm install
npm run build
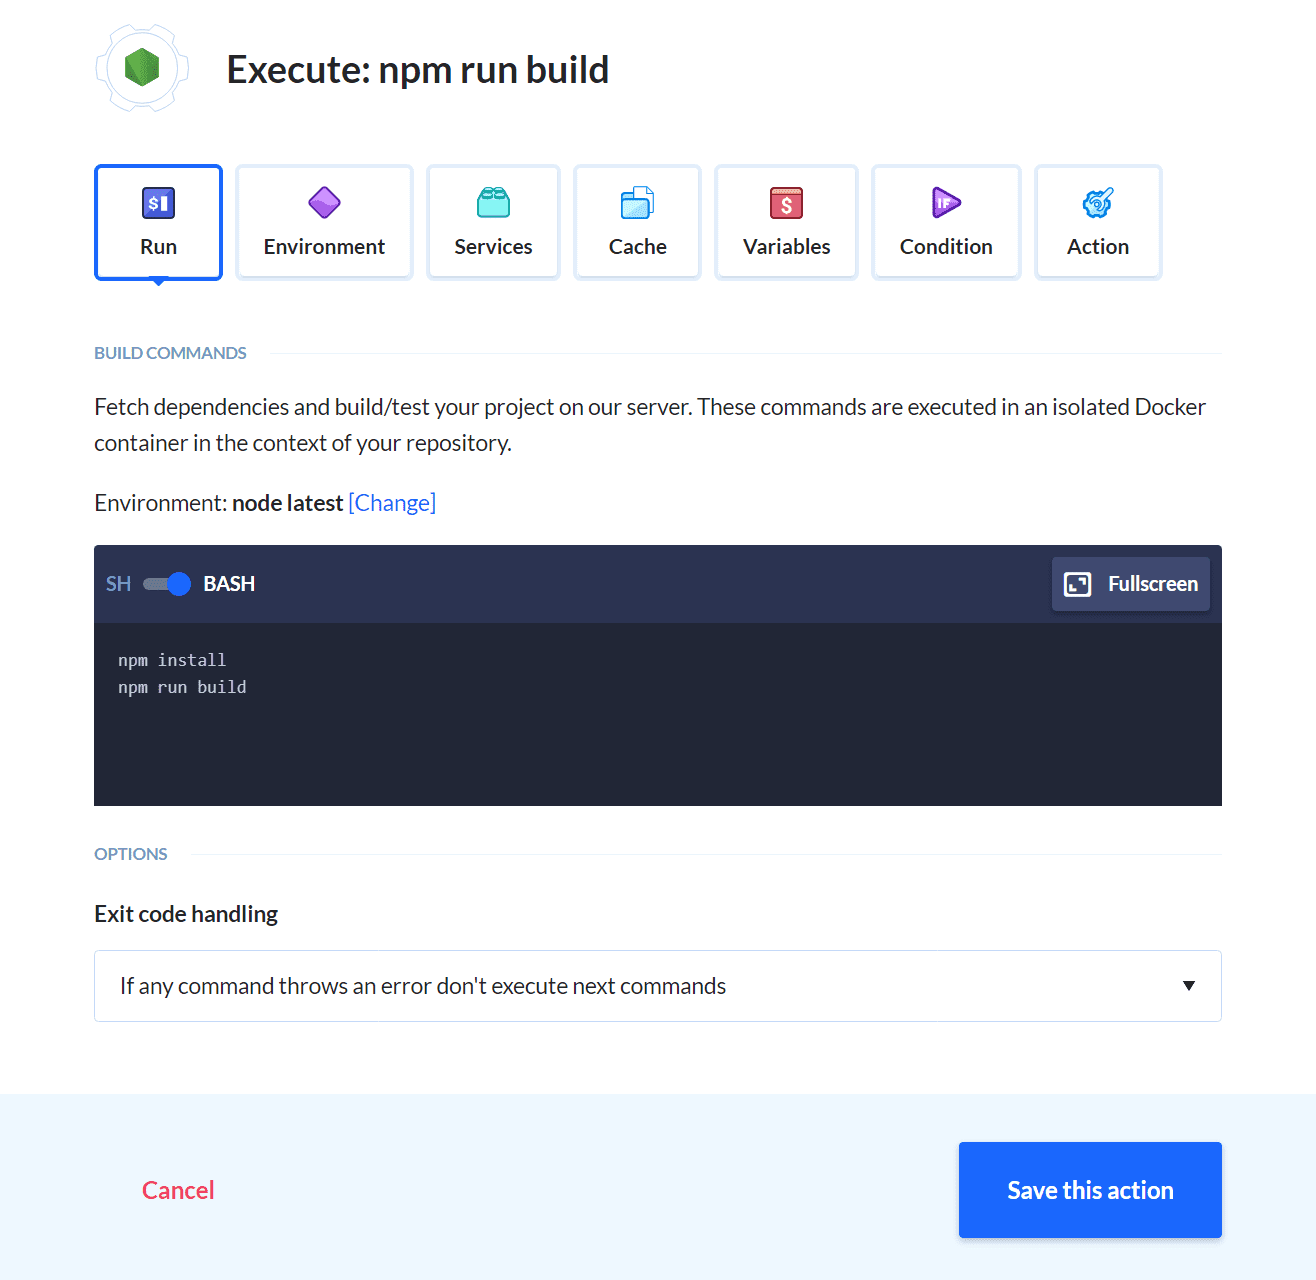
It's also important to set the Node version to at least 14.15.0.
The only thing left is to push our code to a server. With Buddy, you can deploy to a wide range of managed hosting providers or to private servers. You can see all available integrations here.
In the case of Astro sites, remember to push only the dist folder which contains the built and ready-to-publish website.
Wrapping up
As you can see, creating an Astro website is quite easy. Although we only scratched the surface of what this it can do, I hope these basics will help you start your adventure with this static site generator.
If you ever thought that your static site is over-JS'ed, Astro is a great tool that'll help you build sites easily, quickly, and with less JavaScript.