Statamic 介绍
While it may come as a surprise for some, WordPress is not the only PHP-based CMS out there. If you are looking for some interesting alternatives, you may like Statamic.
In this guide, I will introduce you to the basics of Statamic and explain how to build and deploy the changes and how to convert it to a static website.
What is Statamic
Statamic is a modern flat-file CMS build based on Laravel. The coolest thing about it is the way how it can adapt to our current requirement. By default, it's based on files, but it has database support. It's dynamic, but it can be converted to a static site. It can be a front-to-back CMS, but we can use it as a headless CMS too.
Requirements and Installation
To install and run Statamic on your server you'll need:
- PHP
>= 7.4 - BCMath PHP Extension
- Ctype PHP Extension
- Exif PHP Extension
- JSON PHP Extension
- Mbstring PHP Extension
- OpenSSL PHP Extension
- PDO PHP Extension
- Tokenizer PHP Extension
- XML PHP Extension
- GD Library or ImageMagick
Always remember to check out the requirements page in the documentation.
There are a few ways to install Statamic. You can find them all on this website.
Personally I prefer using the Statamic CLI:
composer global require statamic/cli
and then just run:
statamic new project_name
- Remember to add Composer to your
$PATHif you haven't already. - Based on your server configuration, you'll probably have to change the Virtual Host DocumentRoot to
your_path/public, too.
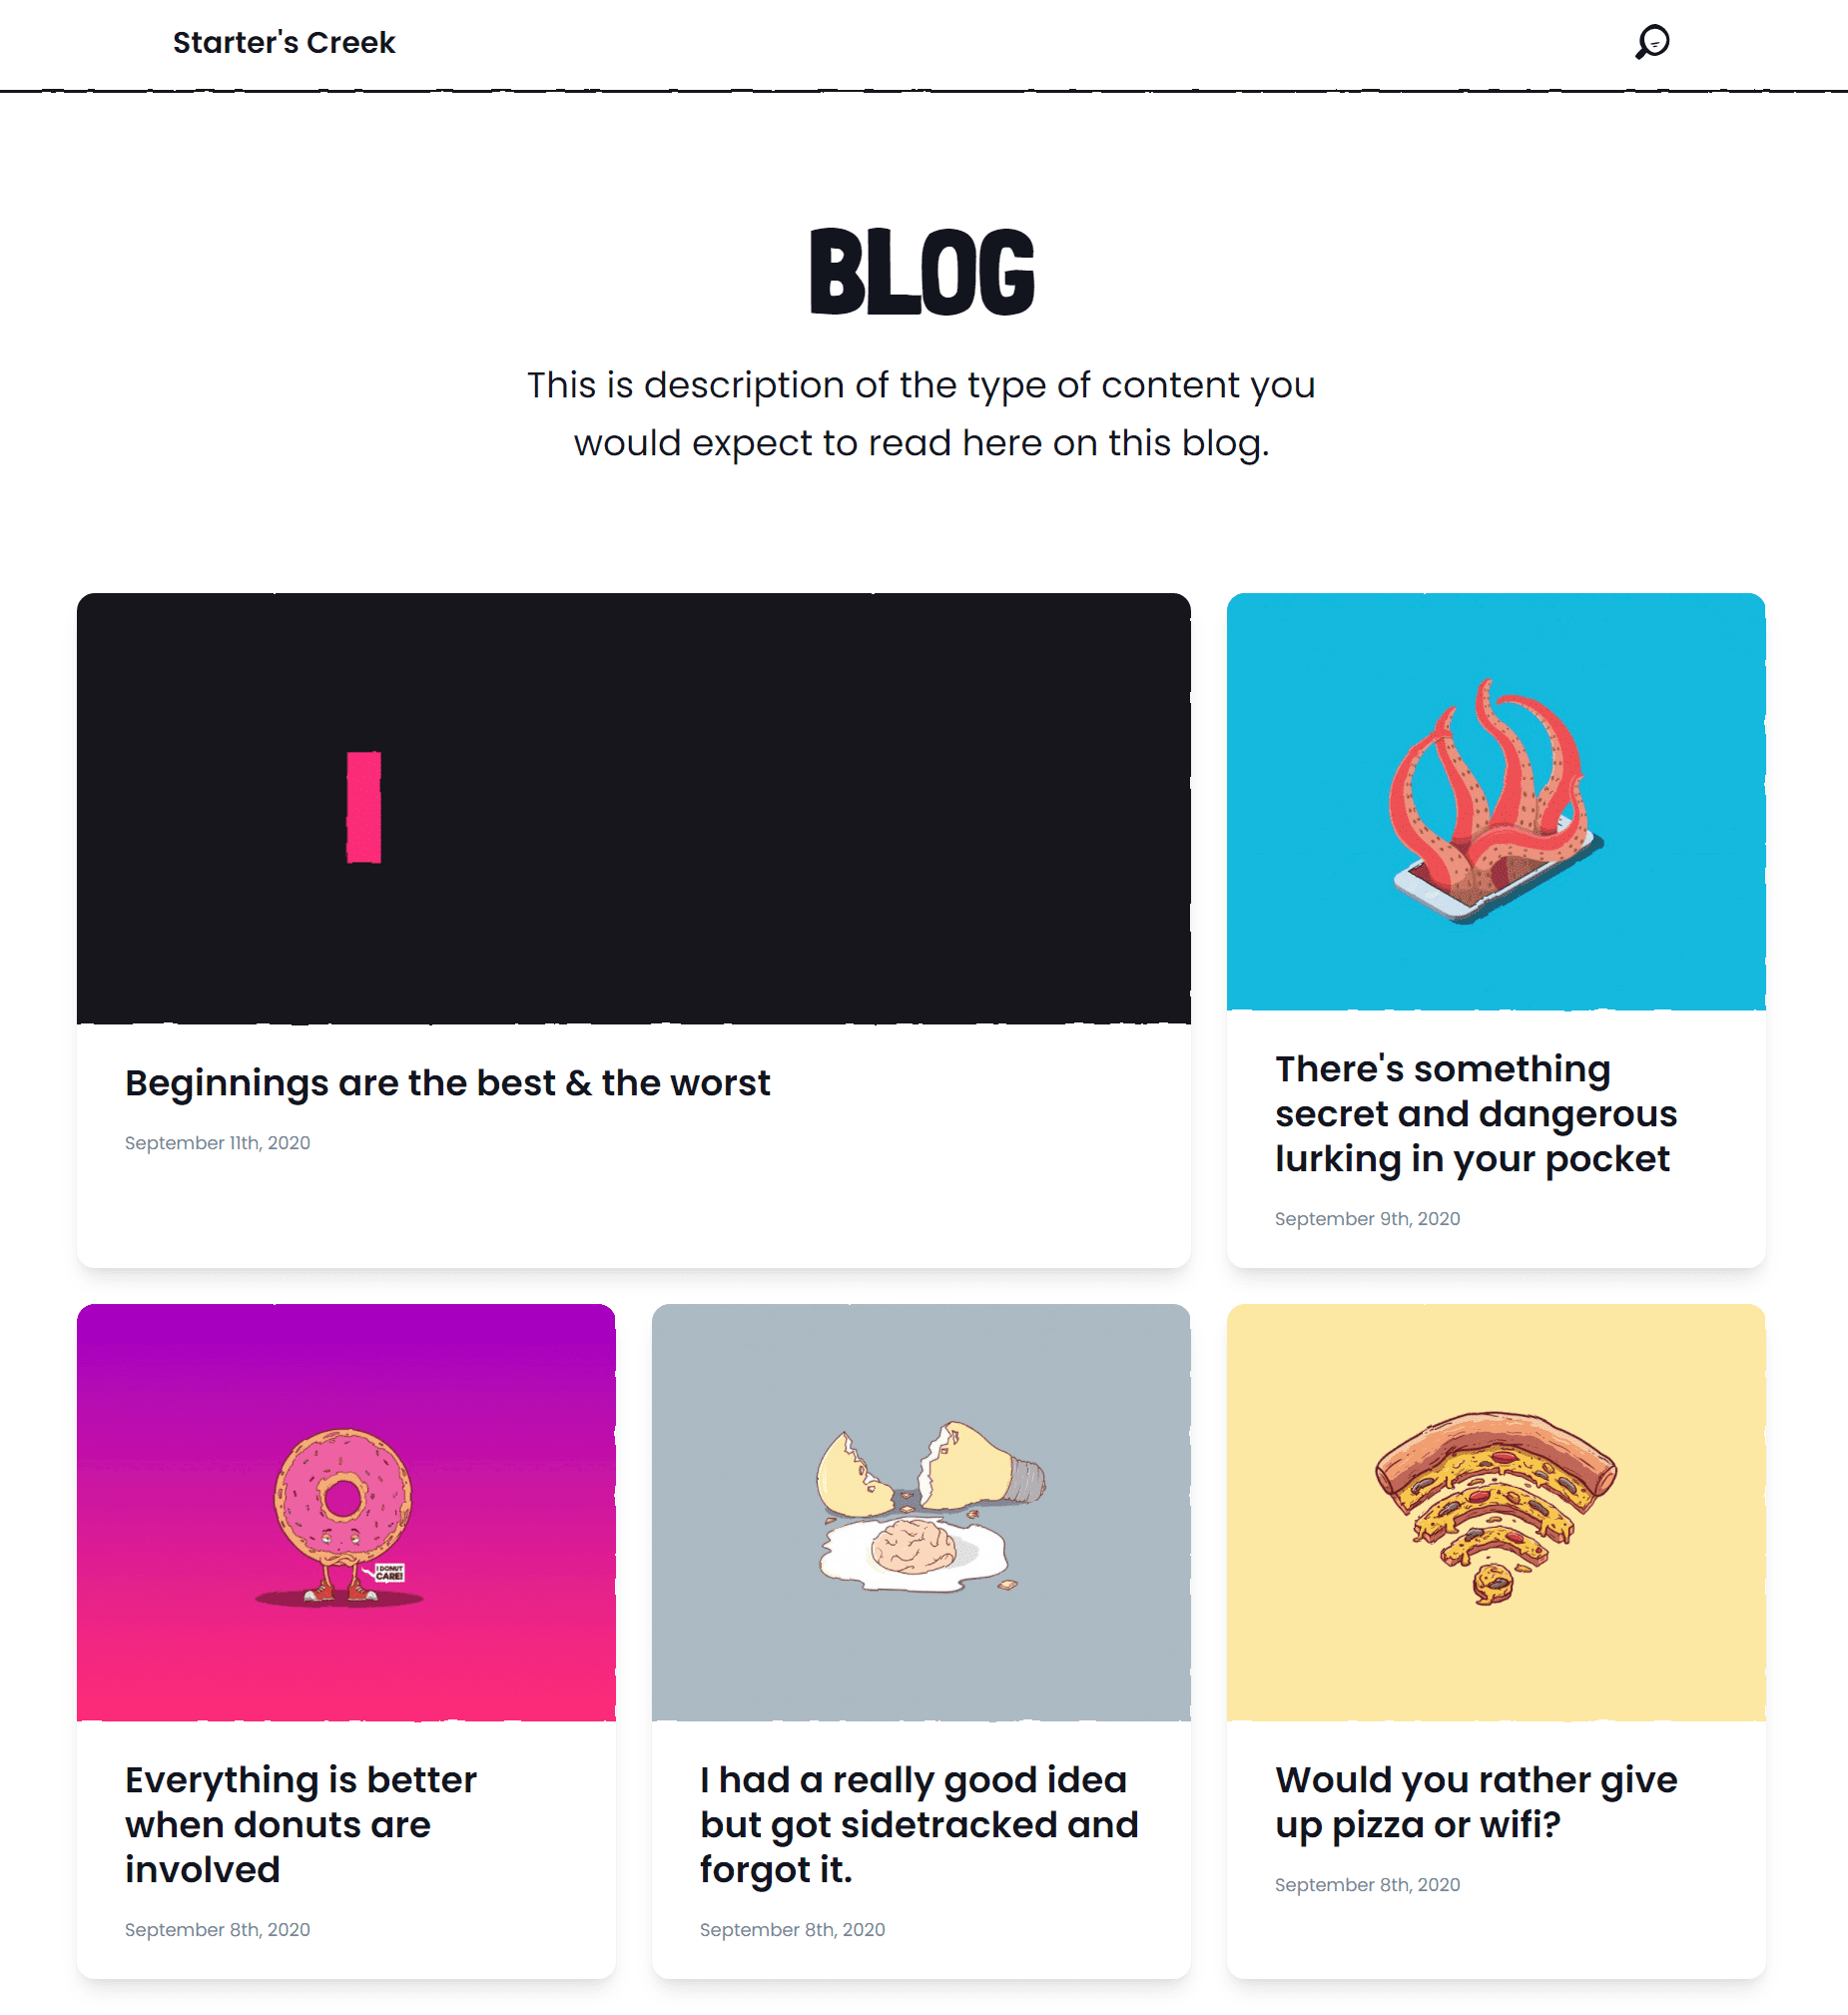
For the sake of this guide, I used the Starter's Creek Starter kit:
Creating the first user
There is a chance that you've already created your first user during the installation. If you decided to skip this step, you can still do it by running
php please make:user
Having your super user ready, you can now go to domain.com/cp to enter the Control Panel.
Control panel
Let's take a look at the Control Panel:
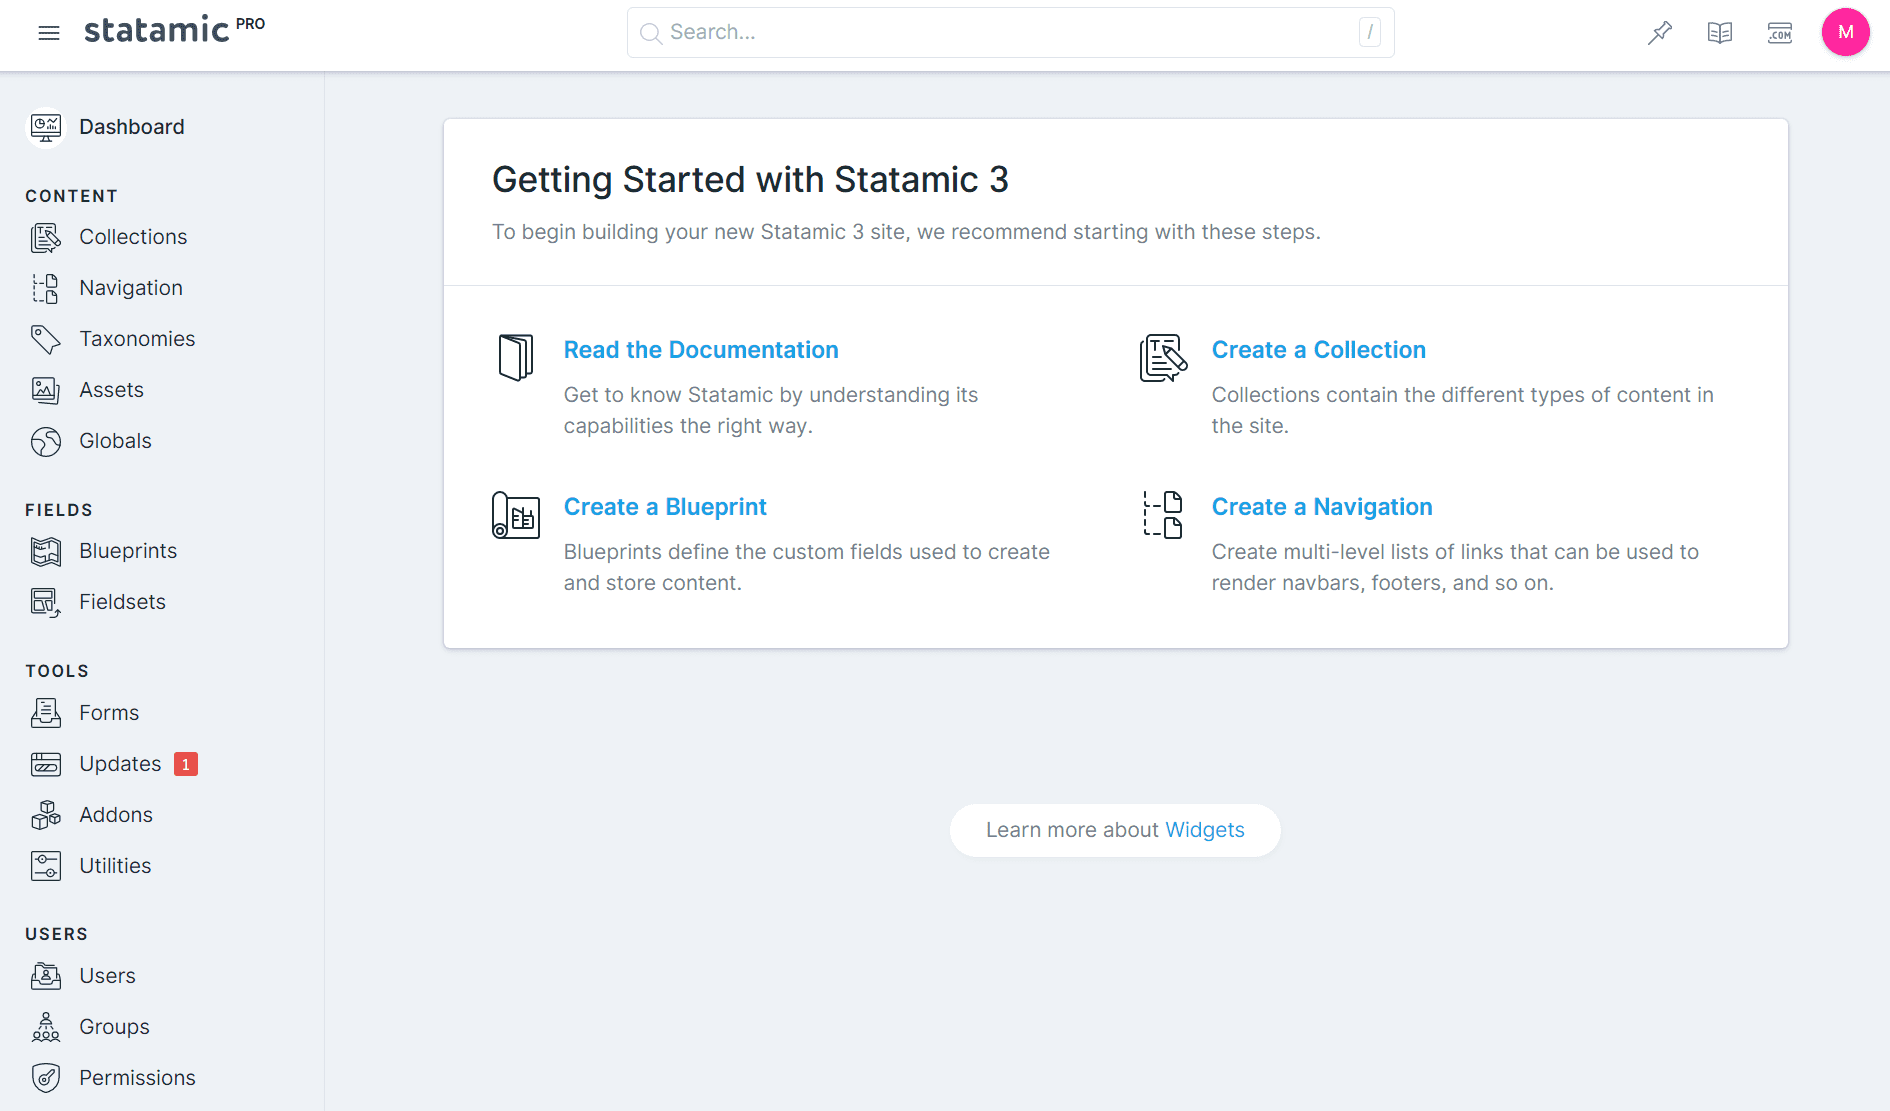
We can see that everything in Statamic is divided into:
- Collections – post types in which we store posts and pages
- Taxonomies – ways to group posts that are stored in collections
- Navigations
- Assets – all images, videos, and PDFs
- Forms
There are also three very important parts that let us customize the data structure to the desired shape:
- Blueprints allow you to model your content. You can define fields, select field types for them, group them, define conditions, etc.
- Fieldsets are reusable sets of fields that can keep everything DRY. Thanks to them, you can define a set of fields that can be added to all collections and be managed from one place.
- Globals are variables that are available globally. They are perfect for storing things like your social media URLs or company address.
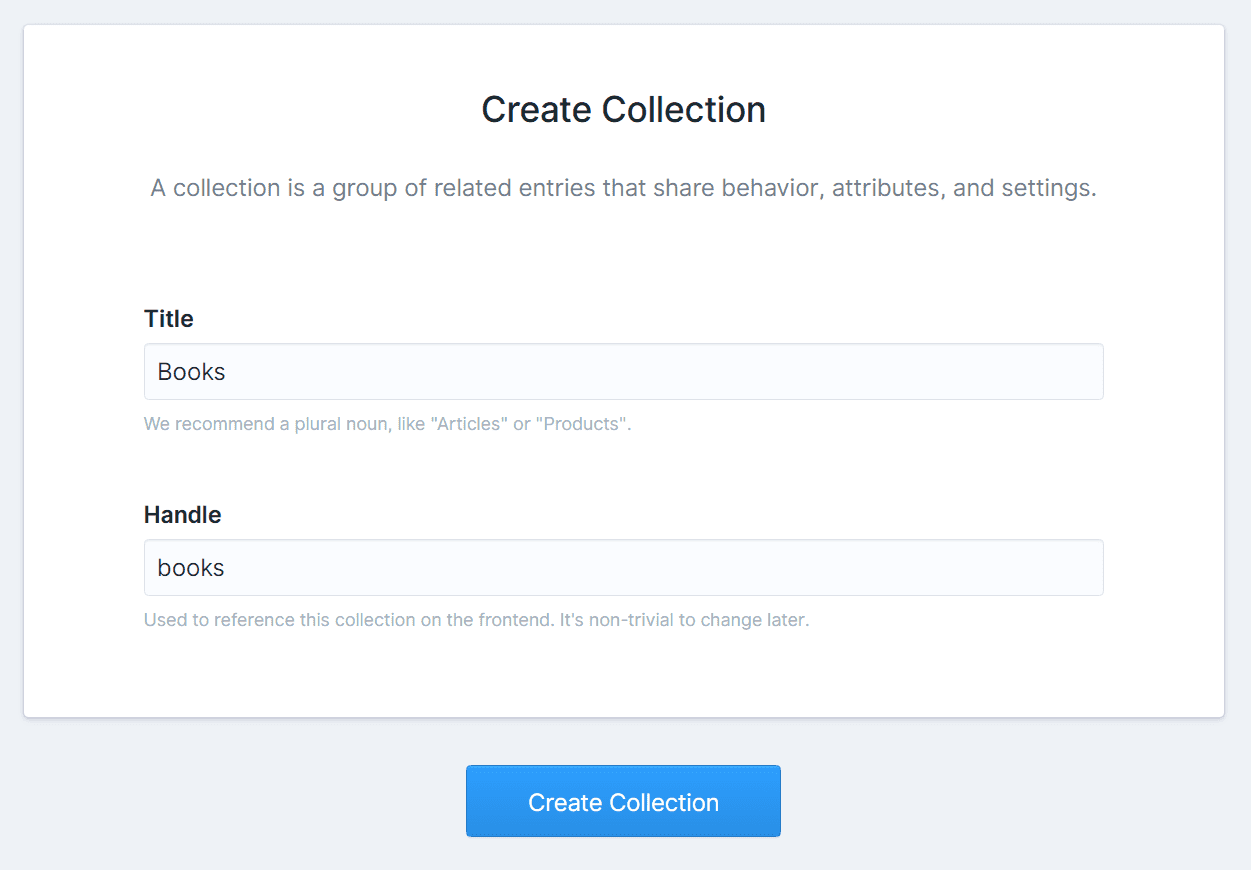
Creating a new Collection
First, go to Collections > Create Collection:
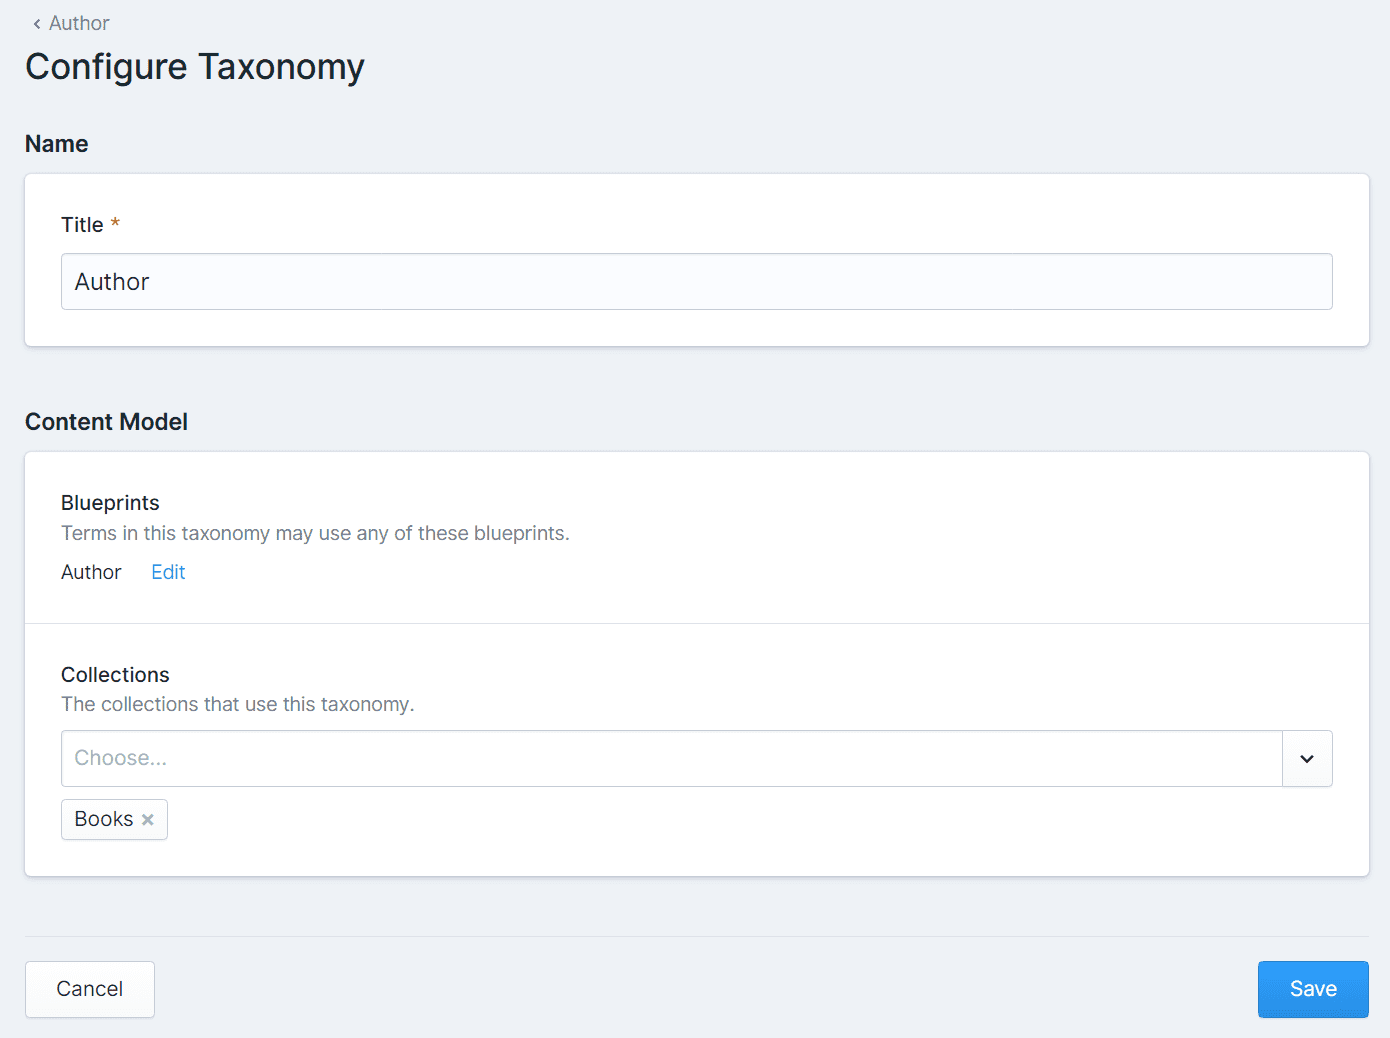
Taxonomy
Once created, we should add some taxonomies. Go to Taxonomies → Create Taxonomy and add 'Author' and 'Genre'. In both cases, we have to connect them with Books:
Blueprint
Now, it's time to go to Blueprints and configure the taxonomies and collection.
This is how a newly created Blueprint looks like:
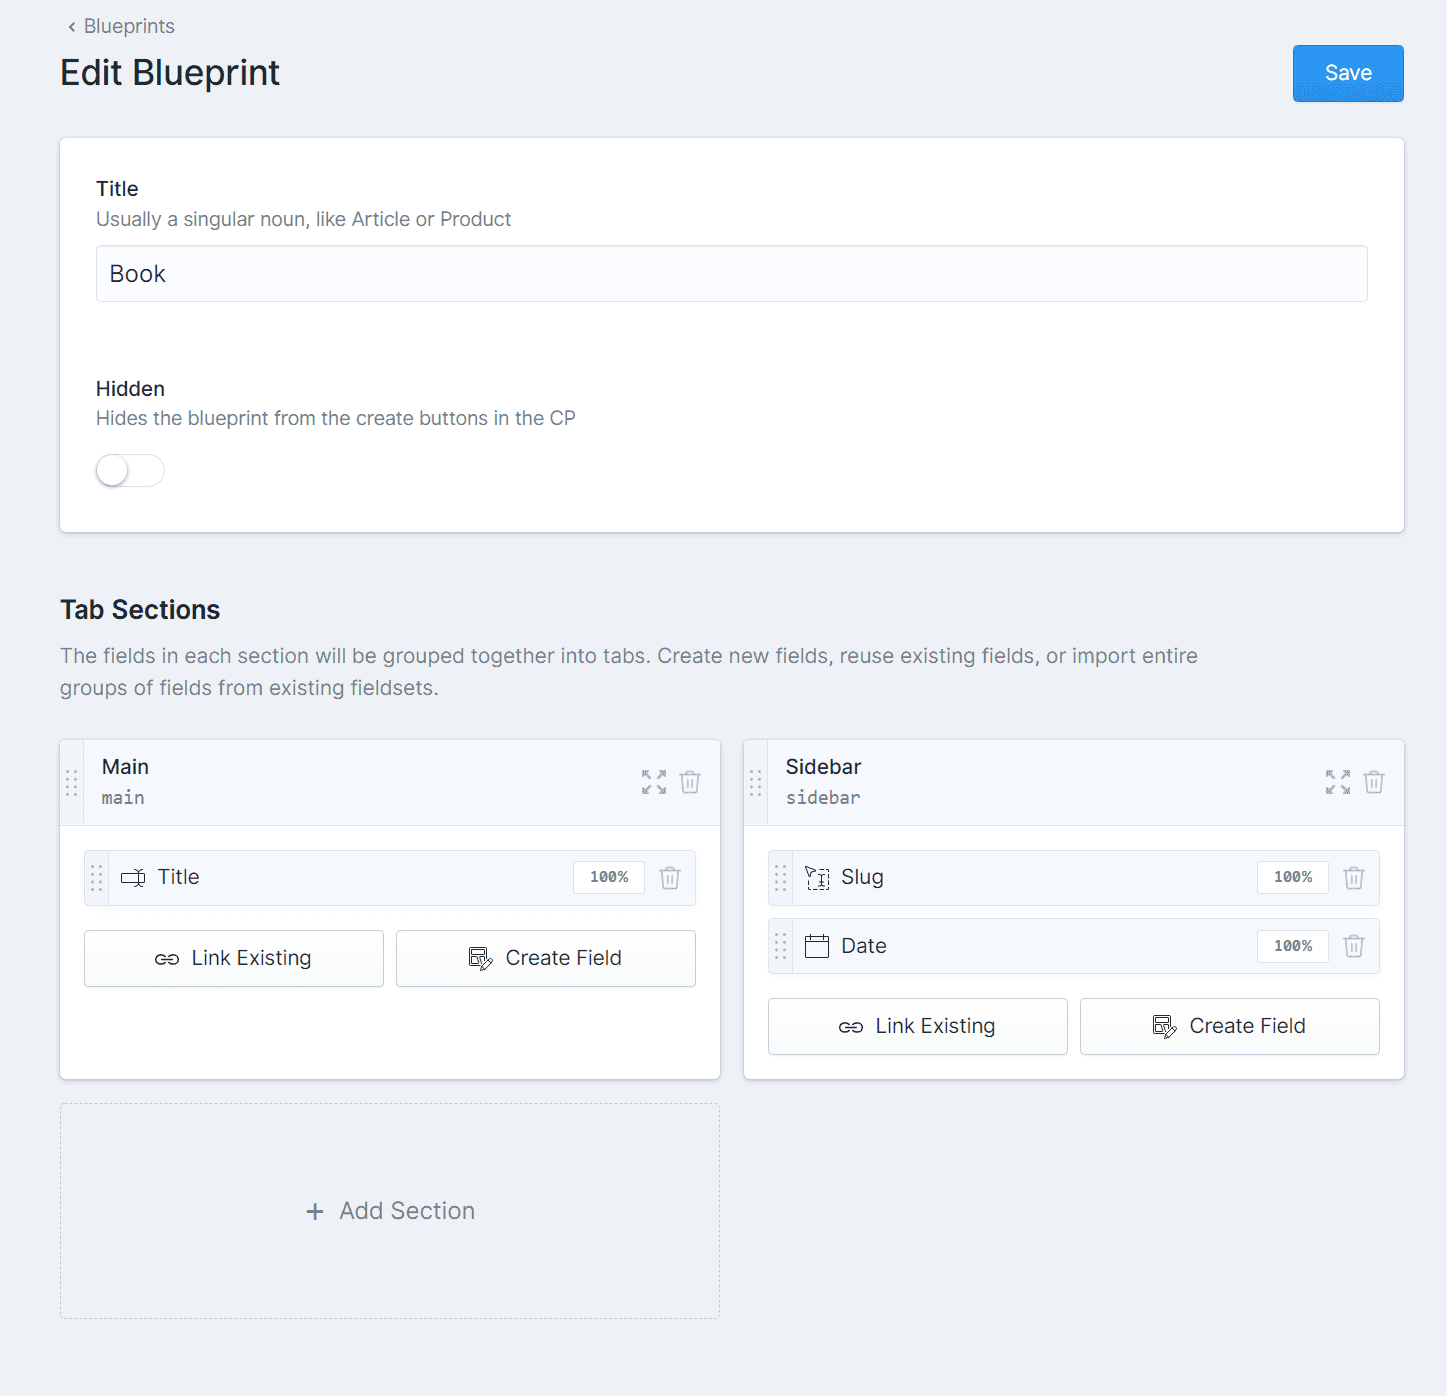
Each blueprint has Tab Sections in which we can add new fields and use existing fieldsets.
Fields
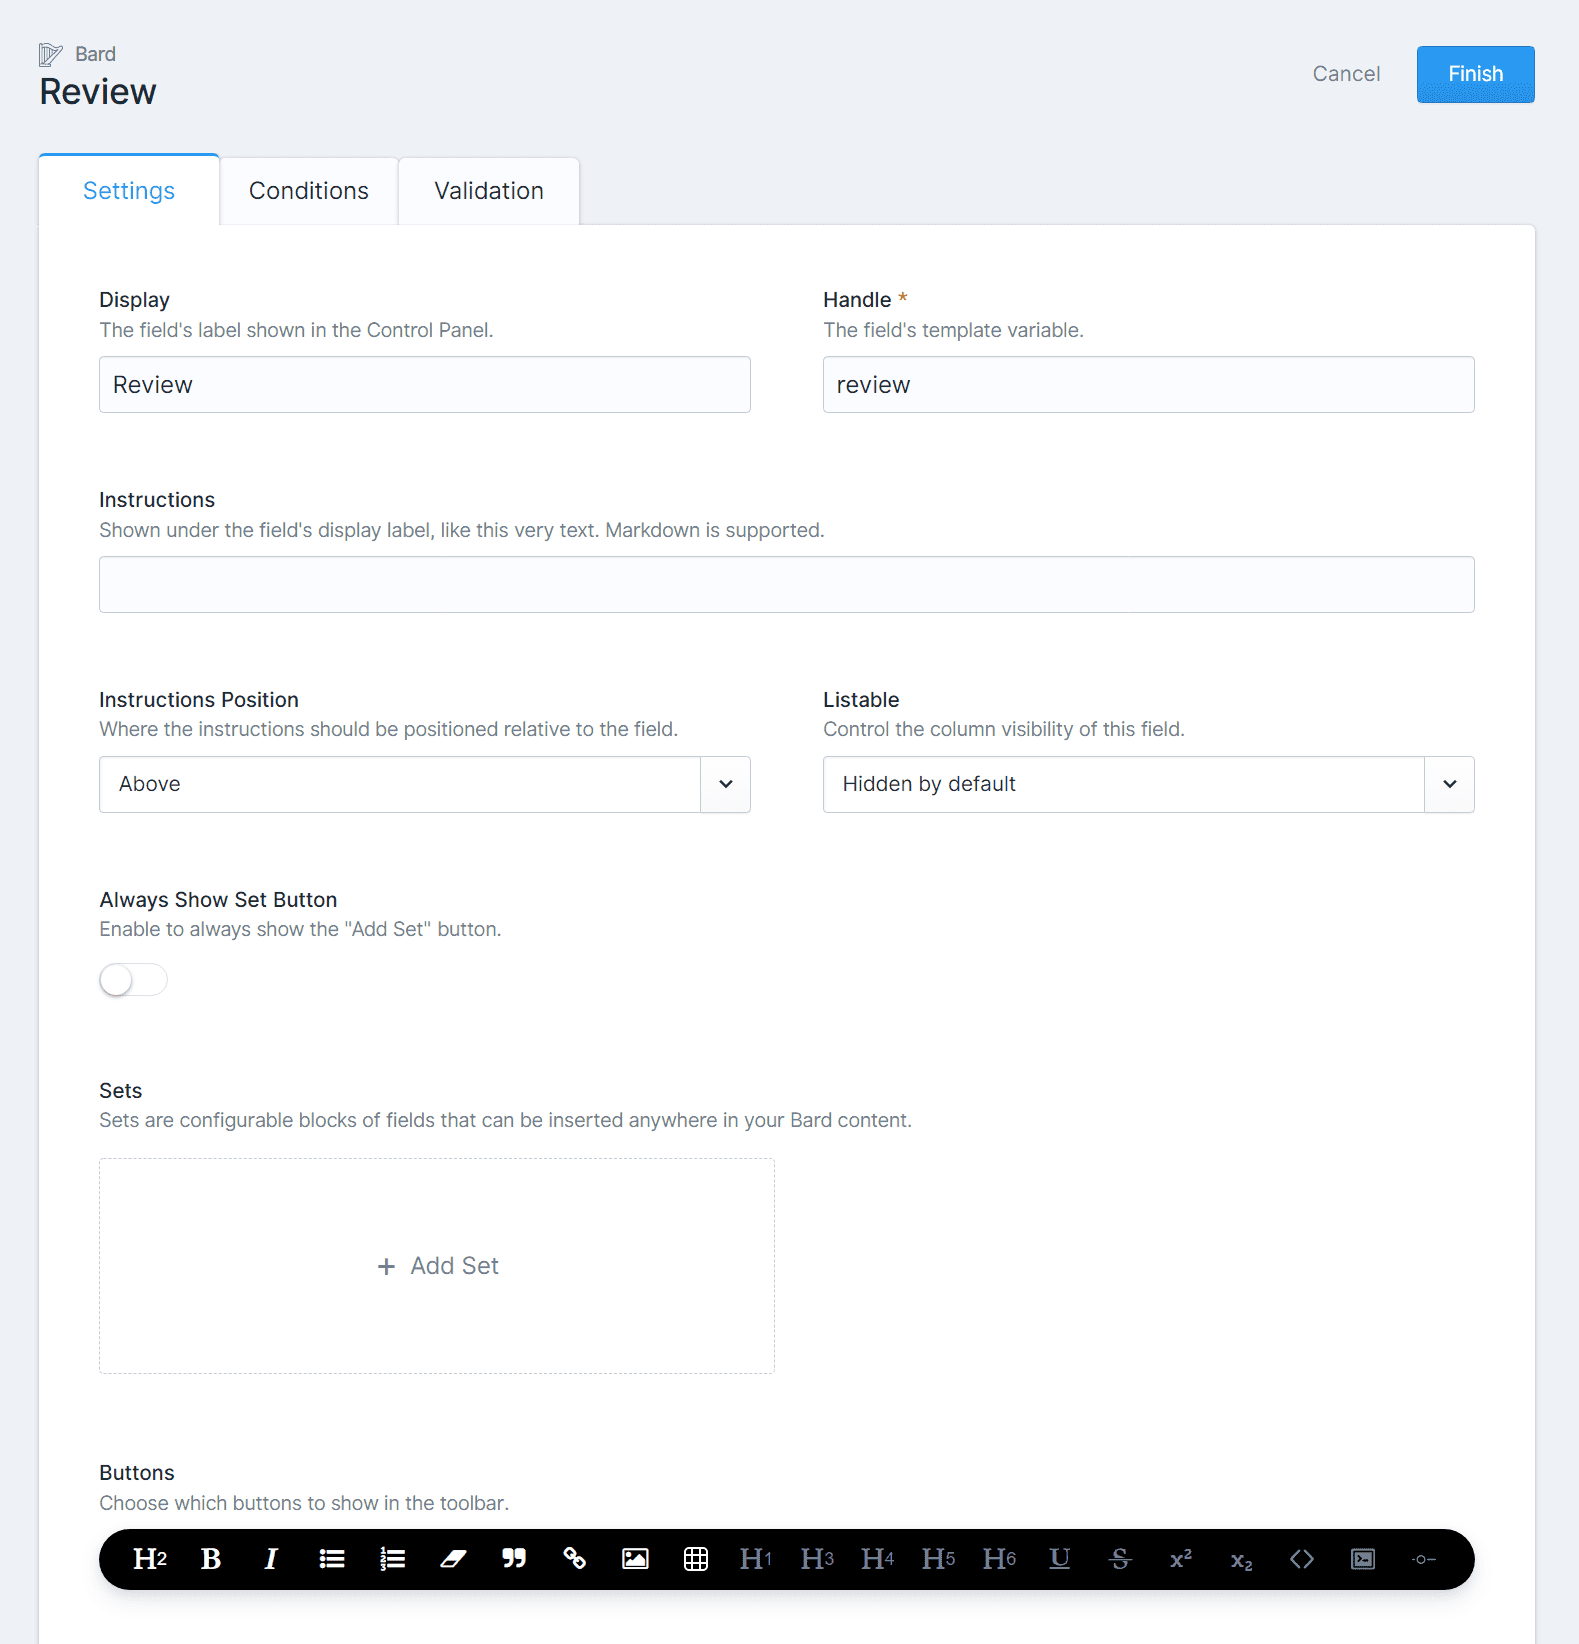
Click Create a new field and select Bard as the content editor. Here we can define things like the field name, instructions, buttons that we want to use, condition when this field should be visible, and validation rules:
Each field type will be a bit different and have some different options, but the general use case is always similar. In the end, each blueprint will contain the following elements:
- Author – name, bio, slug
- Genre – name, slug
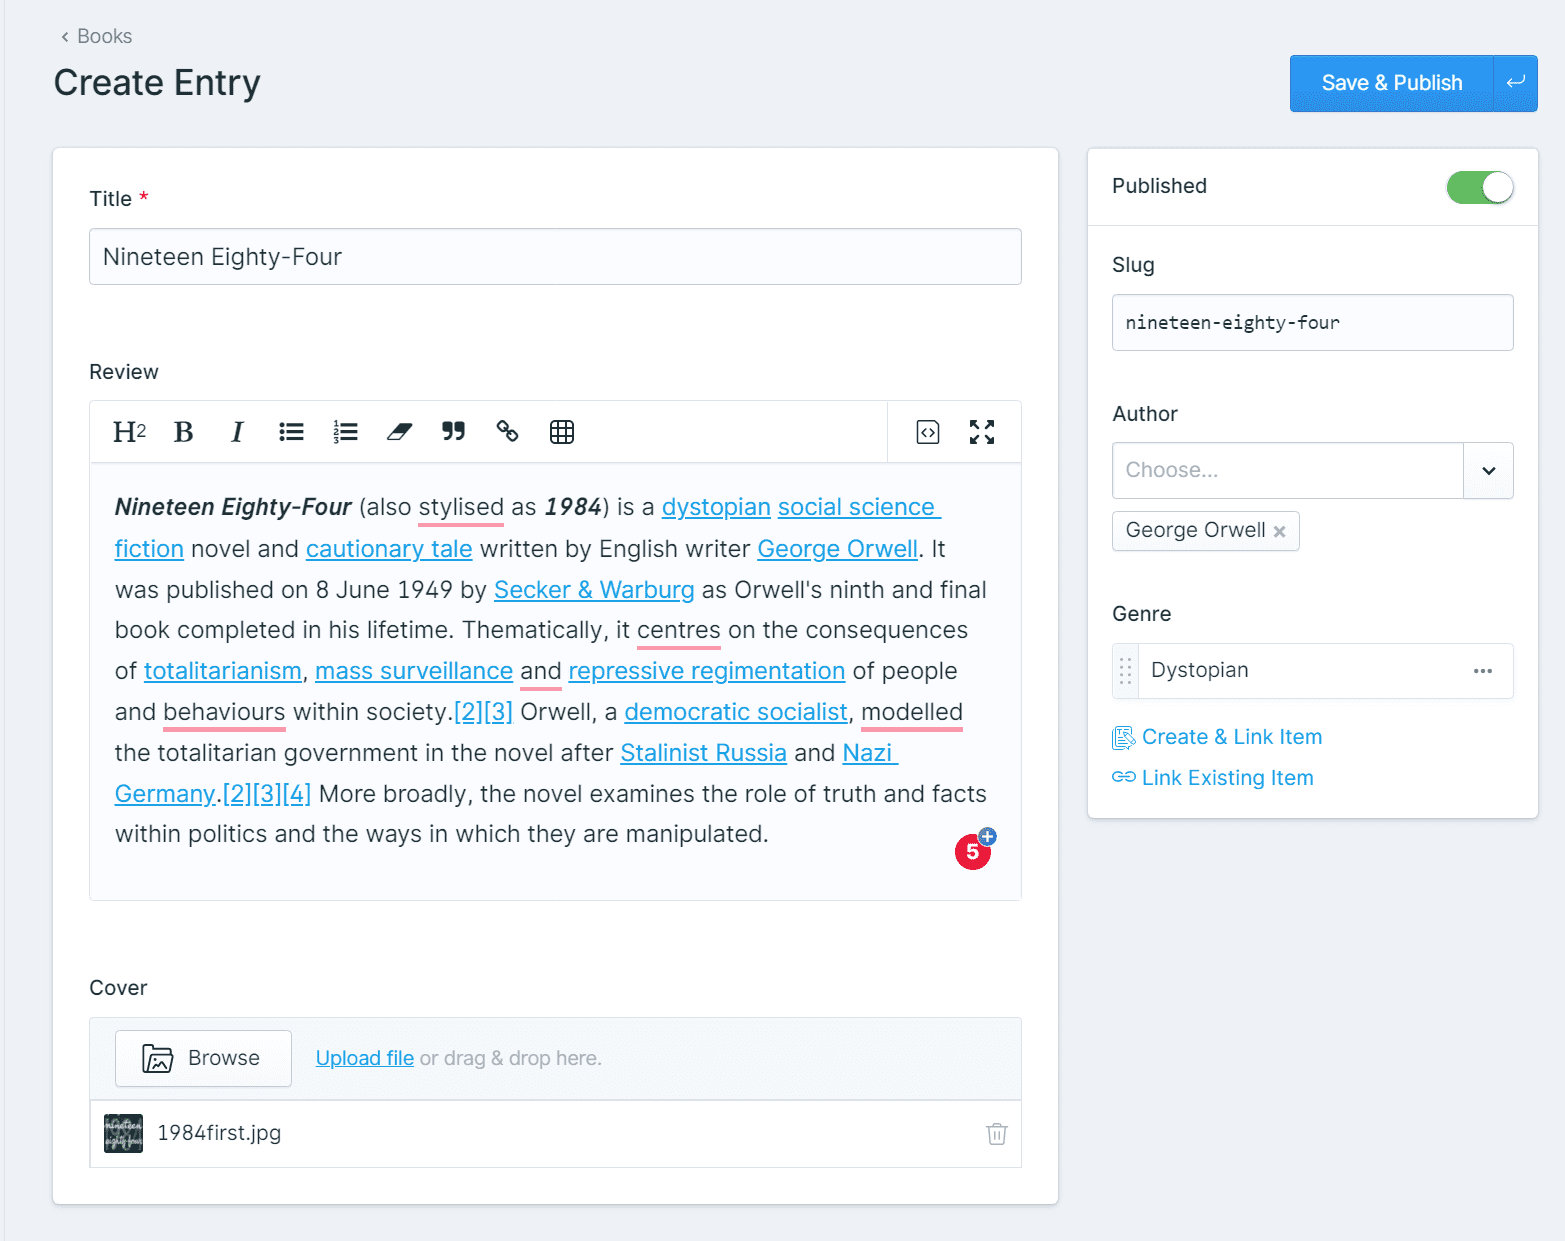
- Books – title, review, cover, slug, author, genre
Eventually we should end up with something like this:
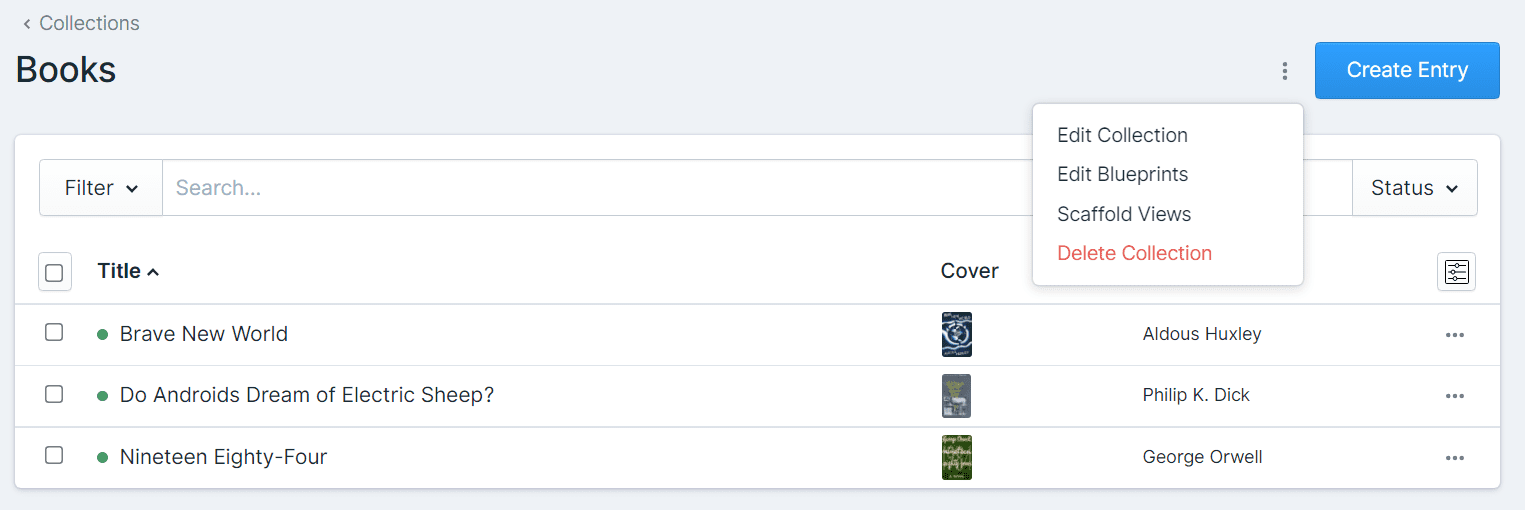
Creating views
Statamic is very developer-friendly. One of the most useful options is view scaffolding available from the dropdown menu in Collections:
This will create an archive and a single template in the resources/views/books folder. Inside, you can use either the Antlers or the Blade templating system.
The code for Antlers is available in this repository.
Routing
After creating all required view files, we need to take care of the routing. To do so, go to Control Panel → Collections → Pages.
Here we have to create a new page called 'Books' and set its template to books/index.
Next, open content/collections/books.yaml and add:
route: '{mount}/{slug}'
mount: '9c9ed867-0ef9-456d-ac10-2bec4e6fa992'
The mount value is the Books page entry ID (do not mistake with slug).
Thanks to this, the books will have the following URL structure: domain.com/books/brave-new-world.
Secondly, using mount allows us to easily jump to the mounted Collection from the Pages view thanks to Add and Edit buttons:

Deployment with Buddy
Git
Statamic is a flat file CMS. This means that all content needs to be kept in the Git repository. Git is also required if we want to use the pipelines to build and deploy the website.
Before we start, I advise adding a few rules to the .gitignore file as we're going to build CSS and JS directly in the pipeline.
/public/css
/public/js
/public/img
mix-manifest.json
Project setup
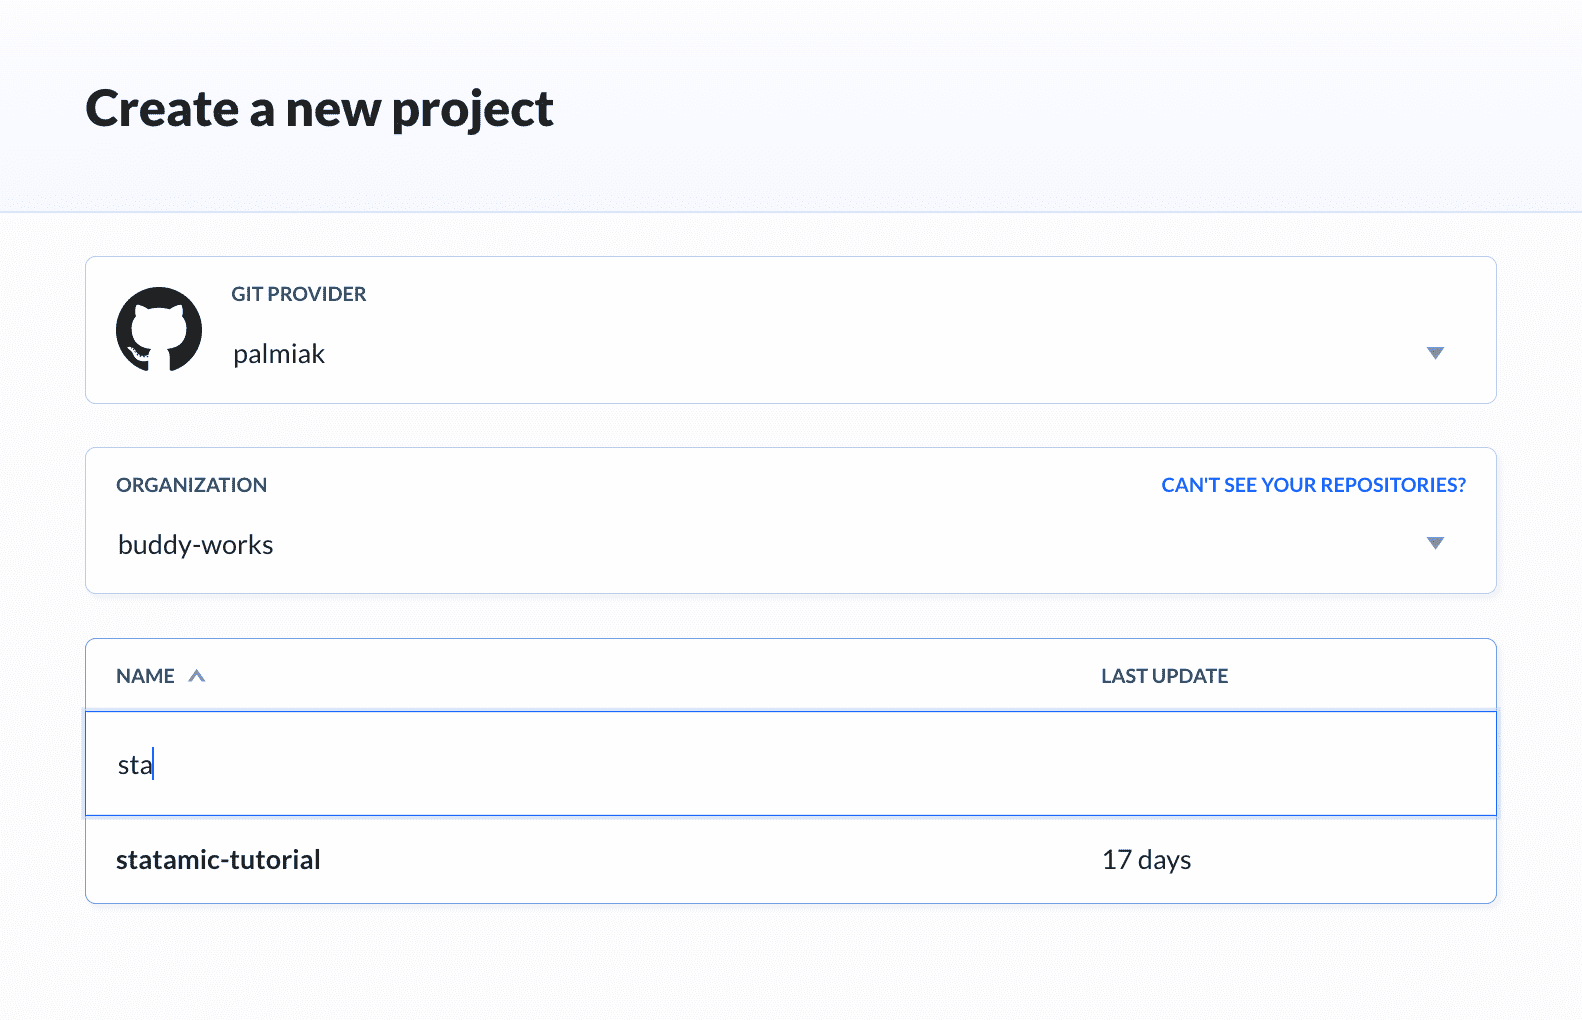
It's time to create a pipeline that will push our changes to the production server. Create a new project, select your Git provider and the repository that you want to build.
Here is a fully functional project that you can fork: https://github.com/palmiak/statamic-tutorial.
Pipeline setup
Pipelines in Buddy consists of actions that share a common filesystem. It's like a system of combined vessels in which the code flows from top to bottom. Each action is launched in an isolated container with a preconfigured environment (for example Laravel 8) to which the user can download dependencies. Once the code is processed, it flows to the next action which can use the artifacts generated before. This means we can build and deploy any kind of software in a single pipeline.
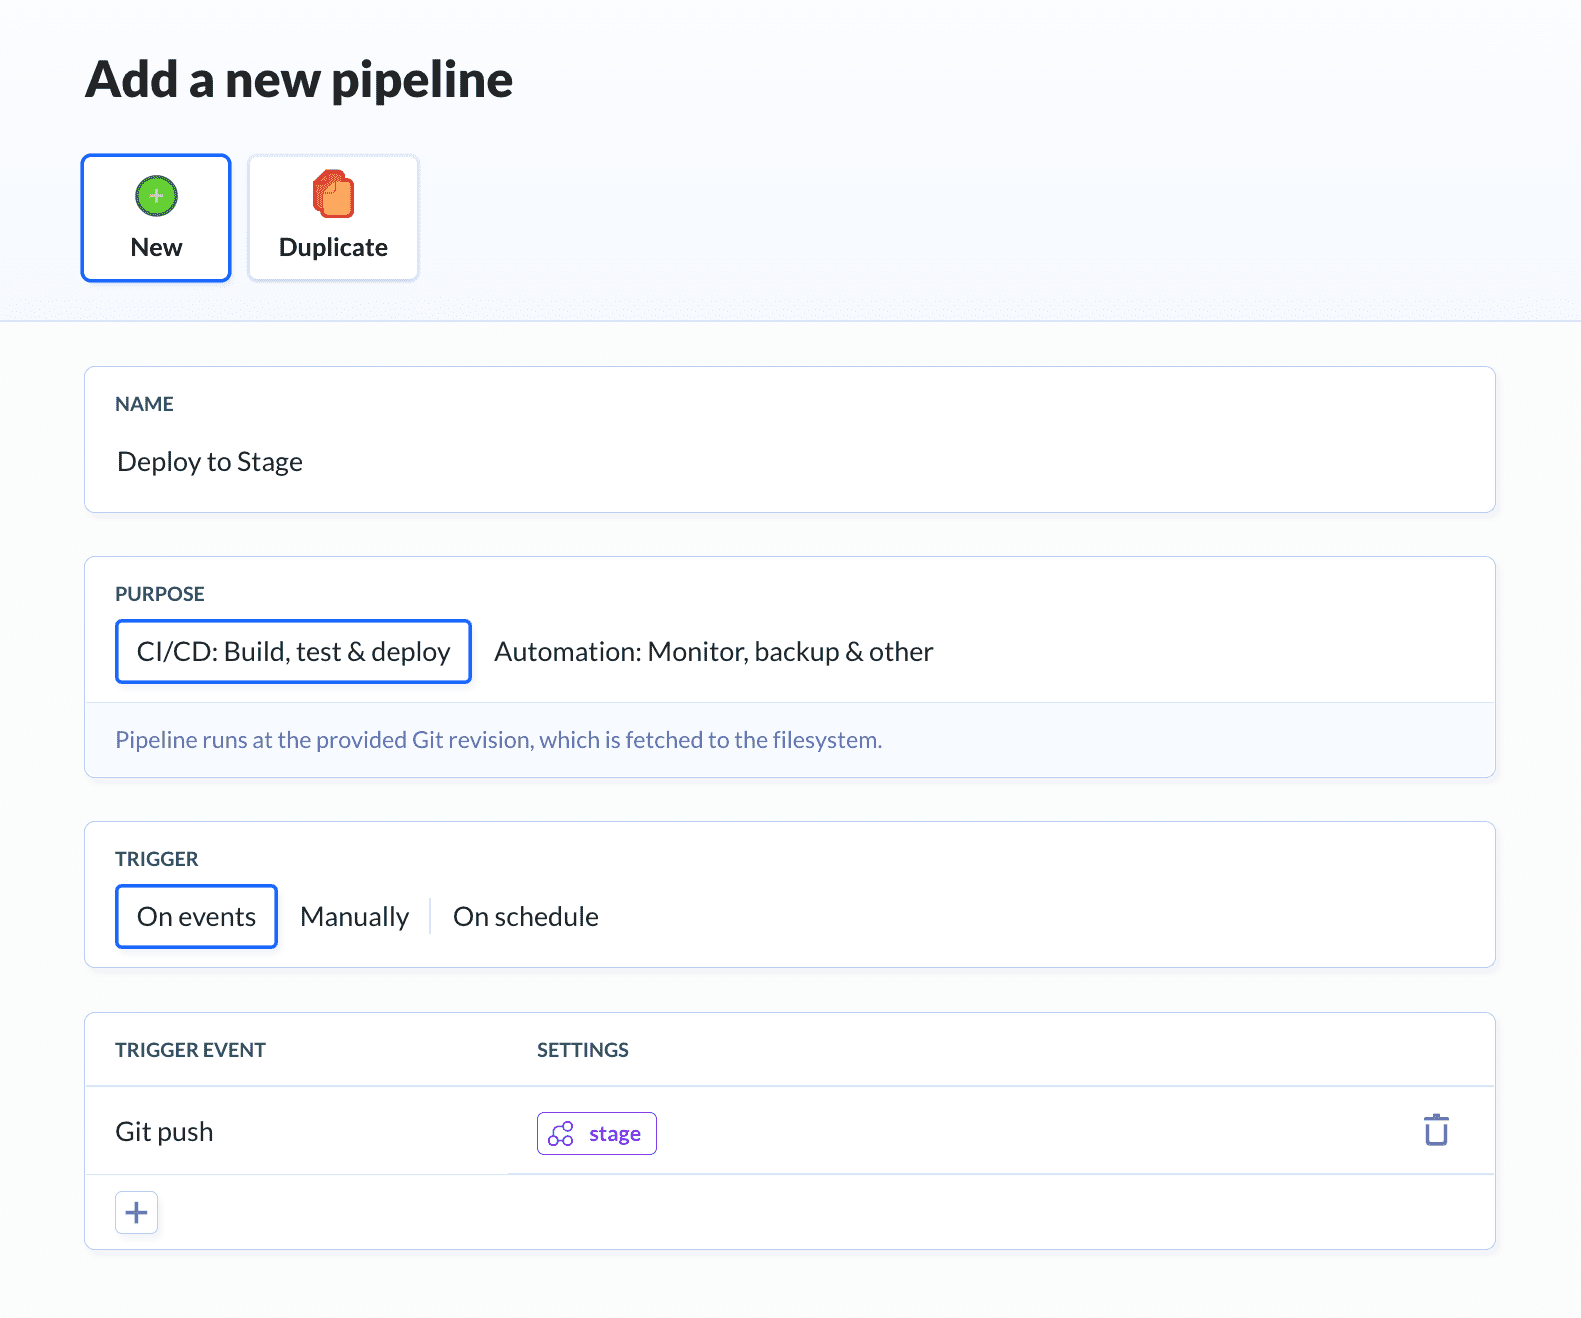
Click Add a new pipeline and leave the settings at their default values. If you're deploying to production, a good idea is to switch the trigger mode to manual to avoid accidental updates on a push to Git.
Variables
We also have to take care of the .env file. I recommend creating a file with all non-secret and default-value variables and add the missing ones during the build process.
You can create the required ENV VARs in the Variables tab:
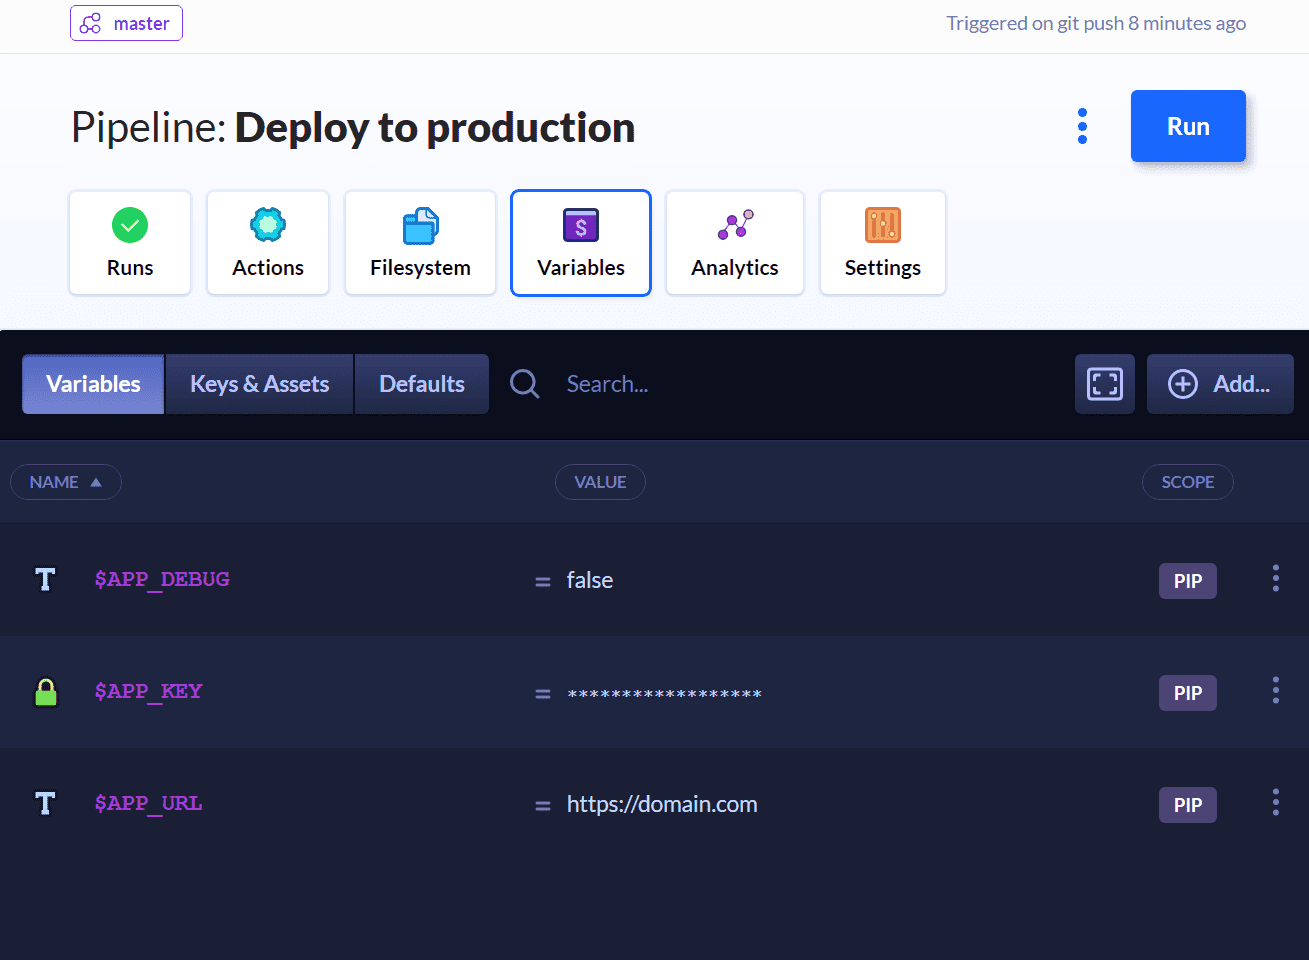
We'll use these variables to generate the .env file as the first step in the pipeline.
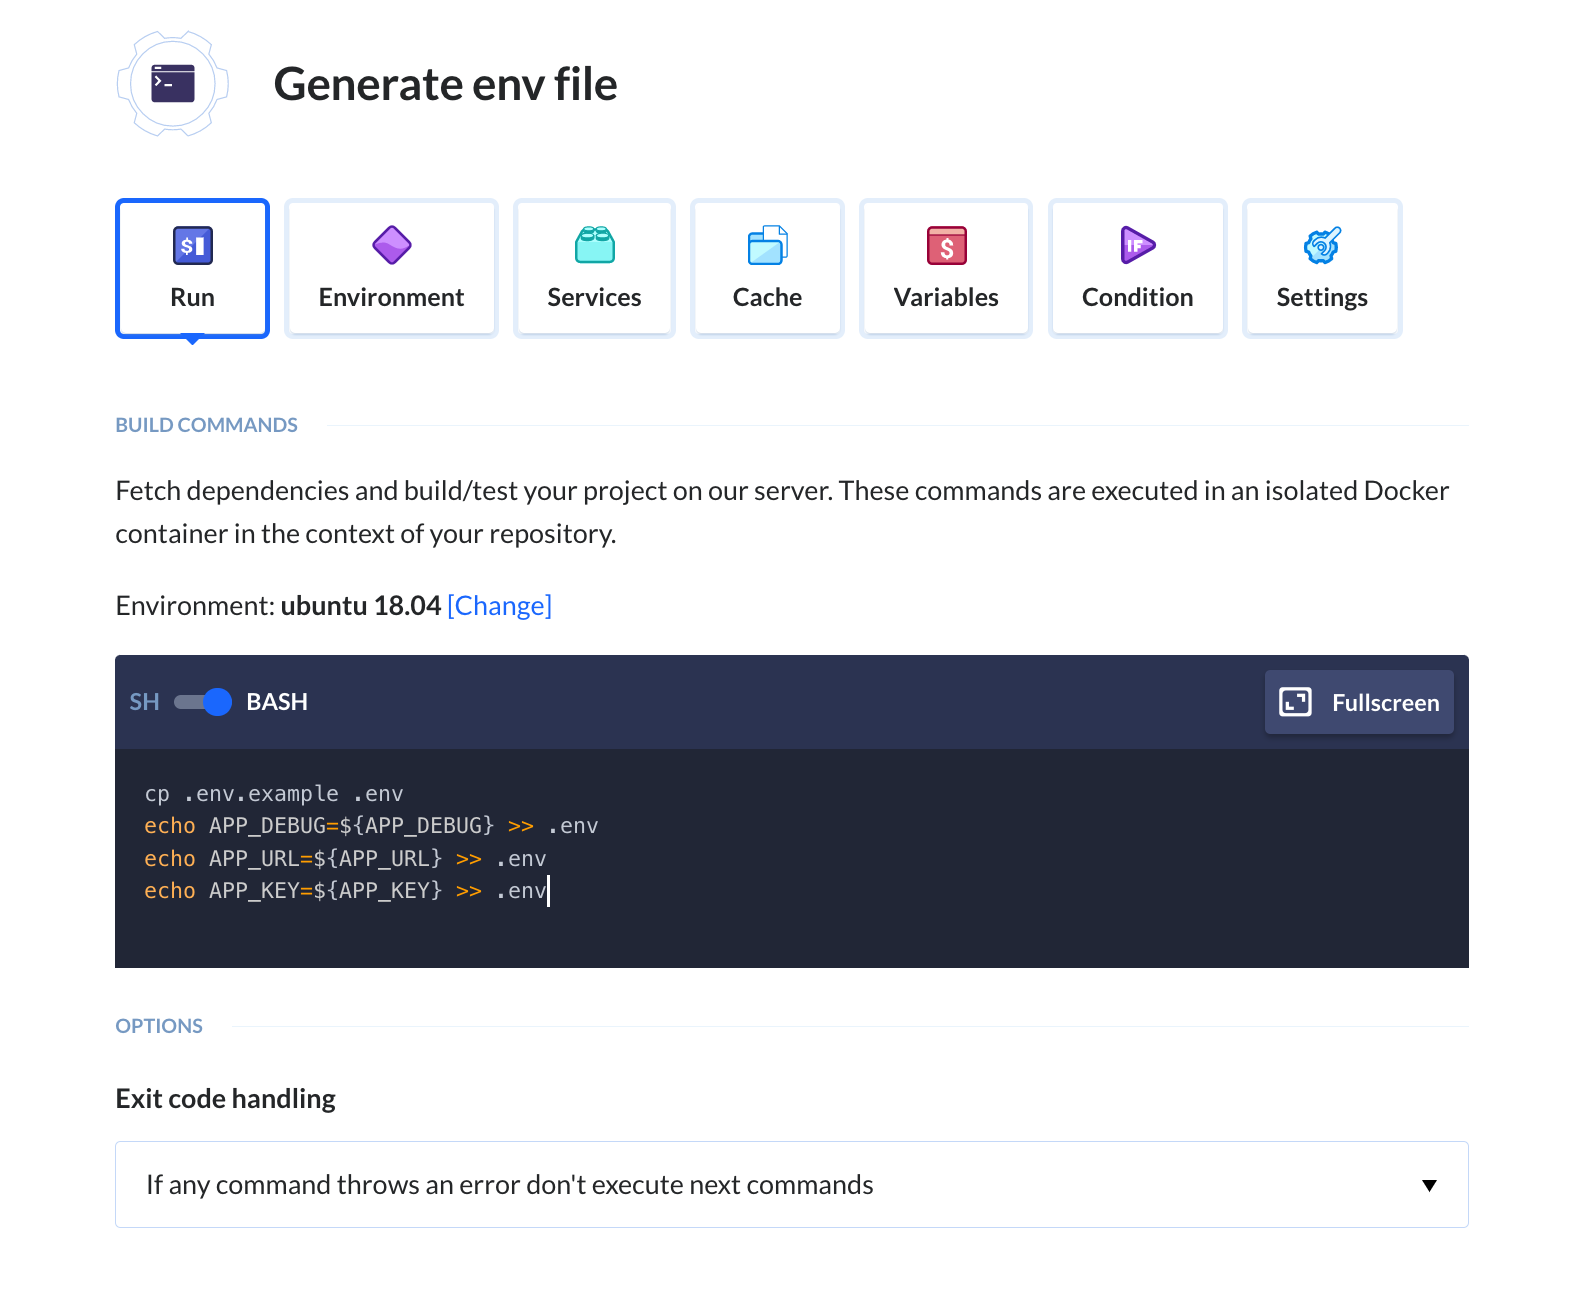
Action 1: Generate .env file
Go to the Actions and click Local shell to add it to the pipeline. Paste the following script to the commands field:
cp .env.example .env
echo APP_DEBUG=${APP_DEBUG} >> .env
echo APP_URL=${APP_URL} >> .env
echo APP_KEY=${APP_KEY} >> .env
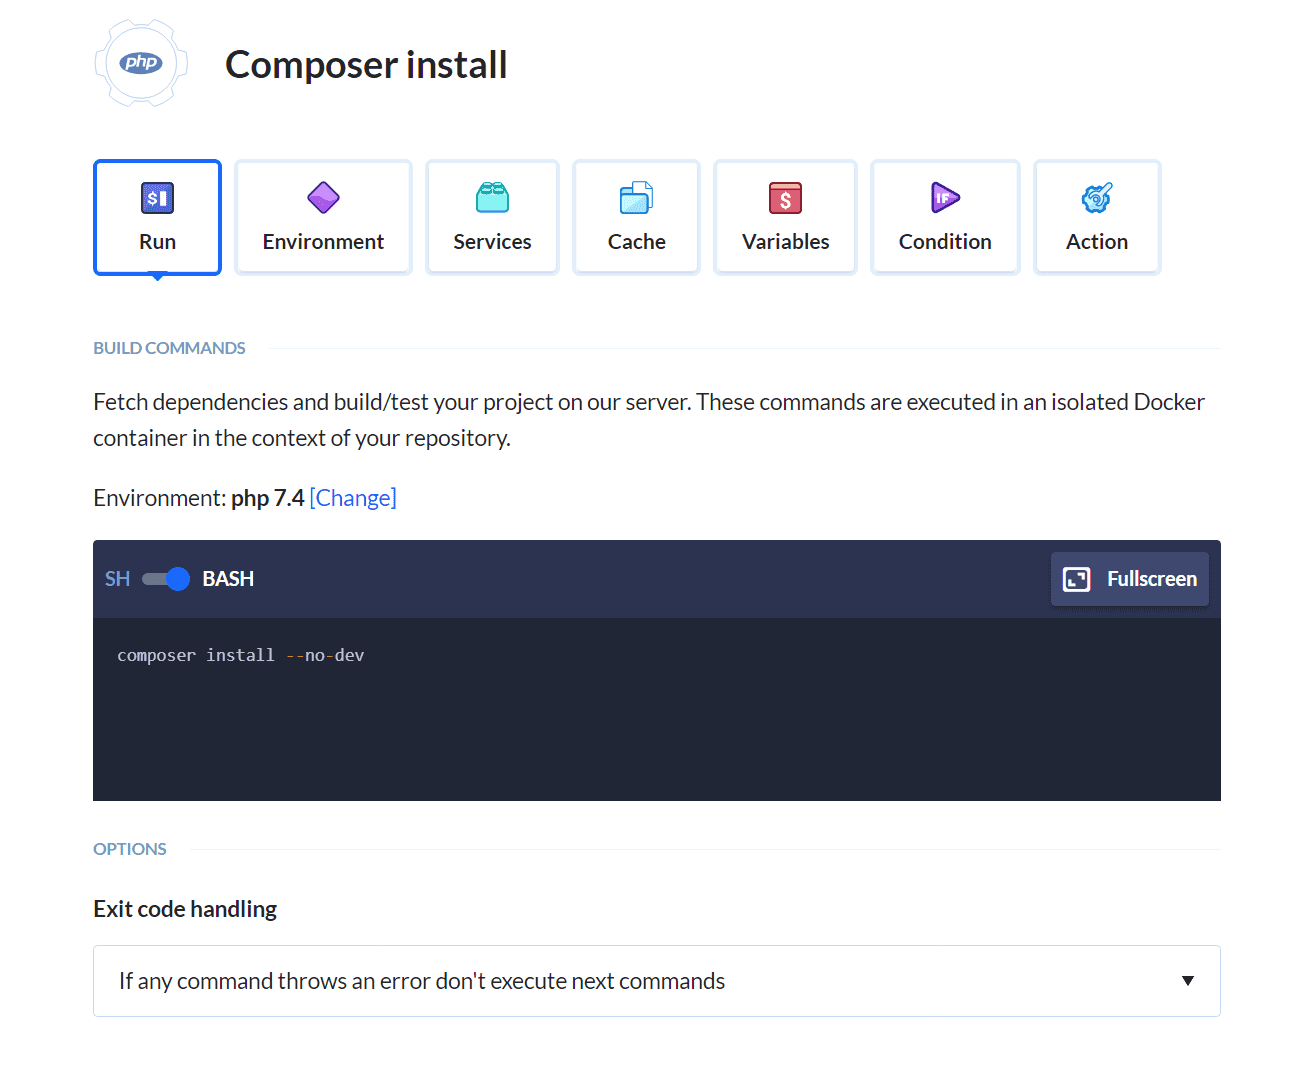
Action 2: Composer install
With the variables sorted out, we now need to download the required Composer dependencies. Add the PHP action with the composer install command:
composer install --no-dev
Action 3: npm
The next step is to install the npm dependencies and compile the assets. To do so, add the Node action and run:
npm ci && npm run production
The commands will compile JS and Tailwind and remove unused rules.
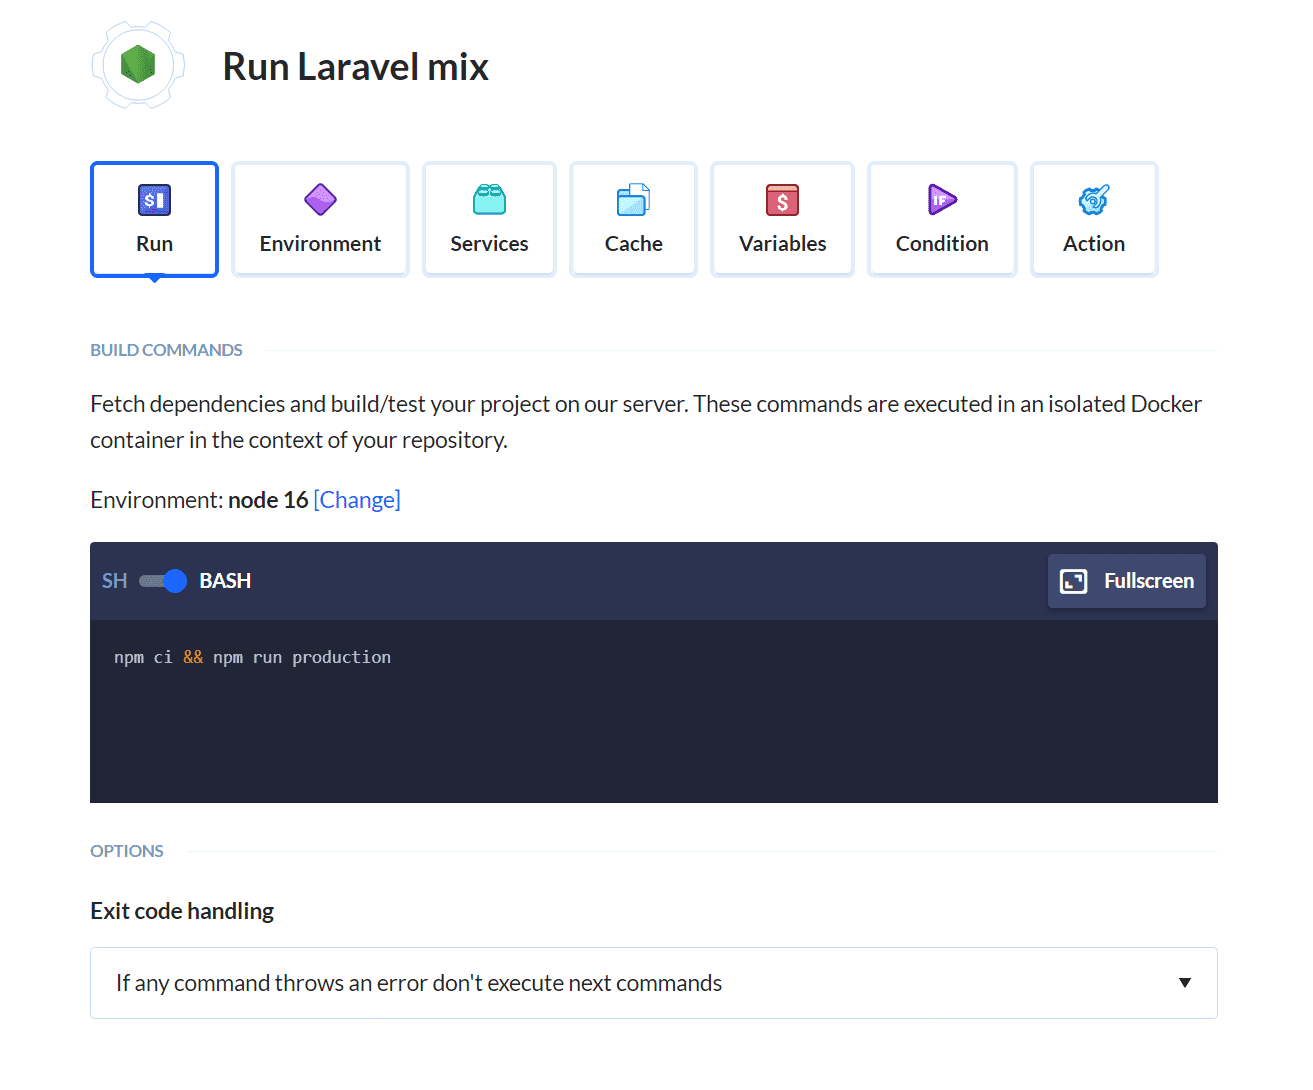
This action can be run in parallel with PHP if you flip the switch between them on the Actions view.
Action 4: Deployment
The last step is just moving everything to our desired server. It's up to you to pick your favorite method – Buddy supports all popular protocols and cloud services. You can also preview the website with no staging infrastructure using Buddy's sandbox feature.
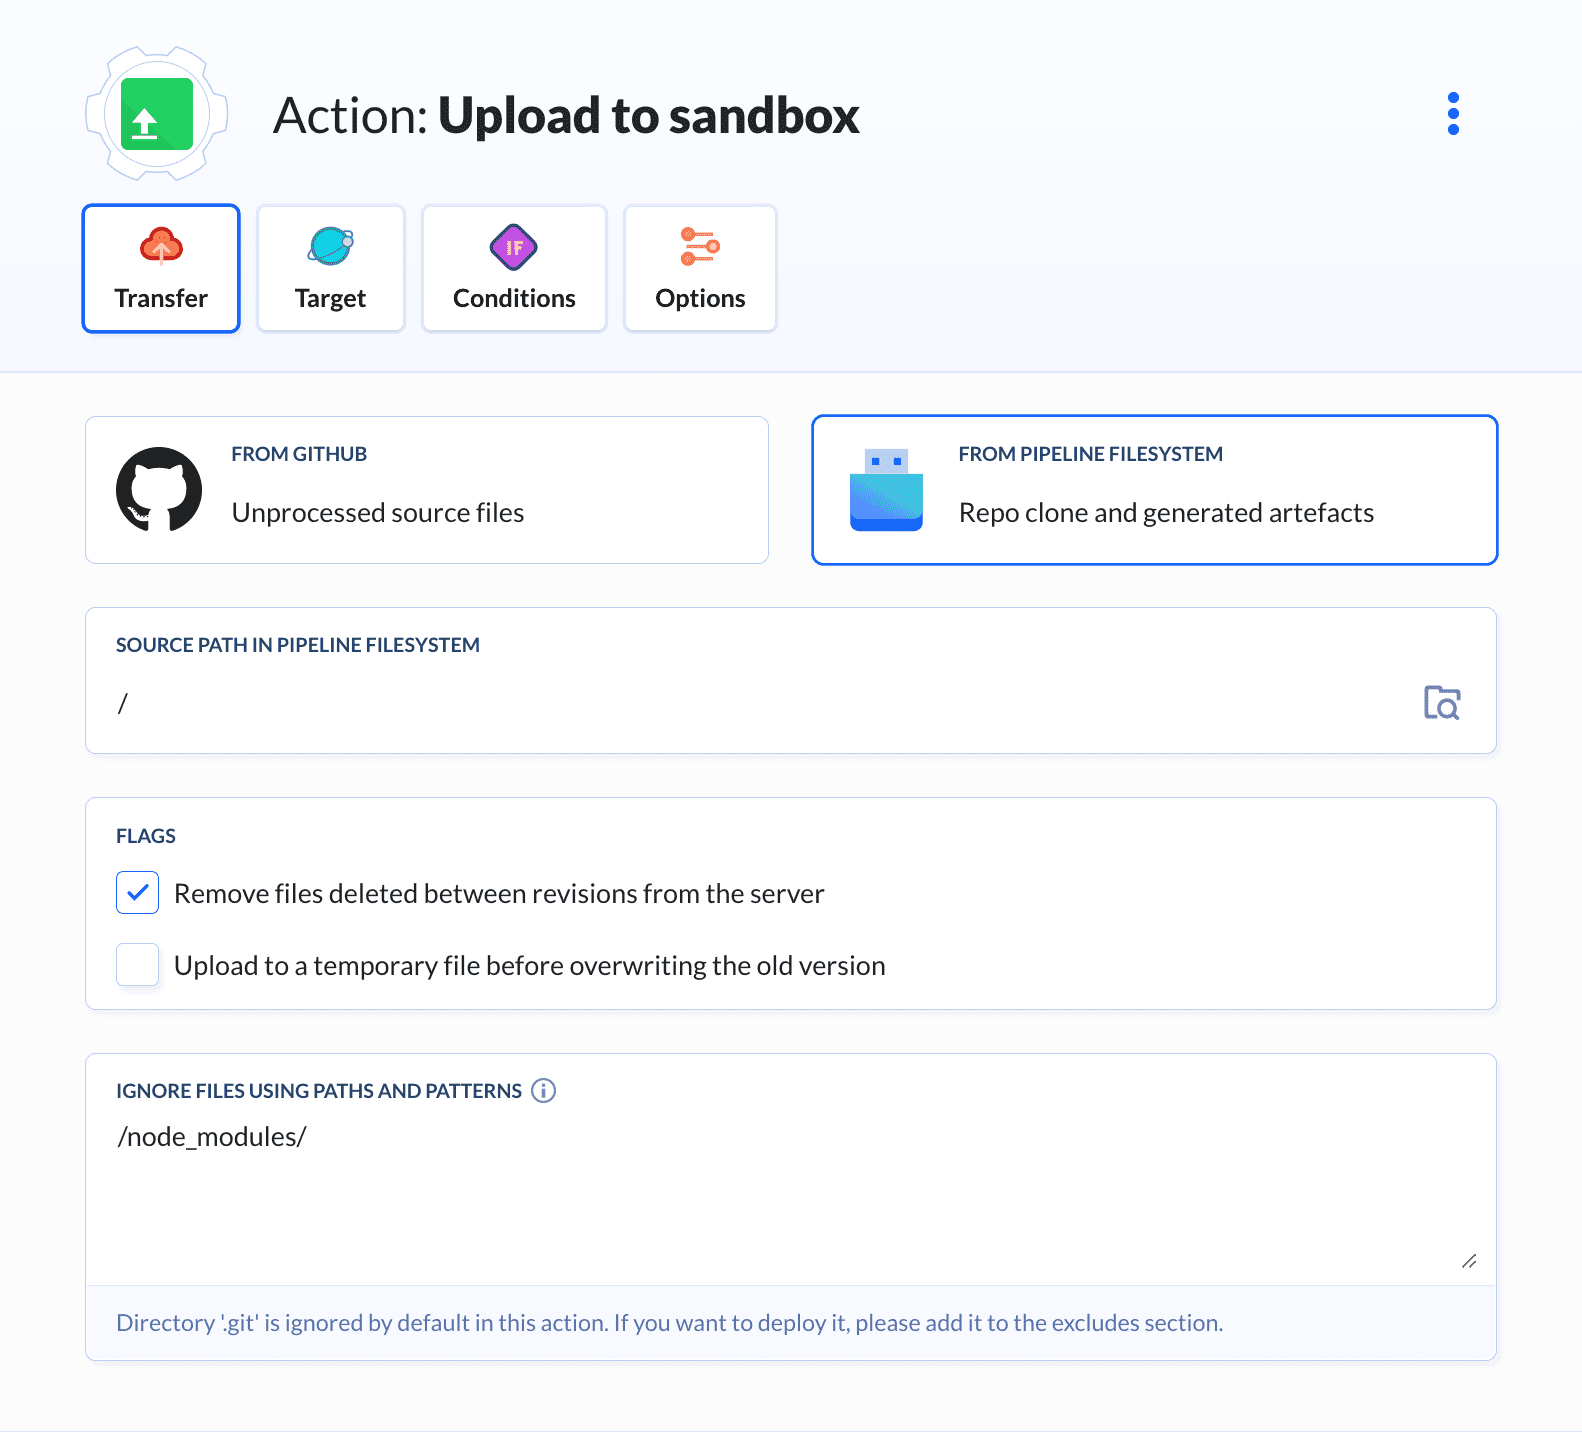
Remember to add node_modules to the ignore paths!
Action 5: Clearing the cache
If you are using cache, you can add an extra PHP action with php artisan cache:clear after the deployment.
Conversion to Static
I'm a big fan of static websites, so when I saw that Statamic has a dedicated package for SSG I got really excited. Let's get down to business!
The first thing is installing the statamic/ssg library:
composer require statamic/ssg
Then, we should go to config/statamic/ssg.php to add and exclude some routes:
'copy' => [
  public_path('css') => 'css',
  public_path('js') => 'js',
  public_path('assets') => 'assets',
],
'urls' => [
  'books',
],
'exclude' => [
  '/books/genre/*',
  '/books/author/*',
  '/genre/*',
  '/authors',
],
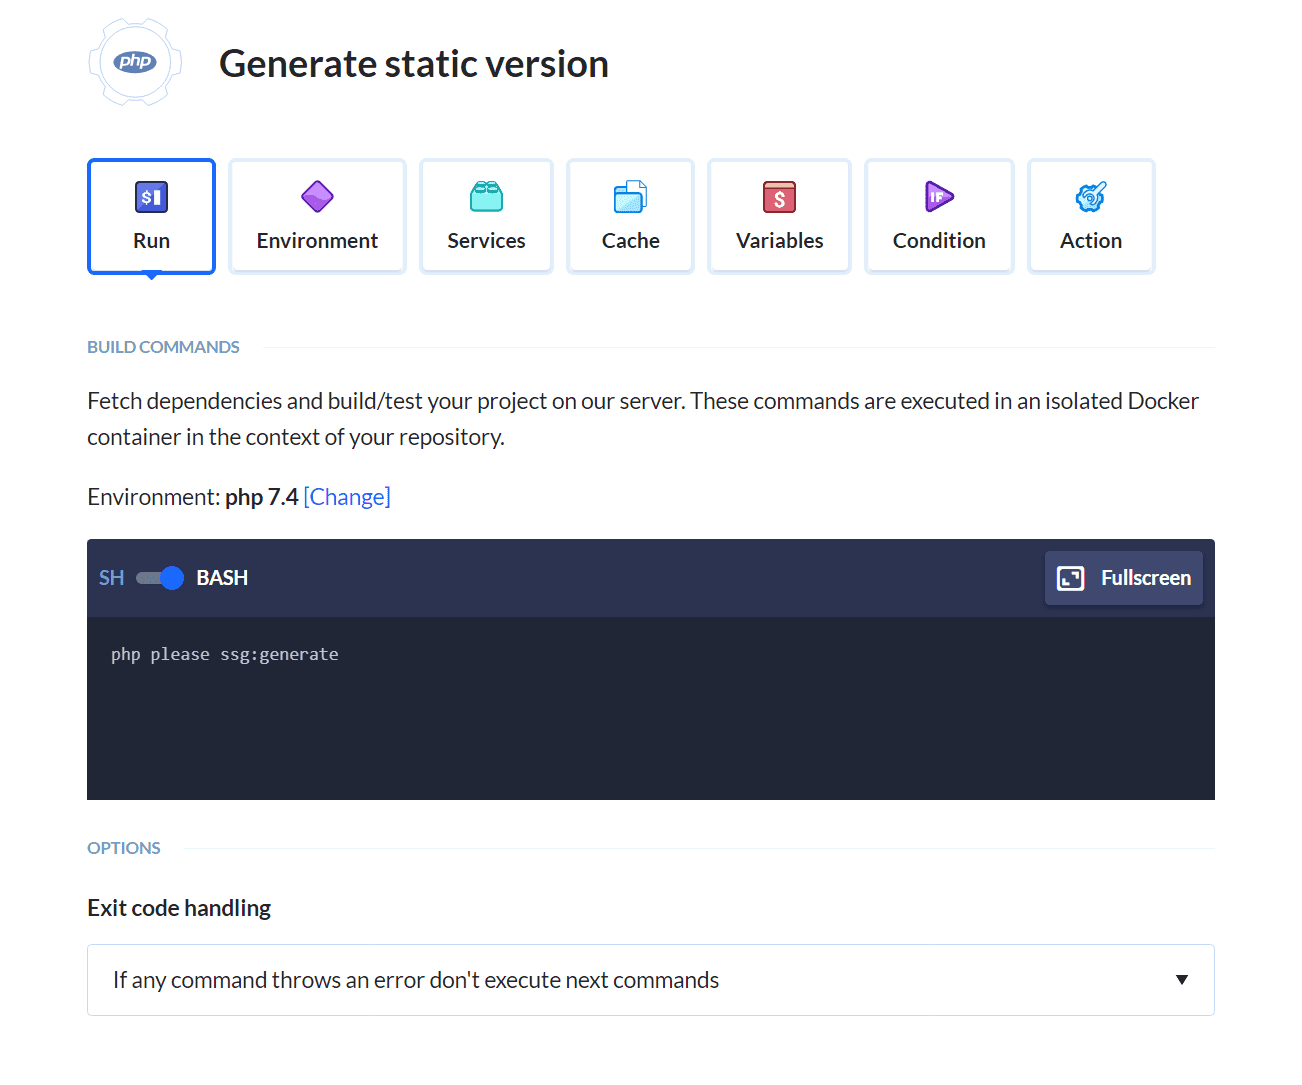
Now just need to generate the website with the command:
php please ssg:generate
Automation
The above can be easily automated using Buddy – we just need to add one extra PHP action with the ssg:generate command to the existing pipeline:
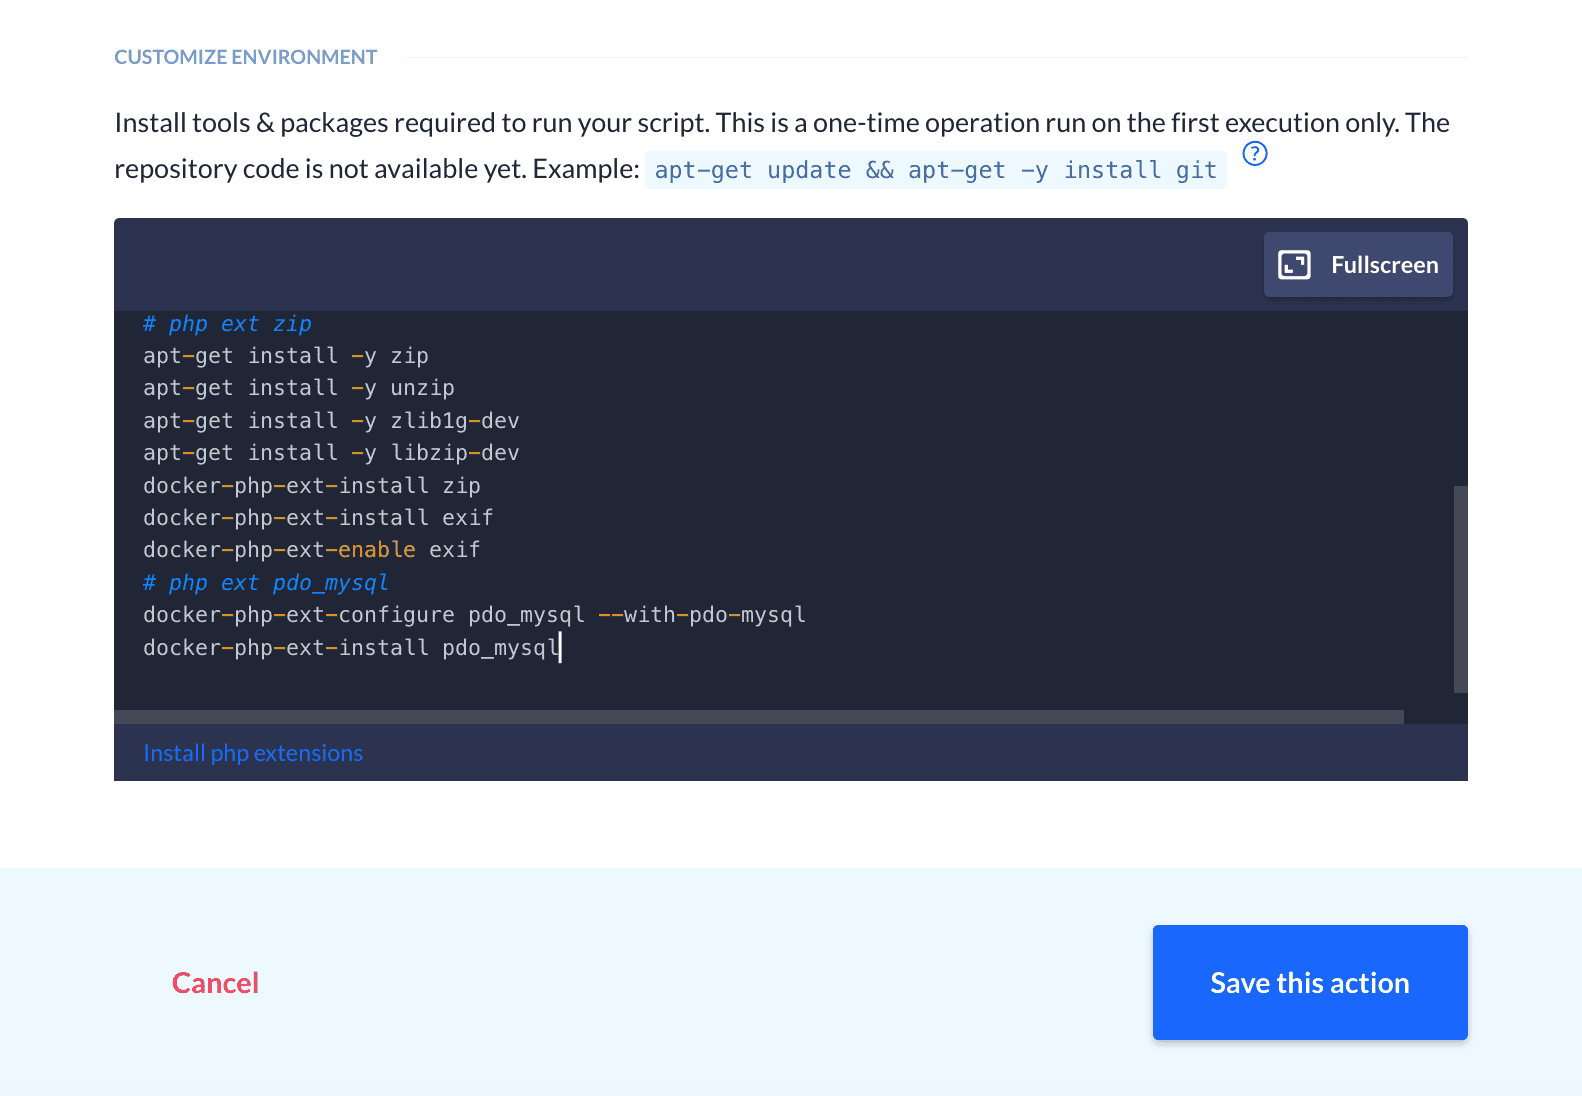
The important thing is adding Exif support to the container as it's required by Glide, the image resizing package that Statamic uses. You can do it by adding these commands in the Environment tab:
docker-php-ext-install exif
docker-php-ext-enable exif
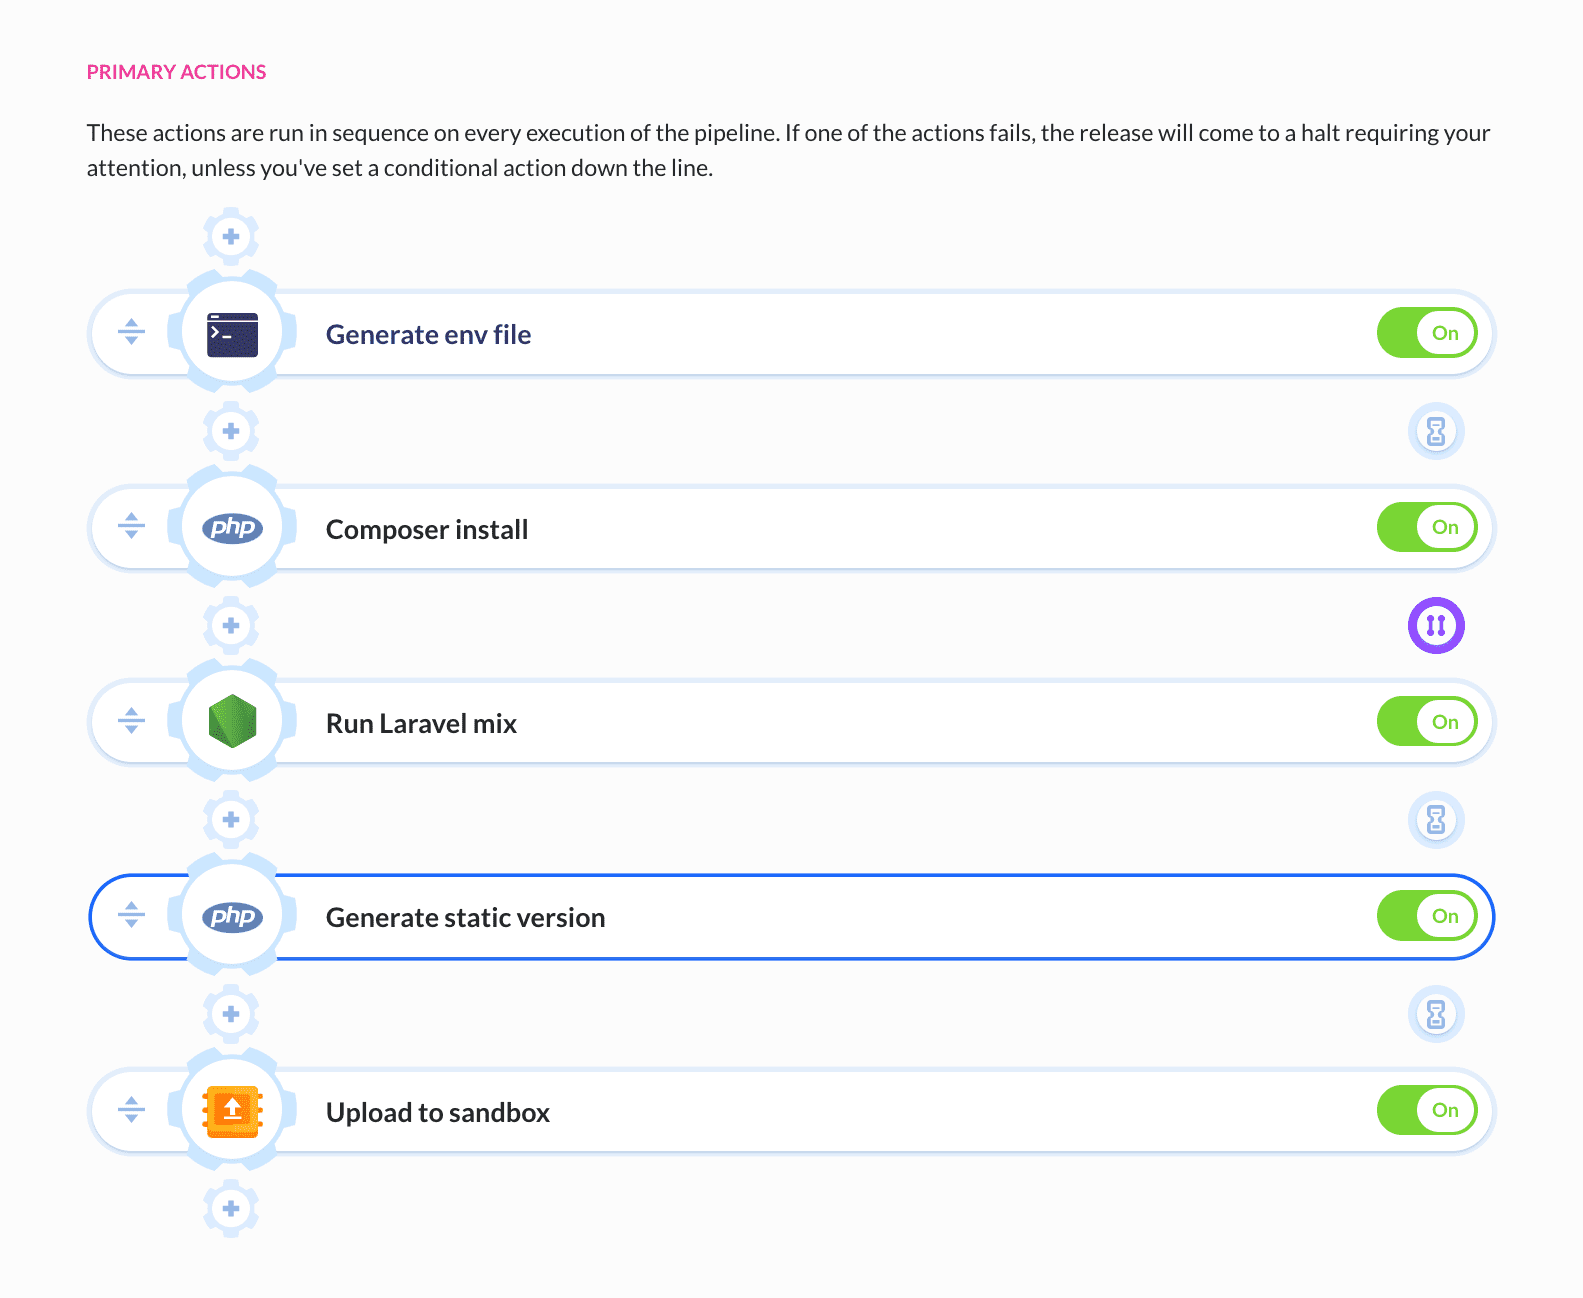
If you're deploying static, make sure to update the source path in the deployment action to /storage/app/static.
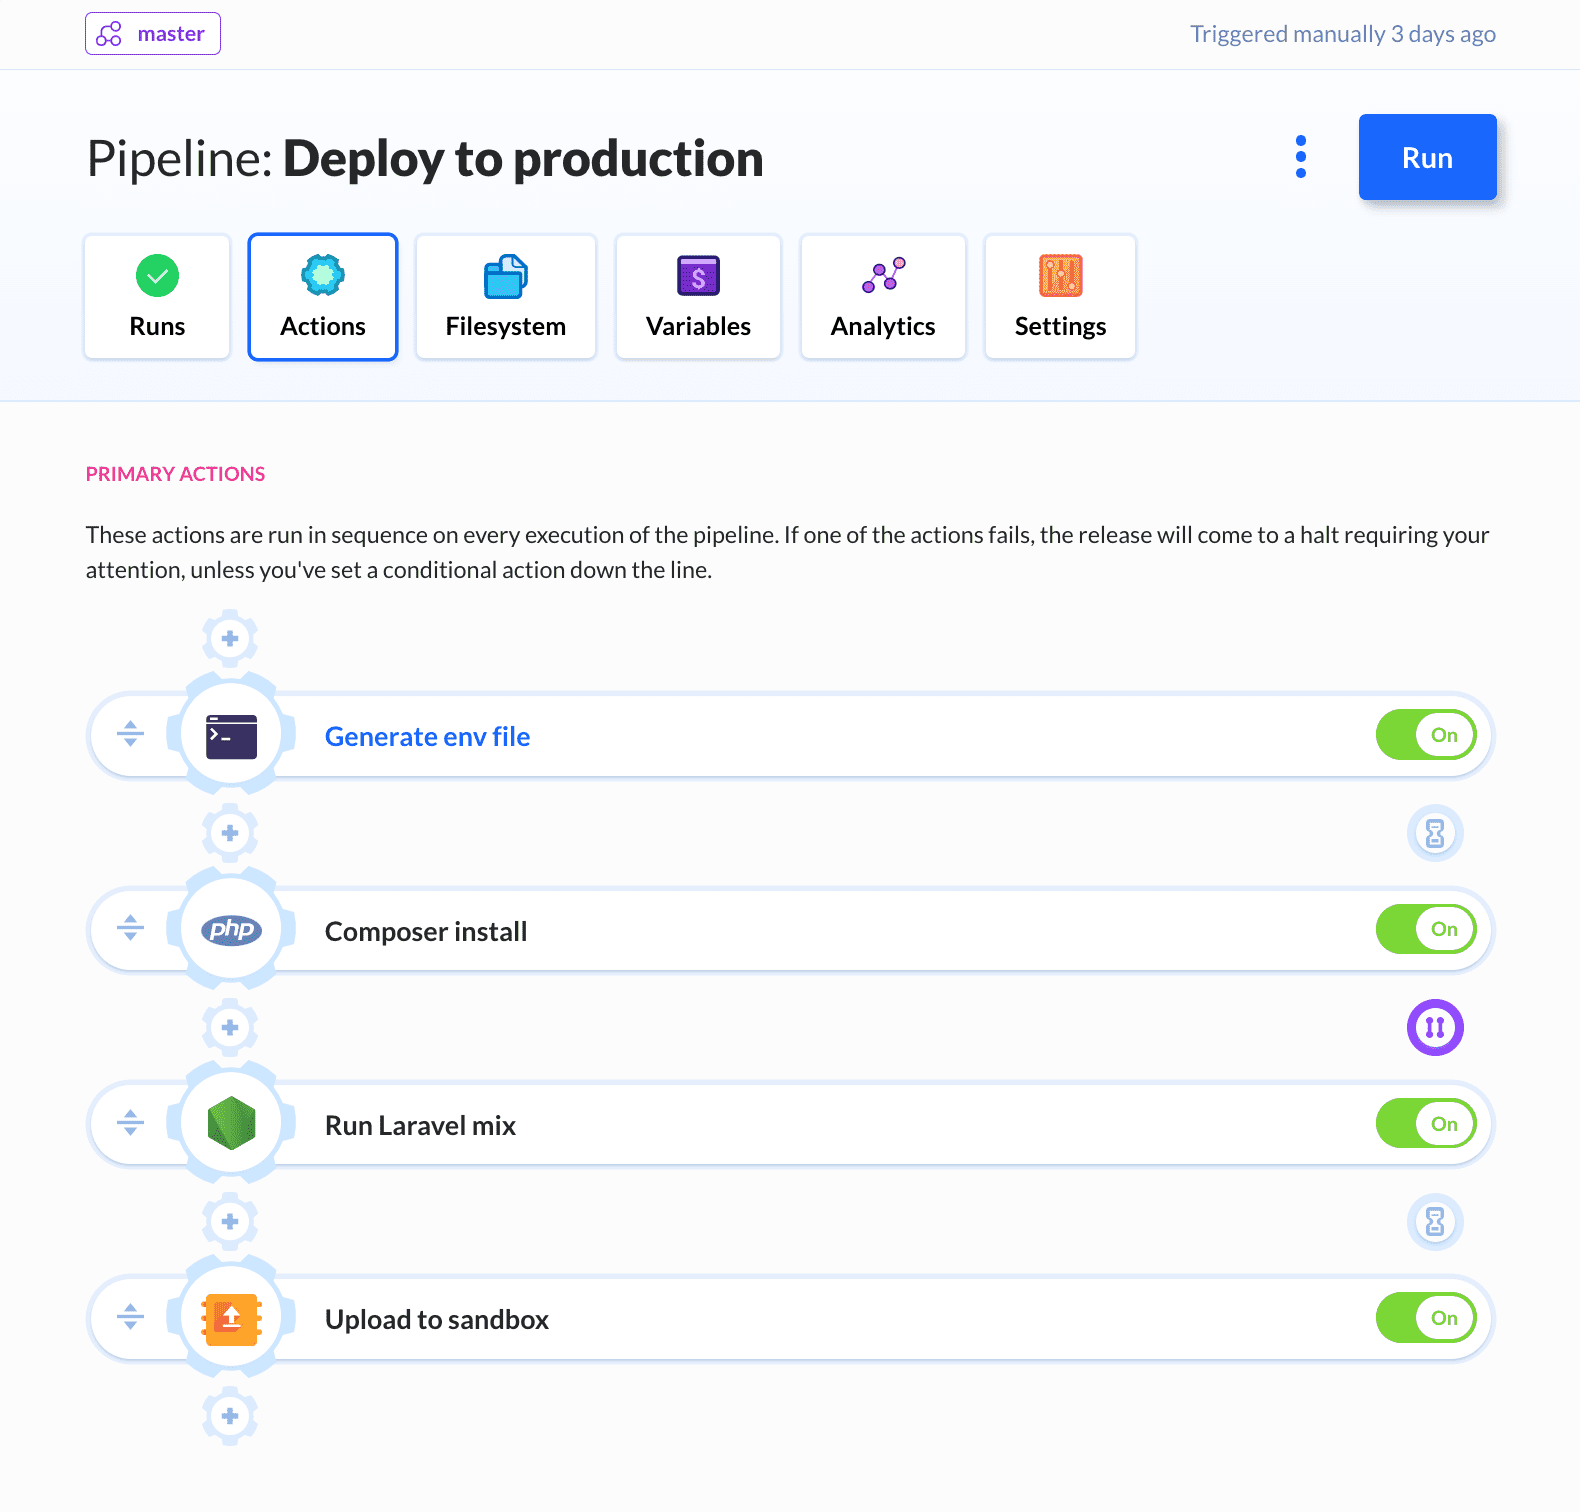
The final pipeline will look like this:
Summary
Being a WordPress freak, I still love to discover new tools and solutions that can make my life a tad easier. What I like about Statamic is its there's-no-database-until-you-need-one approach: you are given total freedom regarding the way you want to use it. You can run it as Laravel or static, manage it with the control panel or with a code editor, or drop everything and go headless. All of these make it the perfect match with Buddy's design philosophy.