完整的云启动安装
Your Buddy installation on the Google Cloud Platform is almost ready.
Buddy will now finalize the installation and auto-update itself to the newest version. Once ready, it will ask you to create your first workspace—the last step to complete the installation. Here's a quick guide that will walk you through the final steps of the process.
1. Copy Admin password
The Cloud Launcher has generated a temporary Admin password required to access your workspace creation page:
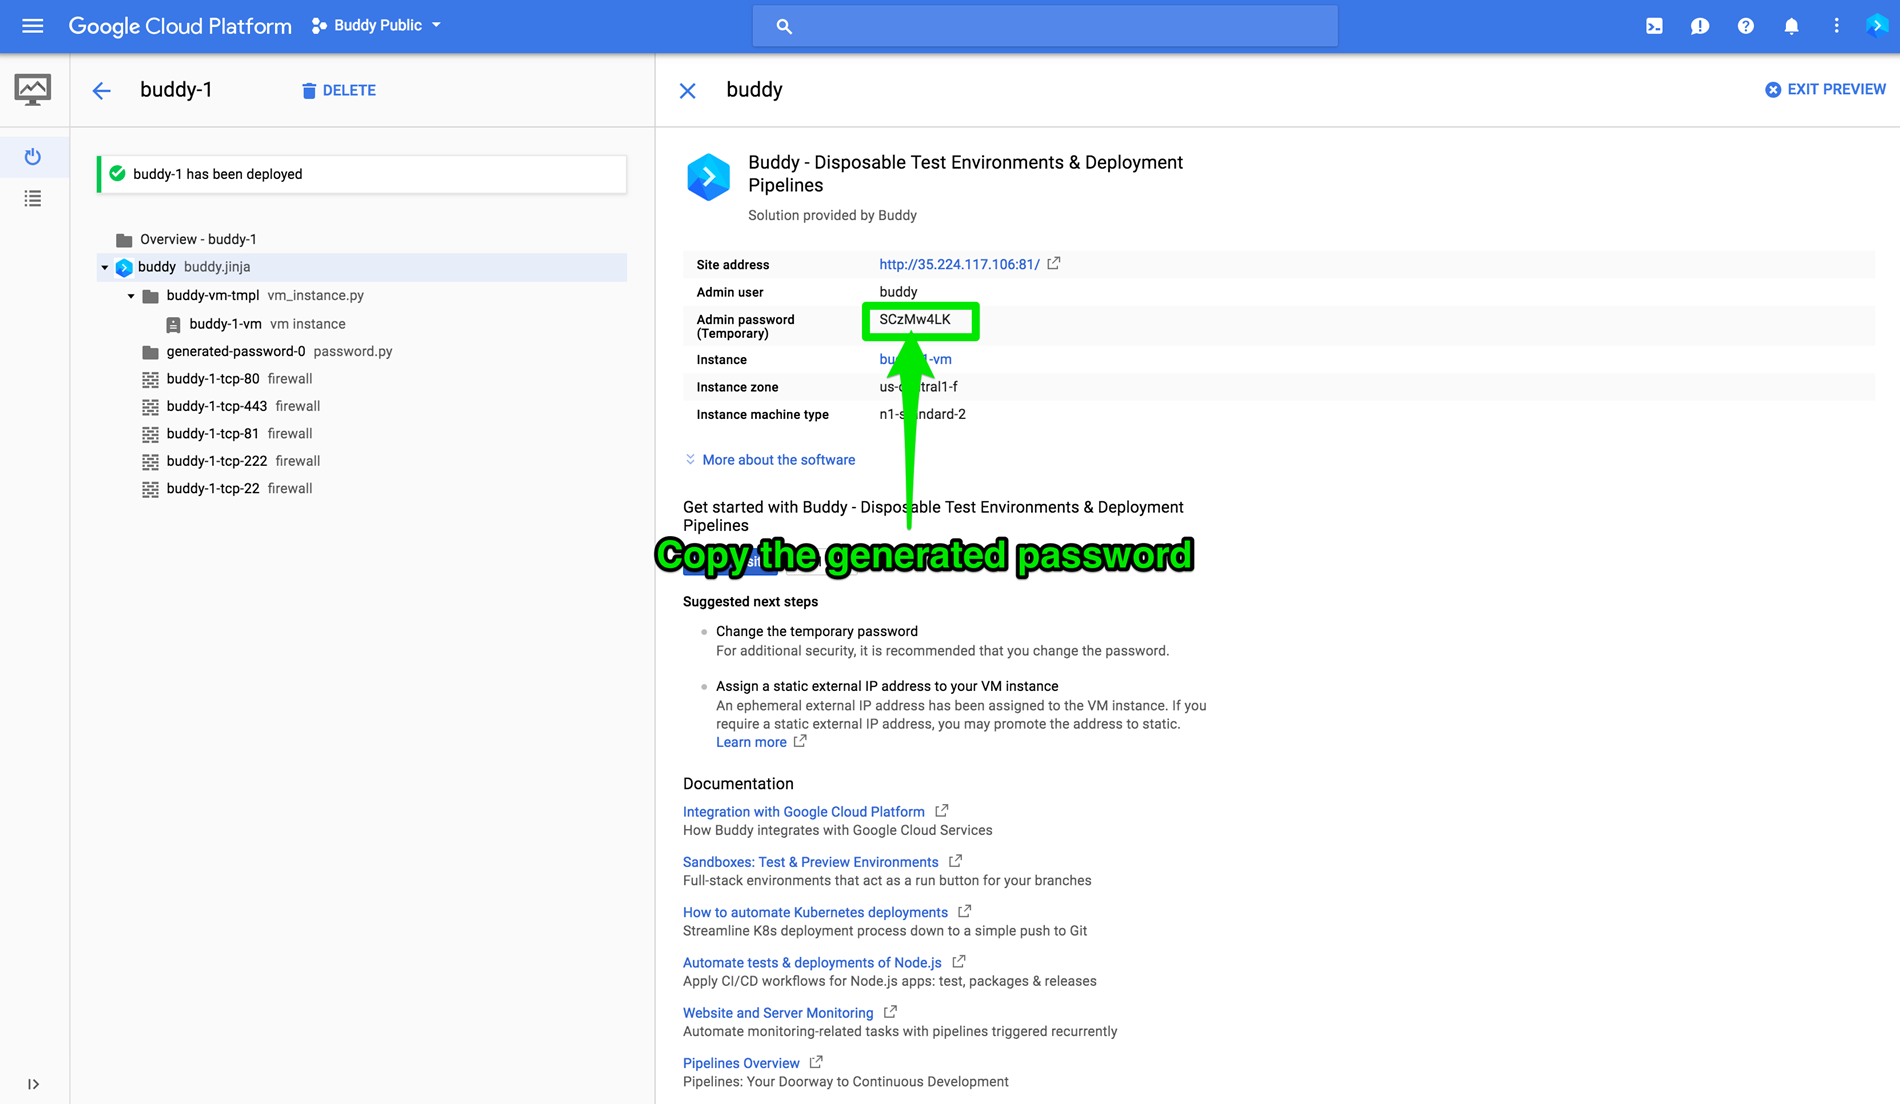
This is a one-time password only—you will be able to set the permanent password on the workspace creation page. Once the workspace has been created, Buddy will never ask for the Admin password again and will use the Buddy account for authorization.
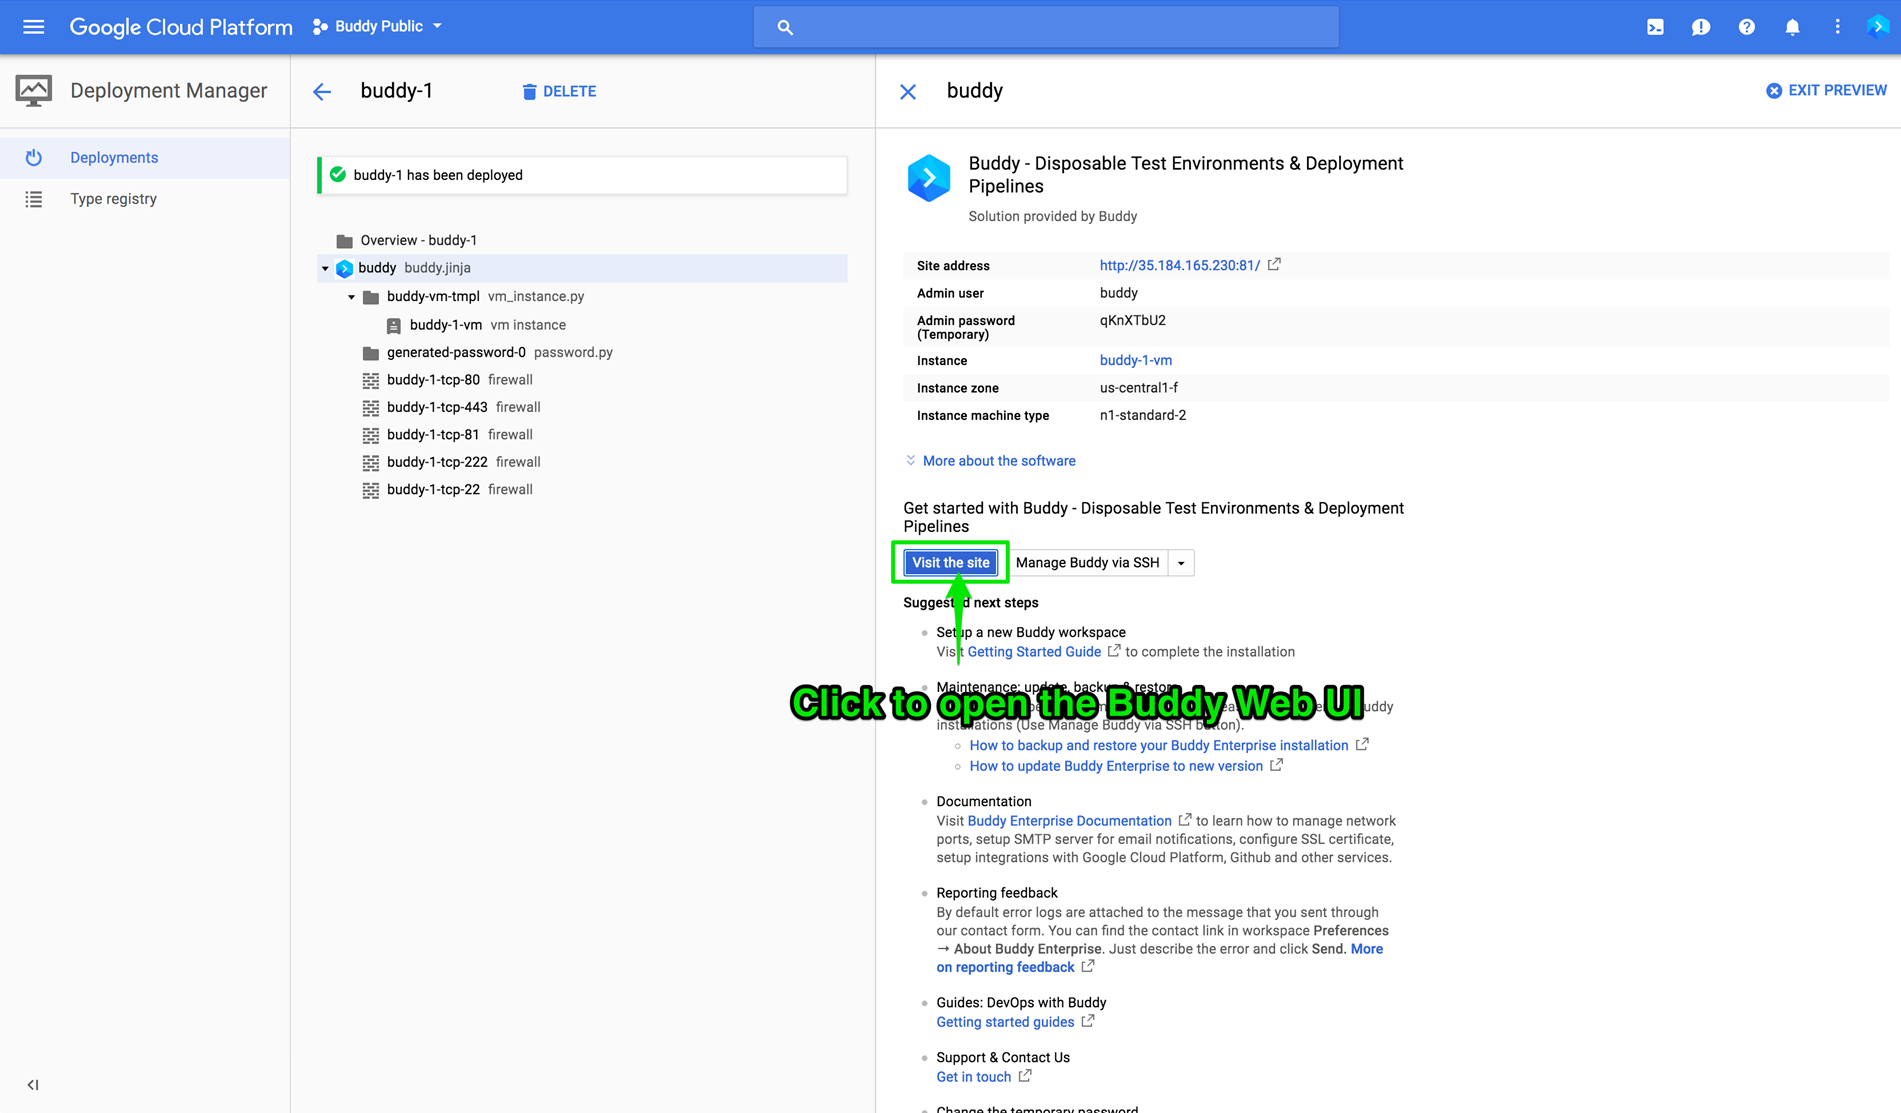
2. Open Buddy Web User Interface
Once you copy the password, click Visit the site button in the Deployment manager:
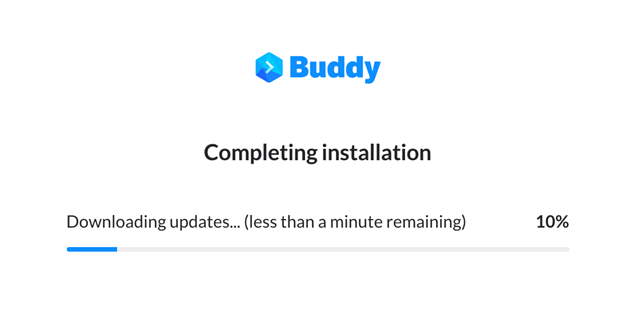
3. Wait for Buddy to finish updates
During the first launch Buddy will automatically download new updates for you. Usually the process takes 1-2 minutes:
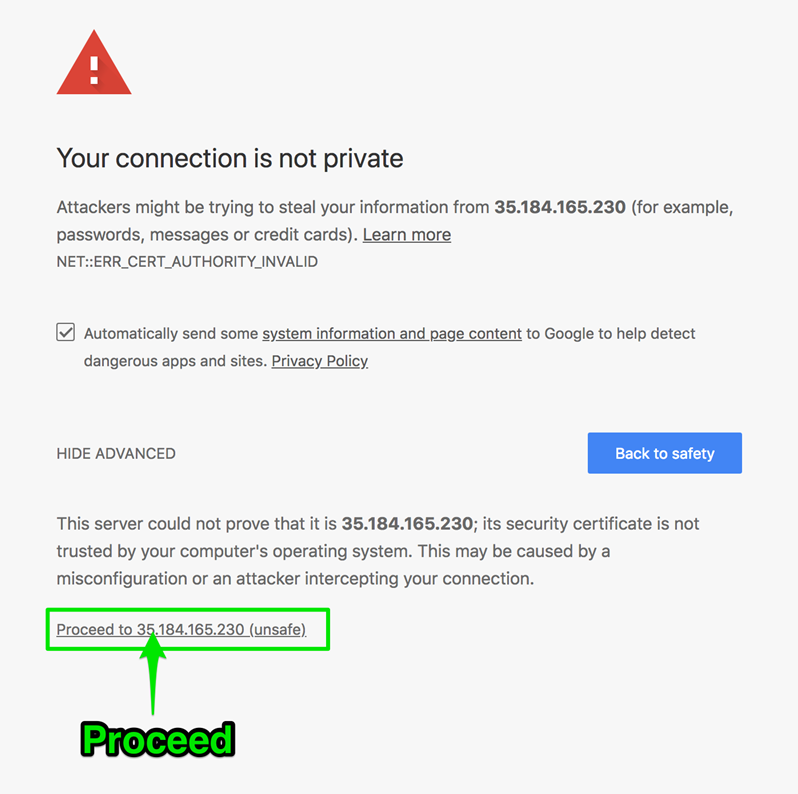
4. Accept SSL certificate warning
Buddy is HTTPS only and uses a self-signed SSL certificate. You can provide your own SSL certificate later, but for now you can safely proceed:
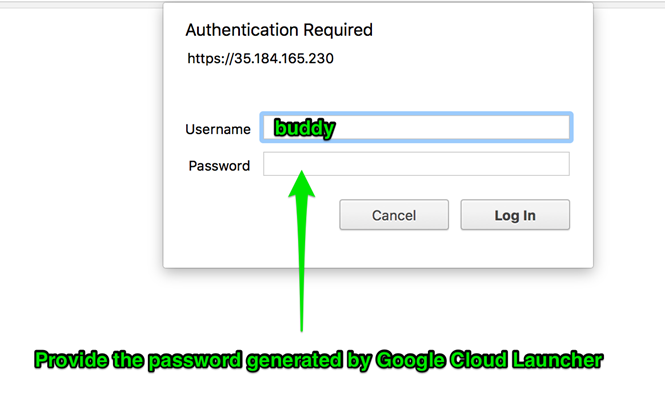
5. Provide the password generated by Google Cloud Launcher
Paste the password that you copied from the Google's Deployment Manager panel:
The username is always buddy.
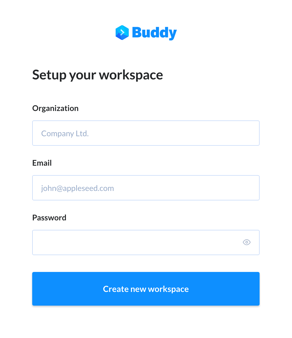
6. Setup your workspace
You will be transfered to the workspace creation screen. Here you can set up email and password that you will use to authenticate to your account:
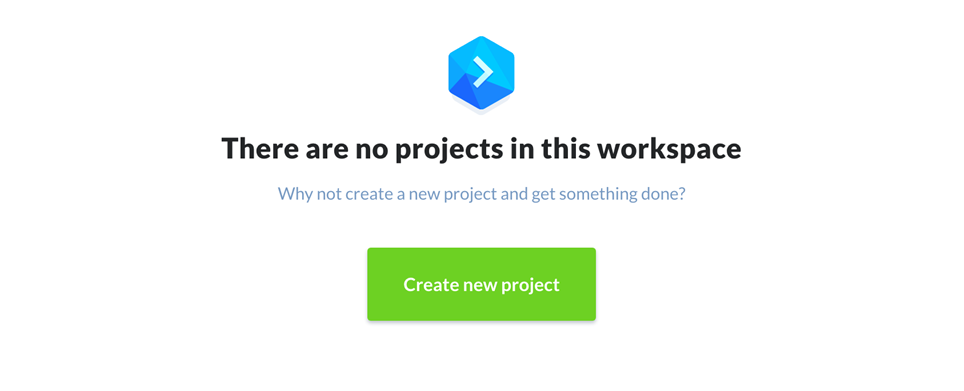
7. Create your first project
Once the new workspace is configured, you can create your first project with Buddy:
Questions? Contact us at support@buddy.works.